Tag

photography

Browsing

Ever thought about capturing lights with physics and even with tossing your camera? Look no further, because there’s kinetic photography. 

Kinetic photography is also known as camera toss photography. However, that’s not all you need to do in order to take pictures. 

As complex as it sounds, it just needs patience, practice and the knowledge of some skills, and an inexpensive camera. Don’t worry about the quality of photos since kinetic photography can make pictures from an old camera look great too!

Owing to its dynamic nature, it’s recommended that you start out with a somewhat dark room with a single source of light and then experiment with more sources of light to play around with complexity in your shots.

As for the settings, use slow shutter speed and adjust the ISO and aperture accordingly. ISO is usually set low and aperture is high when the shutter speed is slow.

Before proceeding further, ensure that you’re in a safe environment and more importantly, ensure the safety of your camera. Then, press the shutter and go crazy! Swing your hands, go zig-zag! The best part of kinetic photography is the independence it comes with. You can also explore (with caution) tossing your camera in the air. 

Here are a few pictures which were tried by DU Beat photographers:

DSC_6123

LRM_EXPORT_26310624637757_20190504_223026481

DSC_6121

DSC_6116

DSC_6094

DSC_6092

DSC_6091-1

DSC_6088

DSC_6085

DSC_6065

DSC_6073

DSC_6064

EXIF Data:

Shutter Speed: 5 seconds

Aperture:f/20

ISO: 100


Photography by:

Surabhi Khare

[email protected]

Saubhagya Saxena

[email protected]

Smoke photography is not as difficult as it seems, in fact there is no correct or incorrect way of photographing smoke.

In other words, there is no right or wrong way to photograph a smoke trail. So its experimenting that will give you that perfect picture, that perfect angle and that perfect lighting that you aspire for. So here are a few tips and techniques that might help you to create such pictures.

Camera setting:

Shutter Speed: Fast shutter speed is recommended to capture such images as the smoke is constantly moving, so to avoid any blur movement, the settings should be done accordingly.

Aperture: A small aperture is recommended to get a sharp and detailed smoke trail for your picture.

ISO: Where there is very low light, smoke will show up grainy or noisy and a high ISO will only add to this, so try not to raise the ISO very high (ISO between 500-1200 is recommended depending on the camera) in indoor shooting whereas while shooting outside, ISO can be adjusted according to the light condition prevailing.

Light: Use the flash at full strength because with fast shutter and low ISO, the image quality may deteriorate but while shooting outdoor, no external light shall be needed and the settings can be done manually.

How to photograph the smoke the right way:

1. Get Physically Comfortable

As we start with the fun part, the shooting. Make yourself comfortable and focus on the object you just lit up. First 20-30 clicks and a few burned out source may dig your confidence down but keeping on learning from every previous shot will eventually lead you where you aspire to be.

EAD17A0B-E823-4336-86FC-225A5717A6CF

Image Credits: Akarsh Mathur for DU Beat

2. Get the Smoke Moving Around.

For really nice curved smoke you need smoke that moves around. A little piece of cardboard can help you whoosh little bits of air towards the source like a colour bomb and get the smoke moving around. Using source like incense stick , there is no need to get the smoke moving around as the source flows well with the atmosphere air and gives you the smoky look that you need.

43DD01CD-90A9-48F0-B6E1-F01A85A201FA

Image Credits: Vaibhav Tekchandani for DU Beat

3.Let the Smoke Take Over the Background

Letting the smoke take over the background, will enhance the impact of your picture. This method is very impact full while covering onstage events as the object and its actions are fluently expressed. Using external light under this situation is recommendable as it terminates noise and prevents picture blur.

4B691866-EB30-4C5E-AC13-3D7FFE5B9784

Image Credits: Aditya Khanna for DU Beat

4. Patience

Working on this technique majorly calls for lots of patience as the smoke from the source needs attention and takes time to fall in the right position compatible with the subject. Observation is also an important factor as it leads to the decision of capturing the frame when the amount and intensity of the smoke is right as needed considering that the smoke buildup creates a haze in the Pictures.

E520C996-0E28-4170-A221-C7438B5CA3DF

Image Credits: Aakarsh Gupta for DU Beat

To put it in a nutshell, smoke photography apart from being an activity based on skill is also an experimental effort based on hit a trial to get that perfect shot at the perfect timing. Patiently wait for the smoke to do its magic and engulf the space while your fingers are ready for the shot that you desire. The possibilities are many to play around with this unconventional photographic art form.

Feature Image Credits: Vaibhav Tekchandani for DU Beat.

Mahi Panchal

[email protected]

Winter had been knocking at our door for a while, and is finally here. But it does not have to be synonymous to dull and boring. Winter photography could actually bless your Instagram feed.

Here are five winter essentials when it comes to photography:

1.Bonfire: There is hardly anything as comforting as a bonfire. What’s more? They serve as great pictures, both in the background, or as the star of the frame.

LRM_EXPORT_417465906897049_20181222_204920190


Image Credits: Surabhi Khare for DU Beat

2.Peanuts: While a Starbucks does look good in pictures, we should not forget the snack that has been keeping us warm and occupied for the longest of times. Peanuts deserve to be featured in your pictures.


LRM_EXPORT_344404153435181_20181220_230439151


Image Credits: Aakarsh Gupta for DU Beat

3.Sun-basking in the terrace: Sardi ki dhoop has had honorary mentions in Bollywood. It would be a shame if we let go of the tradition.

LRM_EXPORT_324940196009168_20181220_152833839


Image Credits: Mahi Panchal for DU Beat

4.Shawl/heavy clothes: It is a fact widely accepted that winter clothes surpass all other attires. Grab a shawl, and wrap it around you, the coziness will be sure to be transferred into the pictures.

1545489209151_IMG_7644


Image Credits: Surabhi Khare for DU Beat

5.Chai: Bliss is spelled as chai! And it would be safe to say that your winter photography would be incomplete without a picture of chai, or you holding a cup of chai.

LRM_EXPORT_496973202847136_20181224_175234271


Image Credits: Aakarsh Gupta for DU Beat

The warm tones of the bonfires, coupled with the auburn hue of chai will add a whole new dimension to your photography treasure.

Every season deserves to be captured, but winter, ever more so, just because of the sheer amount of beauty it adds to the world. When the nights become shorter, life (and your Instagram) becomes better!


Feature Image Credits: Surabhi Khare for DU Beat

Aakarsh Gupta 

[email protected]

Surabhi Khare 

[email protected]

Maumil Mehraj 

[email protected]

We live in an era where technology, especially smartphones and cameras, is the heart and soul of our daily routines. Everyone has some basic knowledge of using a camera and taking basic pictures and videos. But to make your videos and pictures look more eye-catching, here is your guide to basic camera angles. These camera angles will make your pictures and videos sparkle.

Before diving into the different camera angles, here is a lesson on the vocabulary of the important elements of a picture or video.  “Subject”, in layman’s language, is the model or the focussed object in a shot. Moreover, it’s important to know the difference between a shot and angle. “Shot” is a short video clip while an “angle” is a fixed position at which the camera is placed.

OVER THE HEAD

In this angle, we see the subject of the video from bird’s-eye view, at the level of their head. It includes the surrounding of the subject as per the aim of the video. This angle is considered important to establish the surroundings of the subject. 

Over The Head

OVER THE SHOULDER

The aim of this angle is to include two subjects simultaneously in the frame. The camera is placed behind the major subject’s shoulder in a way that it includes the minor subject in the frame too. This helps to focus on more than two things in a single shot.

Over The Shoulder

LOW ANGLE

In this angle, the camera shoots from the lowest point possible and shoots up to the subject. In this way, the subject of the video looks heroic, intimidating and dominating. This is mostly used in “super-hero” movies to introduce the “hero” of the film.

Low Angle


DOLLY ZOOM

This shot may look like a simple zoom shot but has more dimensions to it. Choose a point far away from the subject and turn your lens to its full zoom, and make sure your subject fits the frame. From that point, move towards the subject and simultaneously zoom out. This gives a 3-dimensional look to your video.

Dolly-zoom-gif

CLOSE UP

This angle is crucial to heighten the subject’s expressions and emotions. Here, the surroundings are cancelled out and the only focus is on the subject’s expressions. It frames the subject’s face above their neck, mostly focusing on their eyes or any of their expressive features.

Close Up

SHIFT OF FOCUS

This shot is as simple as it sounds. There are mainly two subjects in the frame and the focus shifts from one subject to another. This shift depends upon the storyline or as per the significance of either of the subject.

Shift In Focus


CUT IN

This angle focusses on the part of the subject we usually do not directly notice. This angle frames mostly the midriff. It’s used to highlight something specific or the expressions through the hand.

Cut In

Feature Image Credit: Namrata Randhawa for DU Beat

Photo-story by: Namrata Randhawa for DU Beat


Diwali comes as a blessing for your Instagram feed. Here are some tips to help polish your technical knowledge and gain those followers.

In the words of Ralph Hattersly, “We are making photographs to understand what our lives mean to us.” They are little packets of recollections that we can always go back to for joy and comfort. The essence of Diwali lies in the words ‘family’ and ‘bonding.’ Here are some tips to capture those memories and resurrect them through photographs.
Bokeh
Bokeh is the light which is not focused, so the sharp edges get blurred, creating aesthetics which are unmatched! This is a no-brainer because Diwali translates to light, and what better way to capture it than using Bokeh? Turn on your manual focus and slide that focus ring until you see beautiful Bokeh on your screen/viewfinder. A very interesting way of clicking Bokeh is to mix other elements than light. For example, water or fire. You can cut the shape you want your Bokeh to be on a piece of cardboard, place it between your camera body opening and lens and get your own Bokeh.

Bokeh3_Surabhi


Image Credits: Surabhi Khare for DU Beat
Street
With all the decorations that go into the festival, it is highly likely that you will find good shots at random public places. You can use techniques like time-lapse and still life on the street. You can set your shutter speed to 3-5seconds and aperture at f/18-22 at 100 ISO for some time-lapse photography at night. This will help you achieve crisp photographs with movement in them.

street1_Vaibhav


Image Credits: Vaibhav Tekchandani for DU Beat

Décor
The hours and days spent on the Diwali décor must be immortalised by being captured. You can give different backgrounds while clicking a macro shot of decorations. It is easy to identify different patterns in the decorations. Another way to amp your aesthetic is to collect different objects together and arrange them in an artistic manner. Rangolis can give the best pictures if shot from the top down (flat lay) angle. Lights can also be used to create leading lines in your picture. A simple way is to hold one corner of the light string in your hand and lead the focus of the picture towards the other corner of the string.

Decorations_Surabhi


Image Credits: Surabhi Khare for DU Beat
Long exposure
While clicking the picture, the photo is continuously being captured for an extended time, ranging from 1-30 seconds.
The scope of clicking long exposure photographs increases significantly during Diwali. Especially with crackers, each cracker will give you a different picture. Set your camera with a shutter speed of 10-15 seconds, aperture f/20-22 and ISO100, after clicking the shutter you can go crazy in front of your camera along with a sparkler for beautiful trails of sparklers. Use different crackers for different results.

Long Exposure 1_Surabhi


Image Credits: Surabhi Khare for DU Beat


Food
Indian food is colourful and dramatic. To get perfect food pictures, you have to take the shot from the perfect angle. Overhead, 3/4 and the horizon angles are the best three angles to capture food. Overhead angle is 90 degrees and is extremely popular on Instagram. It can be easily captured with phones as phones have a wider angle camera. The 3/4 angle is when your camera is placed anywhere from 25 to 75 degrees in relation to your subject. The horizon or the straight up angle is the best when you are shooting tall foods. To ameliorate the effect, decorate your food and the space around it as well. Using rustic table surfaces, visually appealing candles, or just creating negative space on the platter will do wonders for your photographs. Thus equipped, the pictures will turn out great and you will have bragging rights over the best Diwali pictures. Have fun, keep clicking, and happy Diwali!

Food2_Surabhi


Image Credits: Surabhi Khare for DU Beat


Feature Image Credits: Surabhi Khare for DU Beat

Maumil Mehraj

[email protected]

Vaibhav Tekchandani

[email protected]
Surabhi Khare

[email protected]

Why Monochrome Photography

The black and white give a timeless quality to the images. Hence, it’s one of the reasons why people are going for monochromatic photography more. This is all because of the thoughts behind the vision, a vision about portraying a colourful time as a different, colourless era. Also, people are into throwbacks more these days, and what else could justify the feels if not monochrome.

“To see in colour is a  delight for the eye but to see in black and white is a delight for the soul.” -Andri  Cauldwell

  •  Shoot RAW

The best way that photographers can capture high-quality images, whether colored or monochrome/black and white is to shoot RAW files. But if you shoot raw files simultaneously and set the camera to its monochrome Picture Style/Picture Control/Film Simulation mode, you get an indication of how the image will look in black and white. Having pictures clicked in raw gives you more pixels, added mouldability and ease when it’s finally time to edit and post-process your shots. Alternatively, you can shoot in both RAW + JPEG, if you also want to keep a JPEG version of each of your shots.

Image Credits to Akarsh Mathur
Image Credits: Akarsh Mathur
  •  Look for Contrast/Shape/Texture

The complimentary and adverse colours that bring a colour image to life are all reduced to black and white or shades of grey in a monochrome image and you have to look for tonal contrast to make a shot presentable, In colour photography eg: while capturing colored portraits, the eye gets immediately drawn to a red object on a green background. However, in monochrome photography, the brightness and contrast are same over these areas which results in a flat image that is dull straight from the camera. Thankfully, its is possible to adjust the brightness of blacks and whites separately to introduce some contrast. There are always exceptions, but as a general rule look for scenes that contain some strong blacks and whites.

This can be achieved by the light or by the brightness (or tone) of the objects in the scene as well as the exposure settings that you use. Setting the exposure for these brighter areas also makes the shadows darker, so the highlights stand out even more. Look for shapes, patterns, and textures in a scene and move around to find the best composition.

Image Credits to Akarsh Mathur
Image Credits: Akarsh Mathur
  • Try Long Exposure

In monochrome photography, long exposure shots work effectively well, especially when there’s movement of water or clouds. To enhance tonal contrast, the highlights of the water during the exposure, for example, can be recorded across a wider area.

The hazy touch of the movement too adds textural contrast, if used with objects of solid property in the frame. If want, one can go with neutral density filter, for example, ‘Lee Filters’ Big stopper or Little Stopper to customize the exposure and extend shutter speed (by 10 and 4 stops respectively).

When exposures extend beyond for say, 1/60 sec, we need a tripod to keep the camera steady to avoid the haziness. It is suggestible to go for a remote realease or mirror lock-up to control the vibration and for aptly sharp images.


Image Credits: Surabhi Khare
  • Take Control

Also, colored filters can be used to change the contrast if shooting digital B&W images, it’s usual to restore until it’s processed. Adobe Camera Raw, which has more effective tools (in the HSL/ Grayscale tab) for you to adjust the brightness of eight different colors that form the image, Photoshop’s Channel Mixer was the preferred means

It’s easy to change one of these colors to make the image anything from white to black with the sliding control. Although, one should keep an eye on the whole image while adjusting a particular colour, since such gradations can make it look unnatural.

The adjustment of the brightness of a red or pink t-shirt with red sliding control might have an impact on the person’s skin, especially the lips.

Tonal range and contrast can be changed with the help of the Levels and Curves controls, but what helps you in creating separation between objects of the same brightness with different colors is HSL/Grayscale.

Image Credits: Ayush Chauhan


Feature Image Credits: Akarsh Mathur for DU Beat

Adithya Khanna
[email protected]


College gives us space to acquire different skills. Students are extremely enthusiastic about trying their hand at new things and exploring their skills. One of the most tried-out and deceptively easy-looking hobby for students is photography. You may or may not have made it to your college’s photography society. But don’t worry, DU beat brings to you a whole bunch of ways through which you can click professionally and finally get your hands on your camera’s manual mode.

Exposure Triangle

The Exposure Triangle consists of the three basic elements of the camera: Aperture, Shutter Speed and ISO. We use these three in different combinations according to the type of photography.

Aperture

Aperture is a hole or an opening in the lens. While pressing the shutter release button of your camera, a hole opens which allows the sensor of your camera to catch a glimpse of the scene you want to capture. The Aperture that you set determines the size of that hole. The larger the size of the opening, the more amount of light gets in and vice versa.

We use f-stops to measure aperture. Aperture also helps in determining the depth of field. Depth of field determines how much your image will be focused. A smaller aperture is used to get larger depth of field. This is used in landscape photography where all the elements of the frame should be in focus. A larger aperture is used to get shallow depth of field in which a part of the frame is focused.


Aperture1_SurabhiKhare (Featured Image)
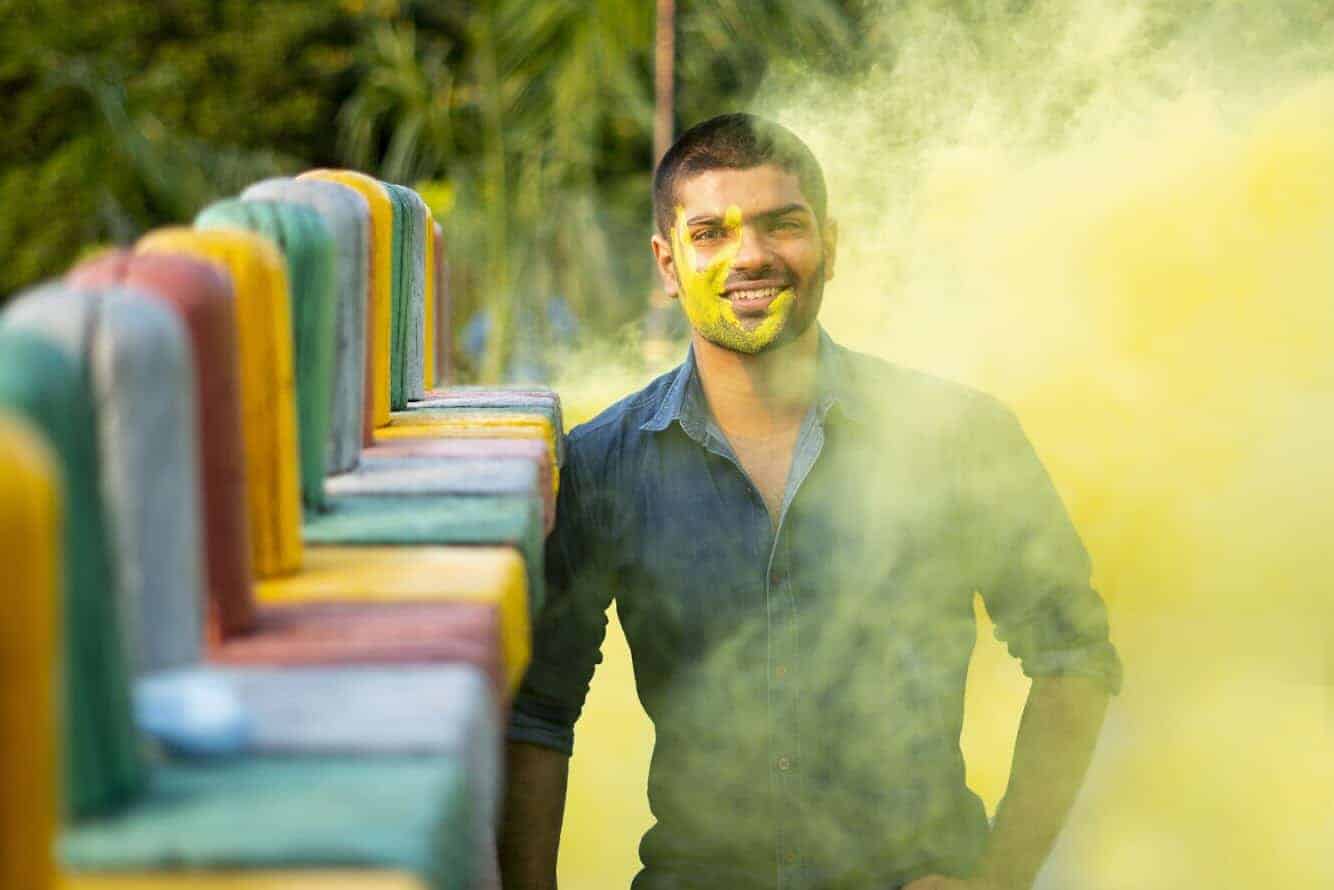
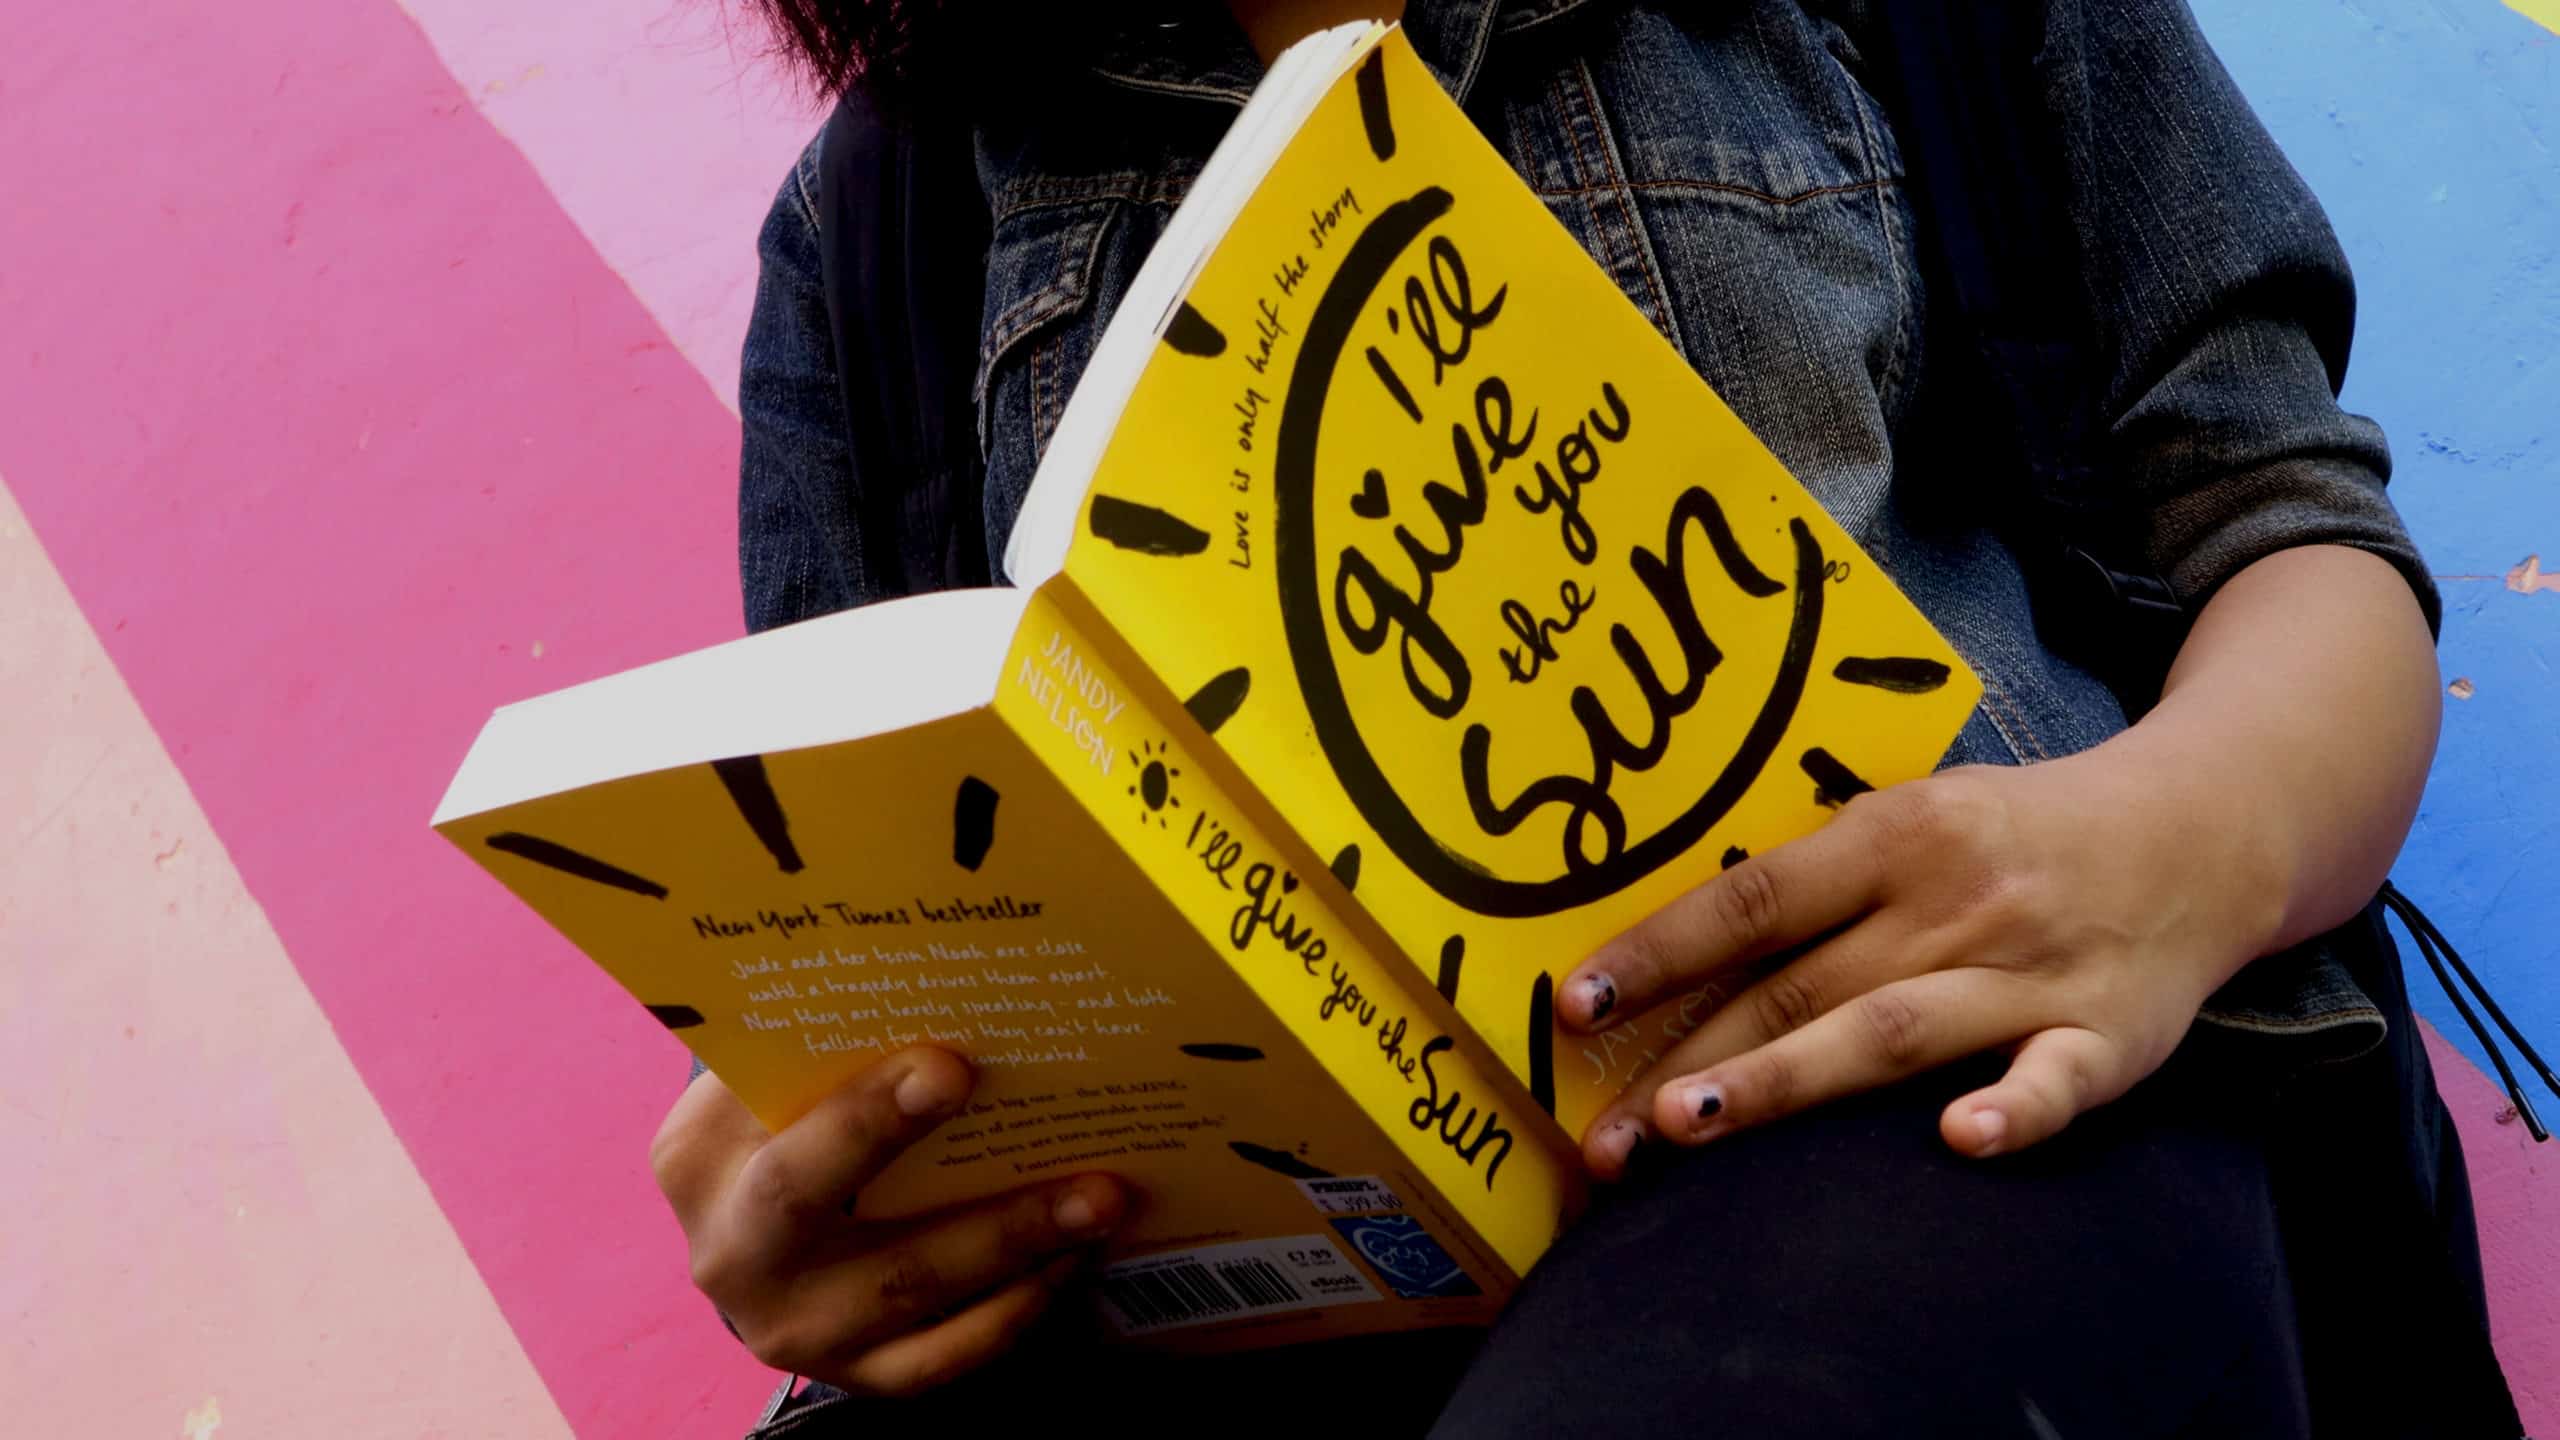
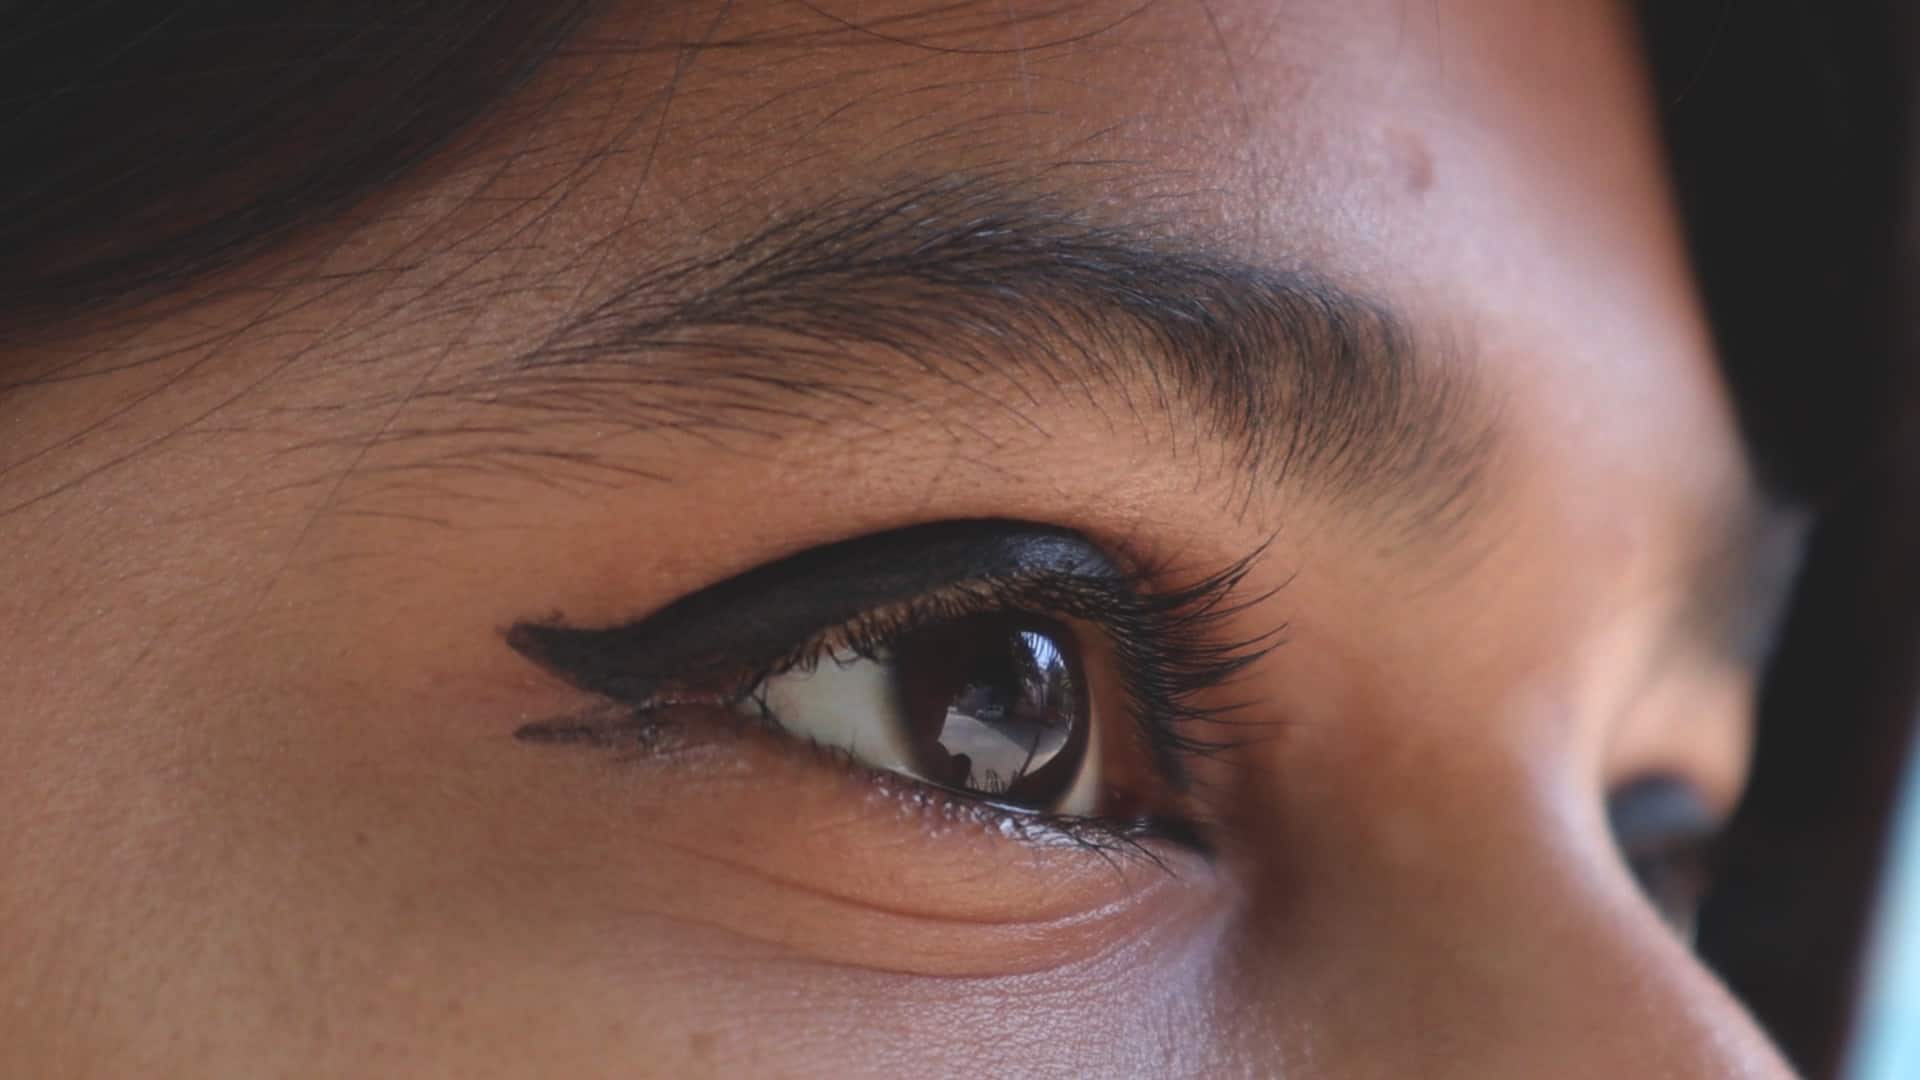
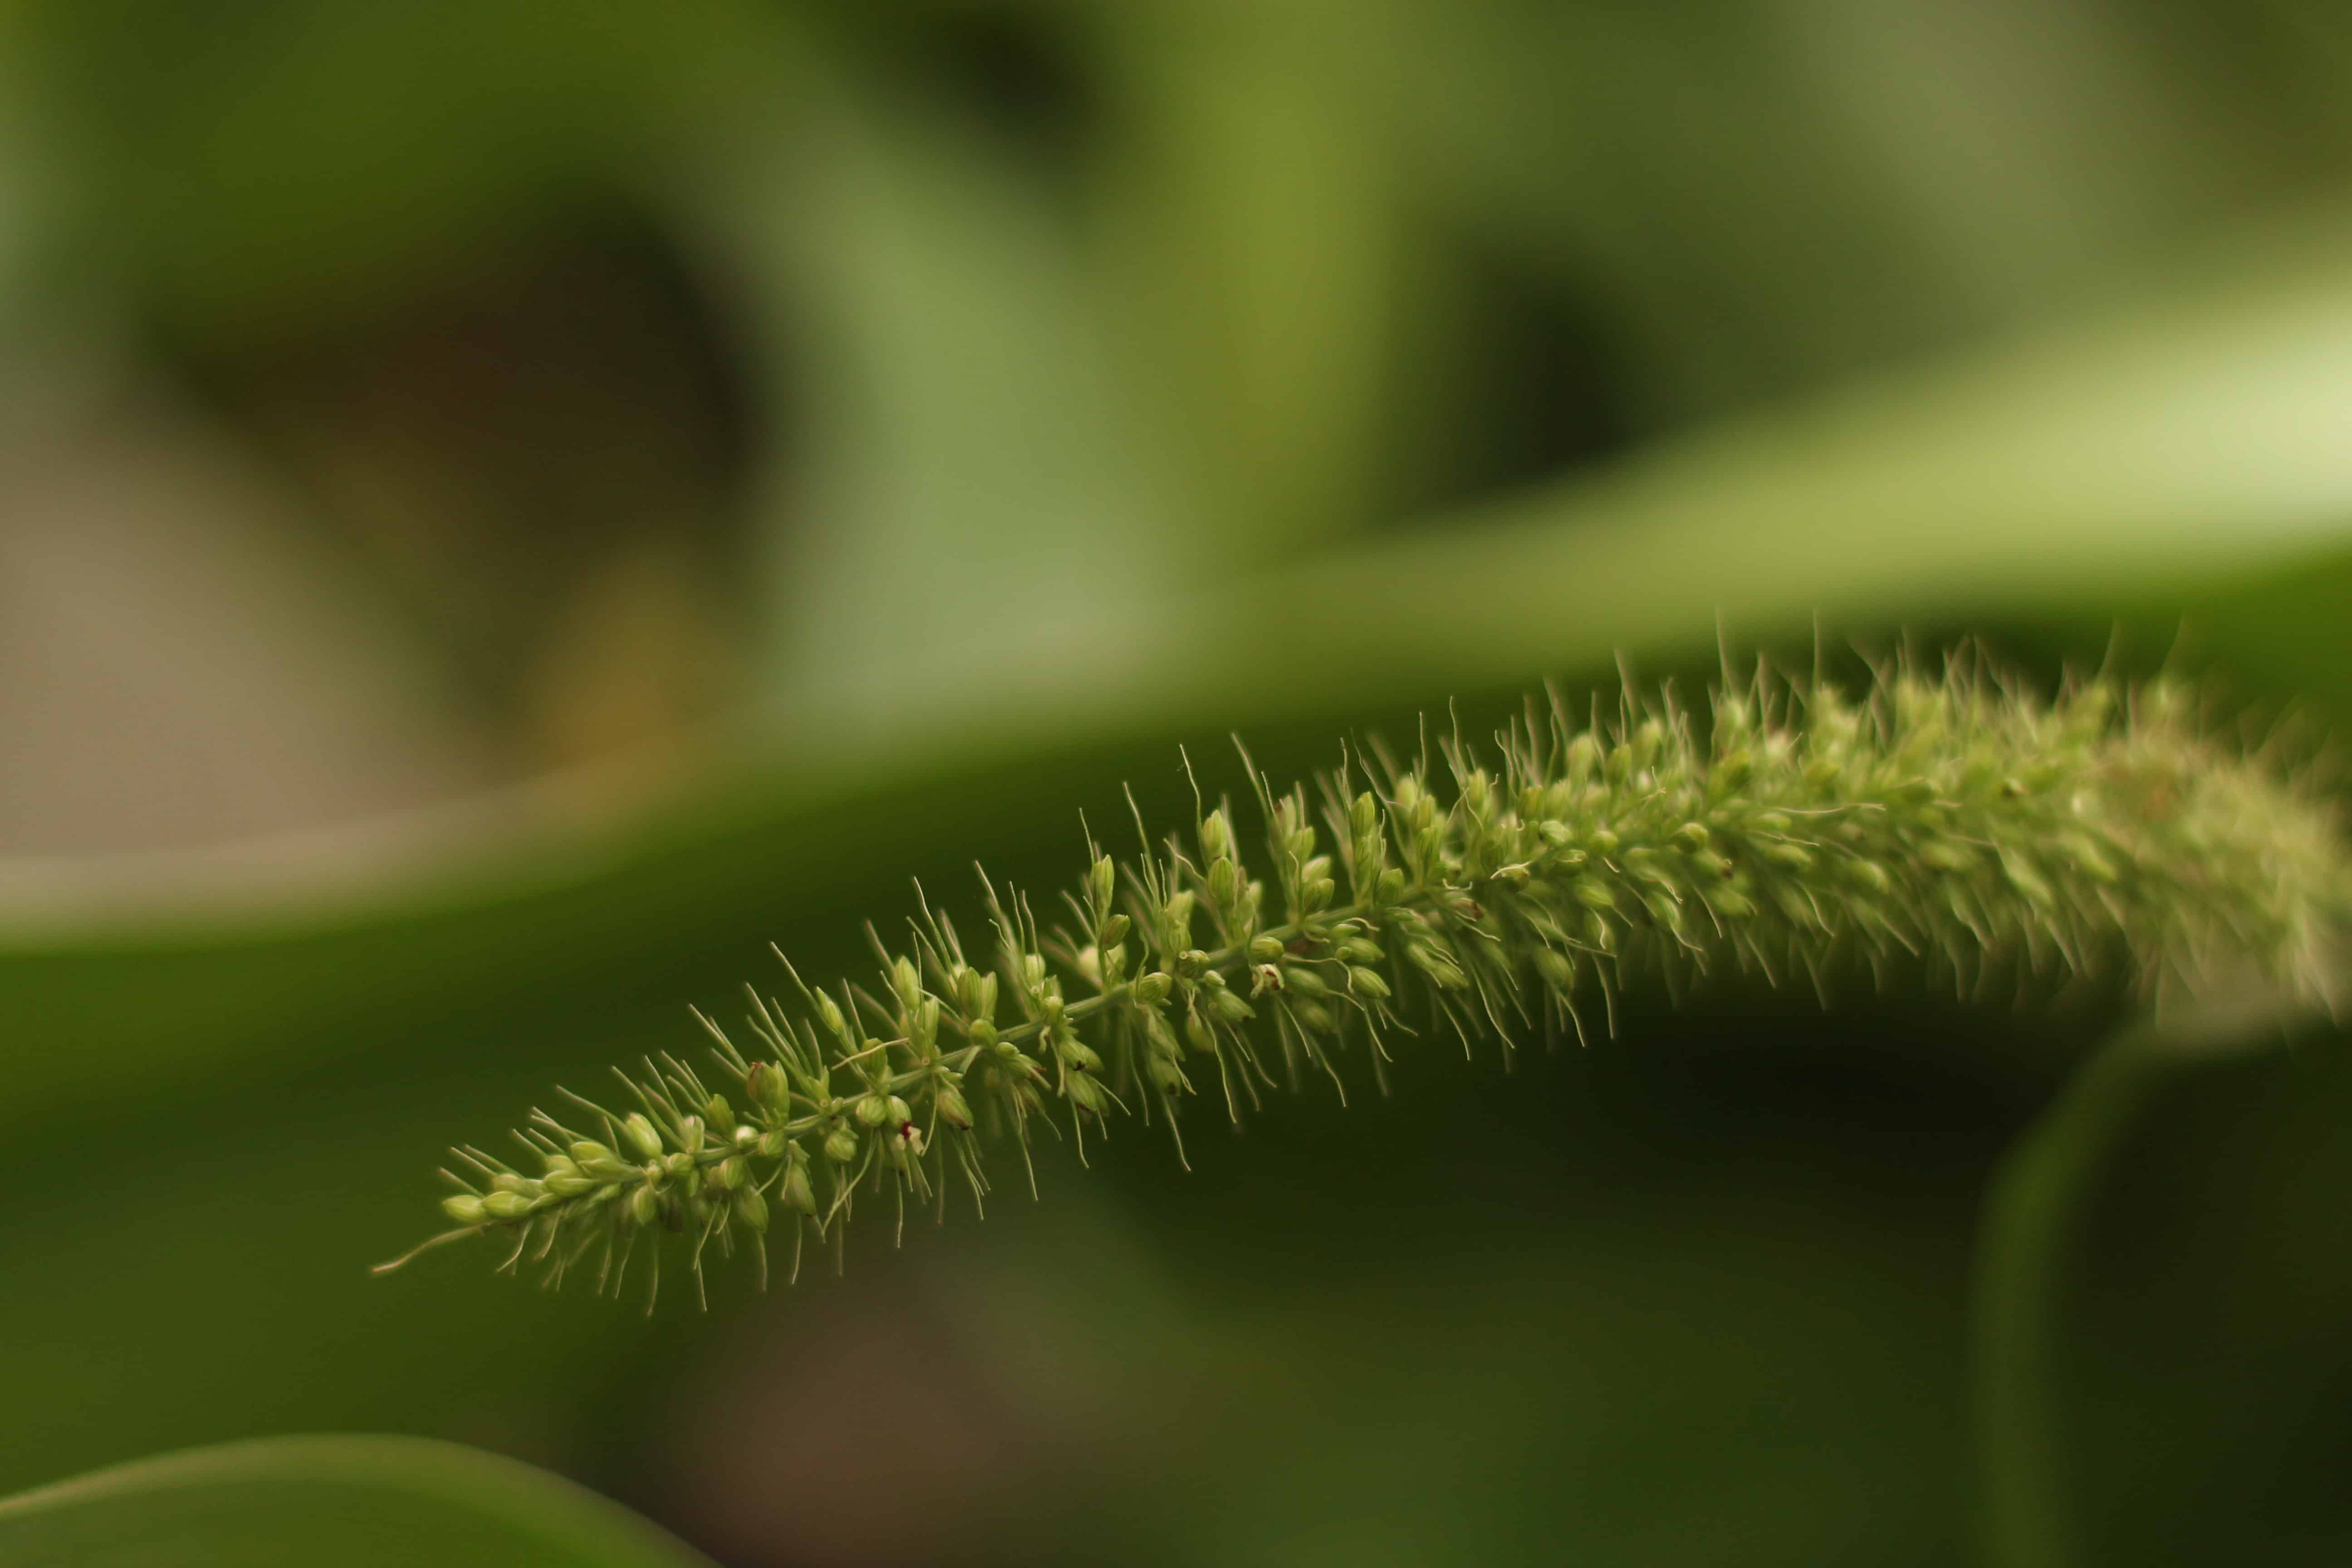
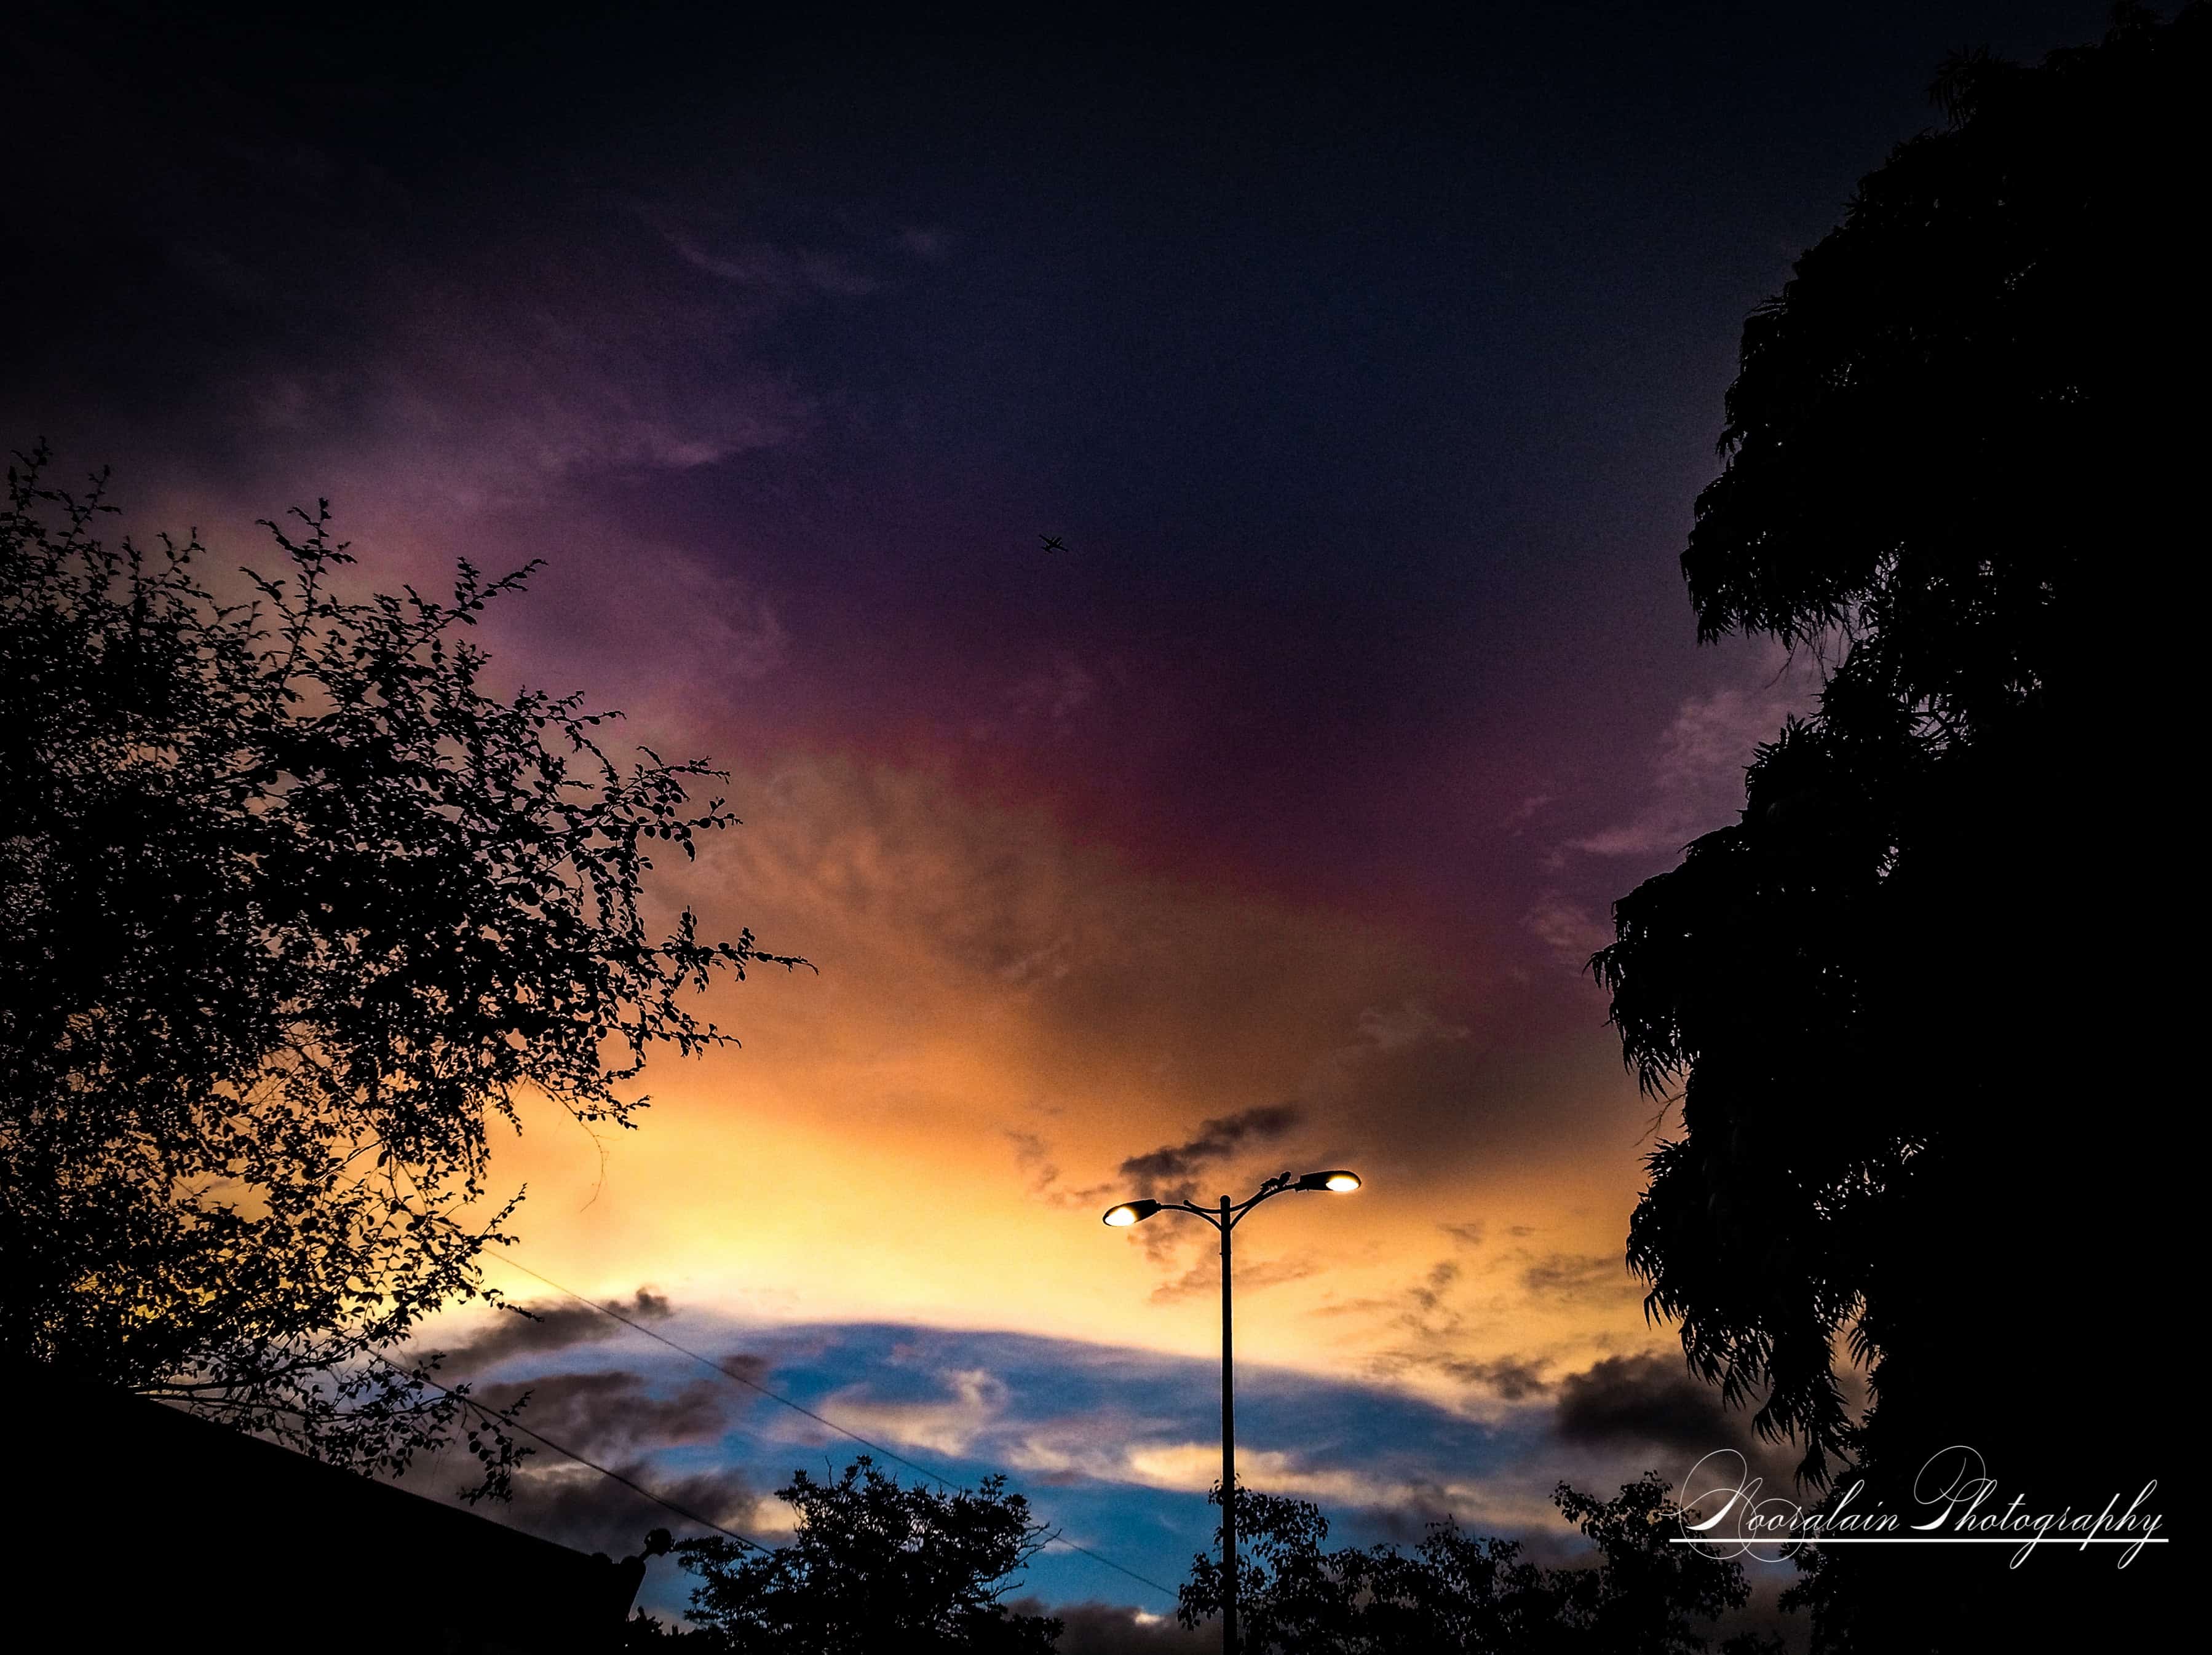
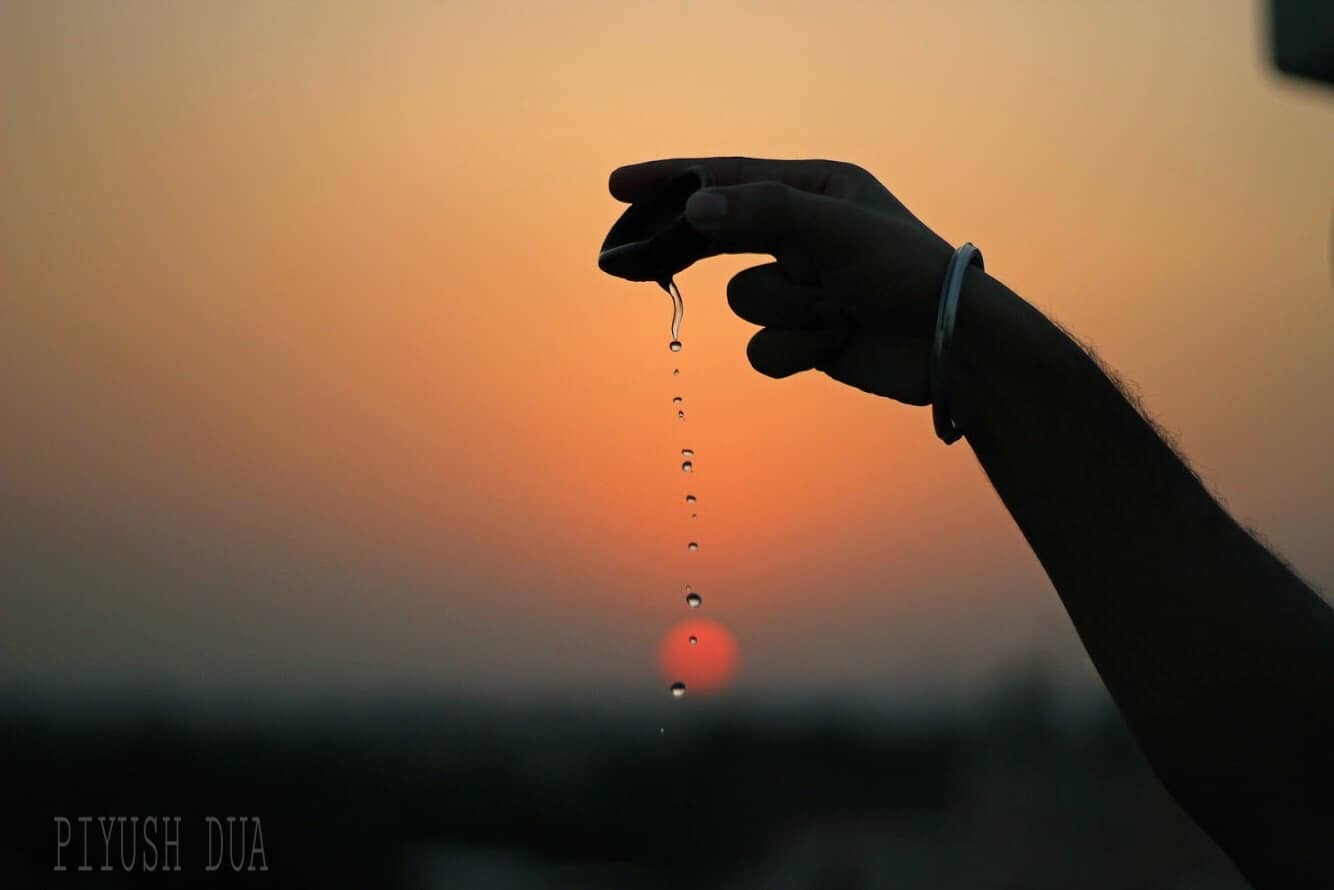
This picture was clicked in large aperture to create shallow depth of field, and hence the image is brighter. (Image Credits: Surabhi Khare for DU Beat)

 Aperture2_SurabhiKhare
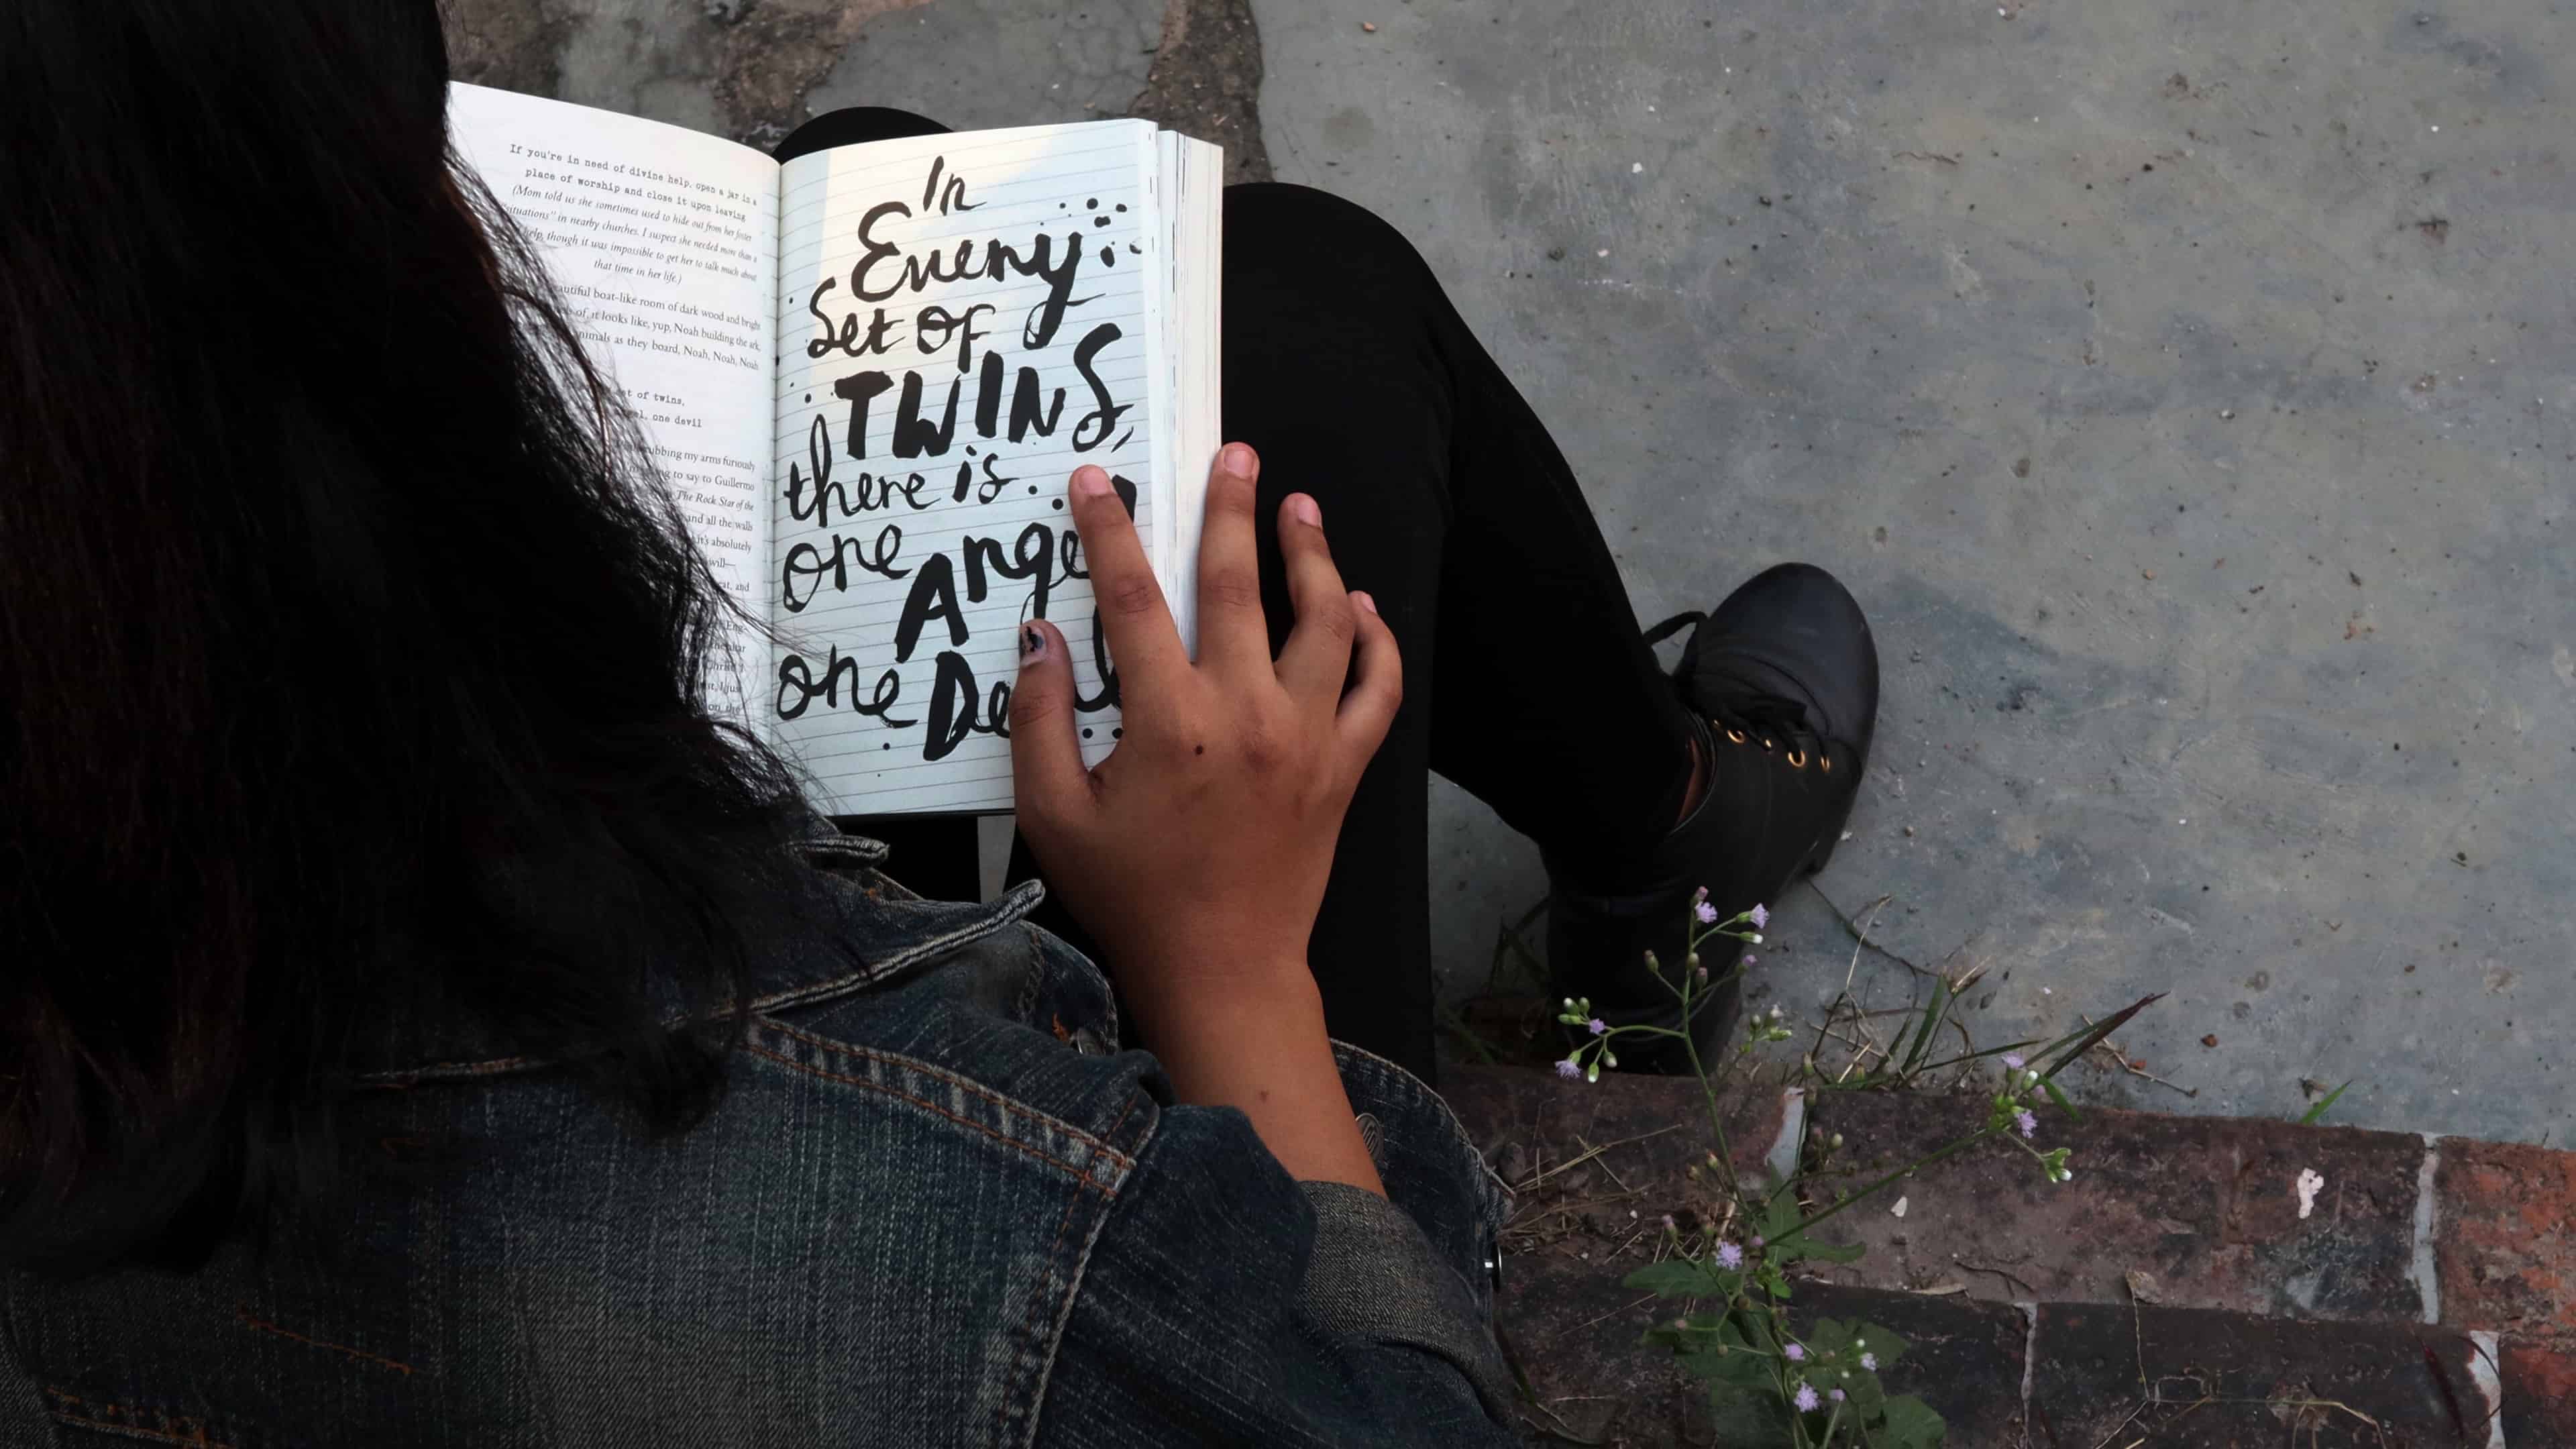
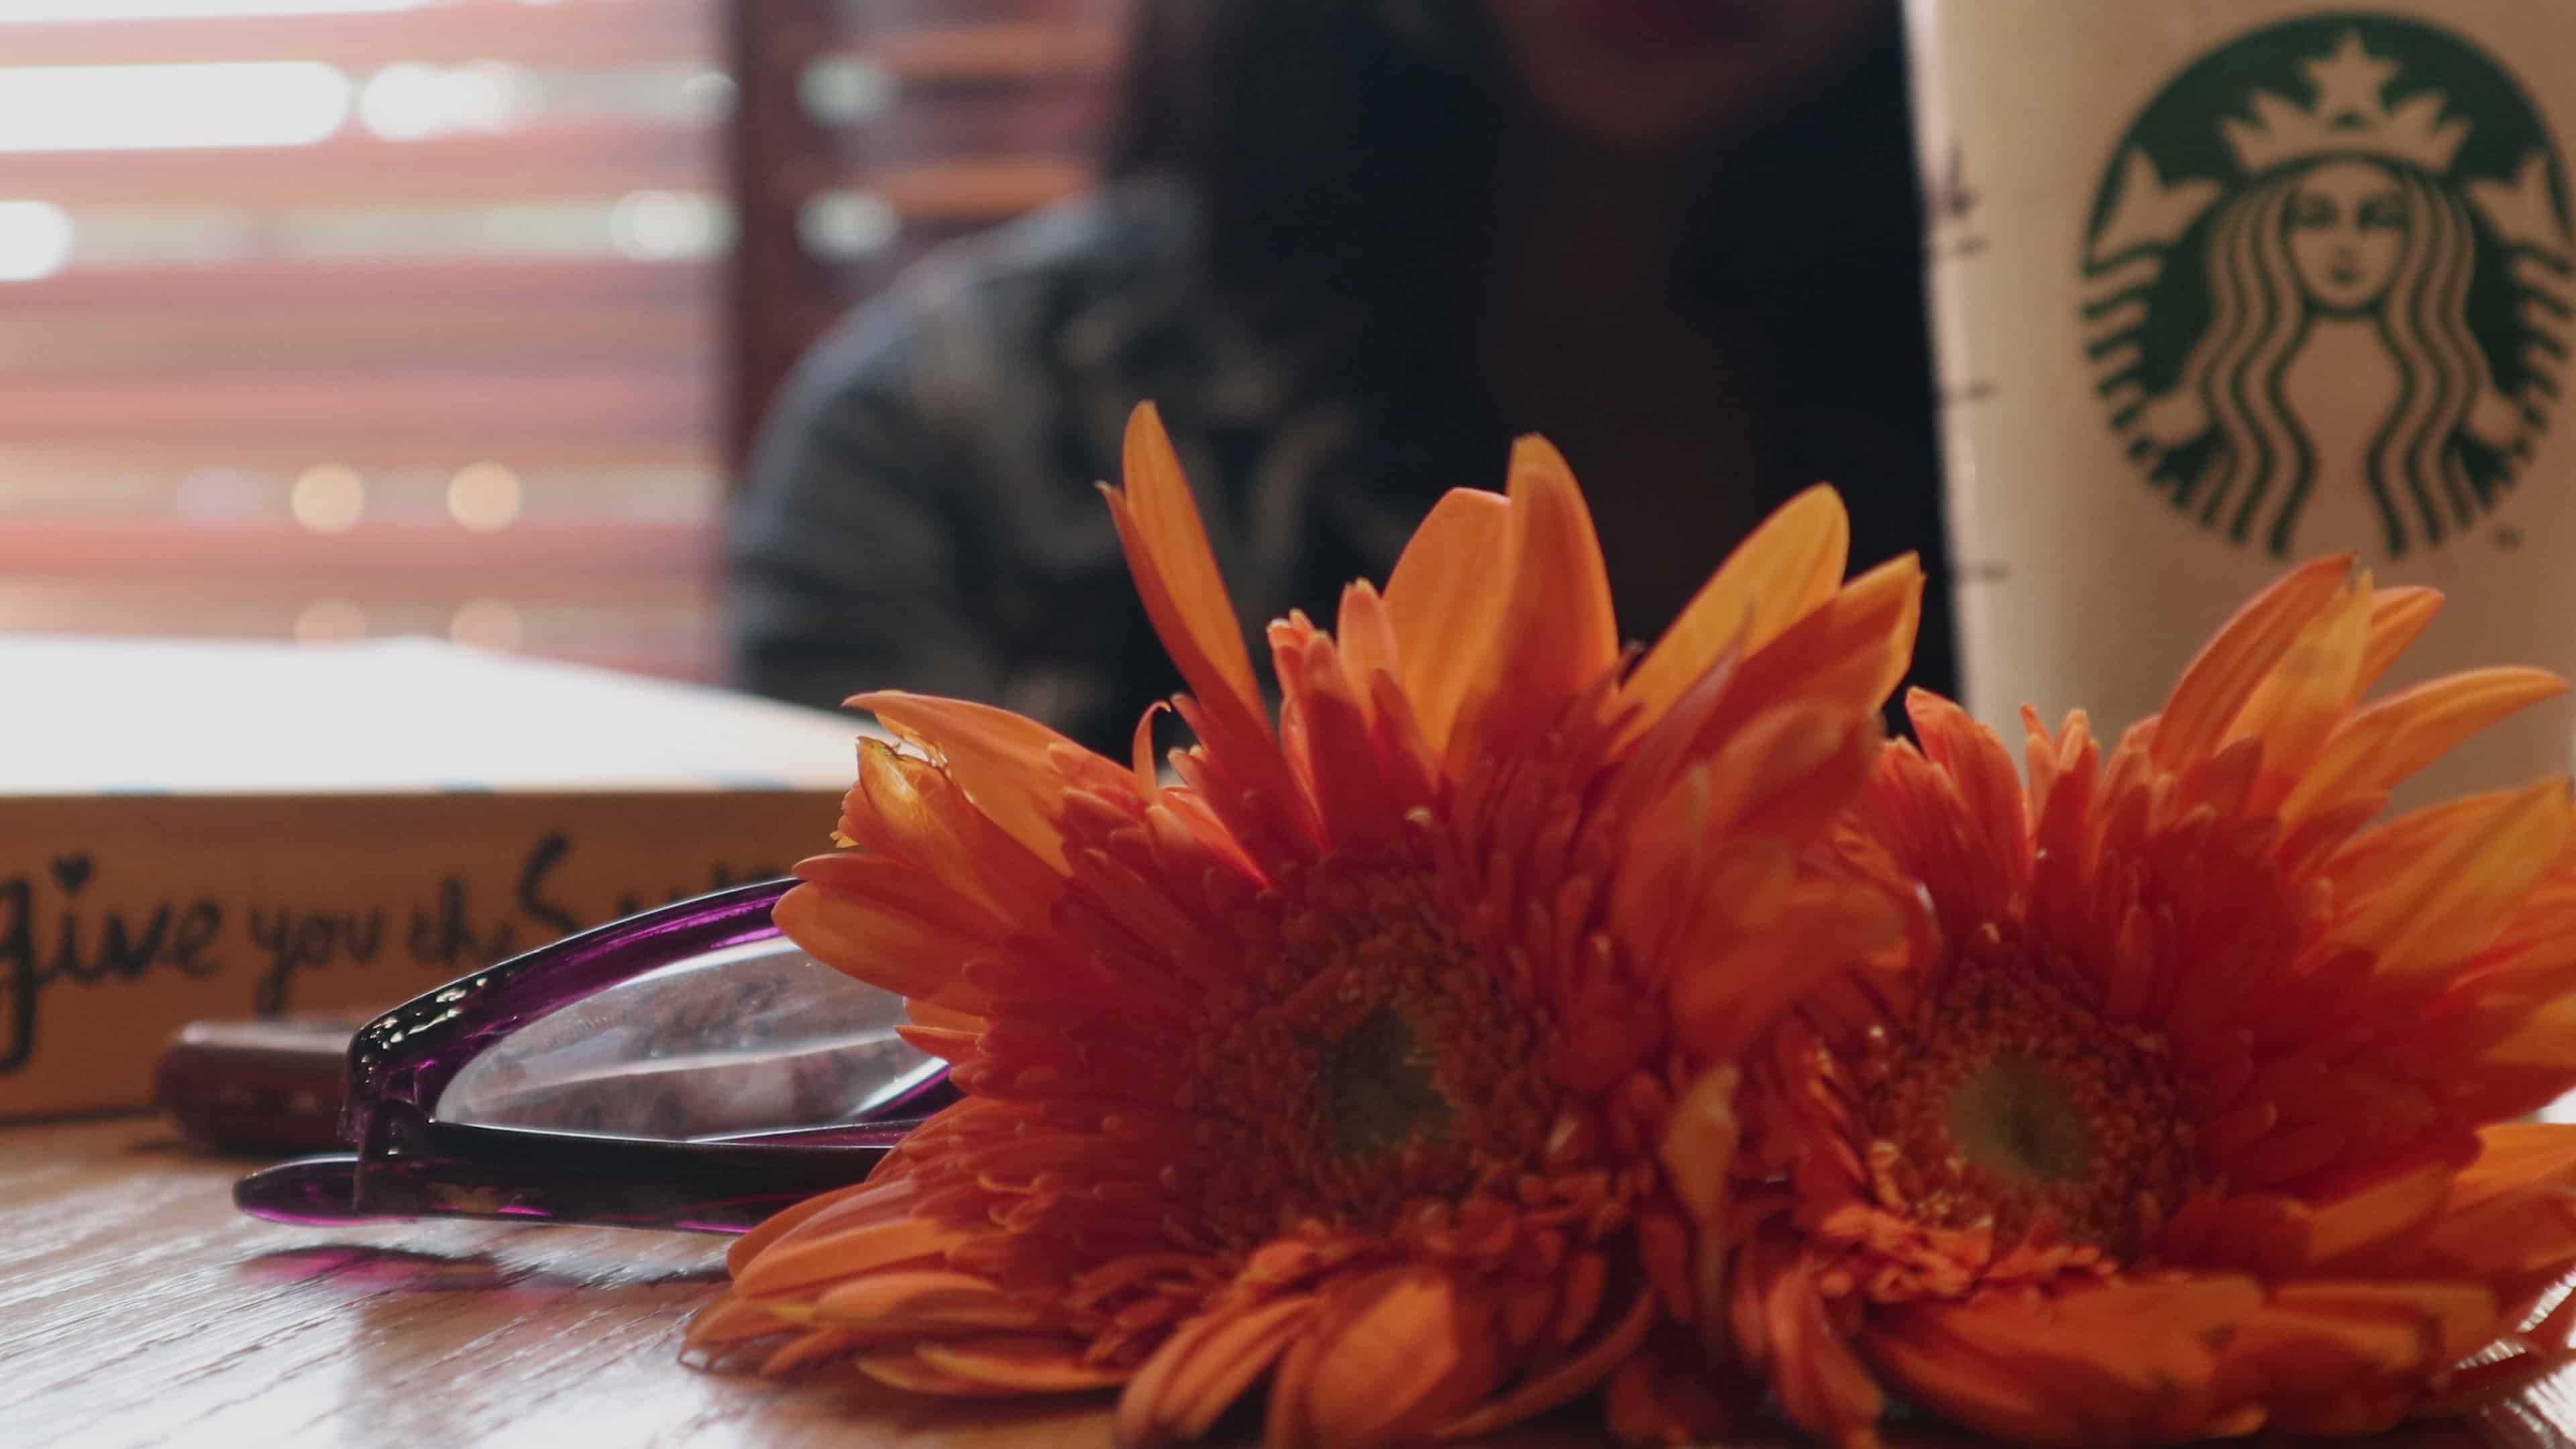
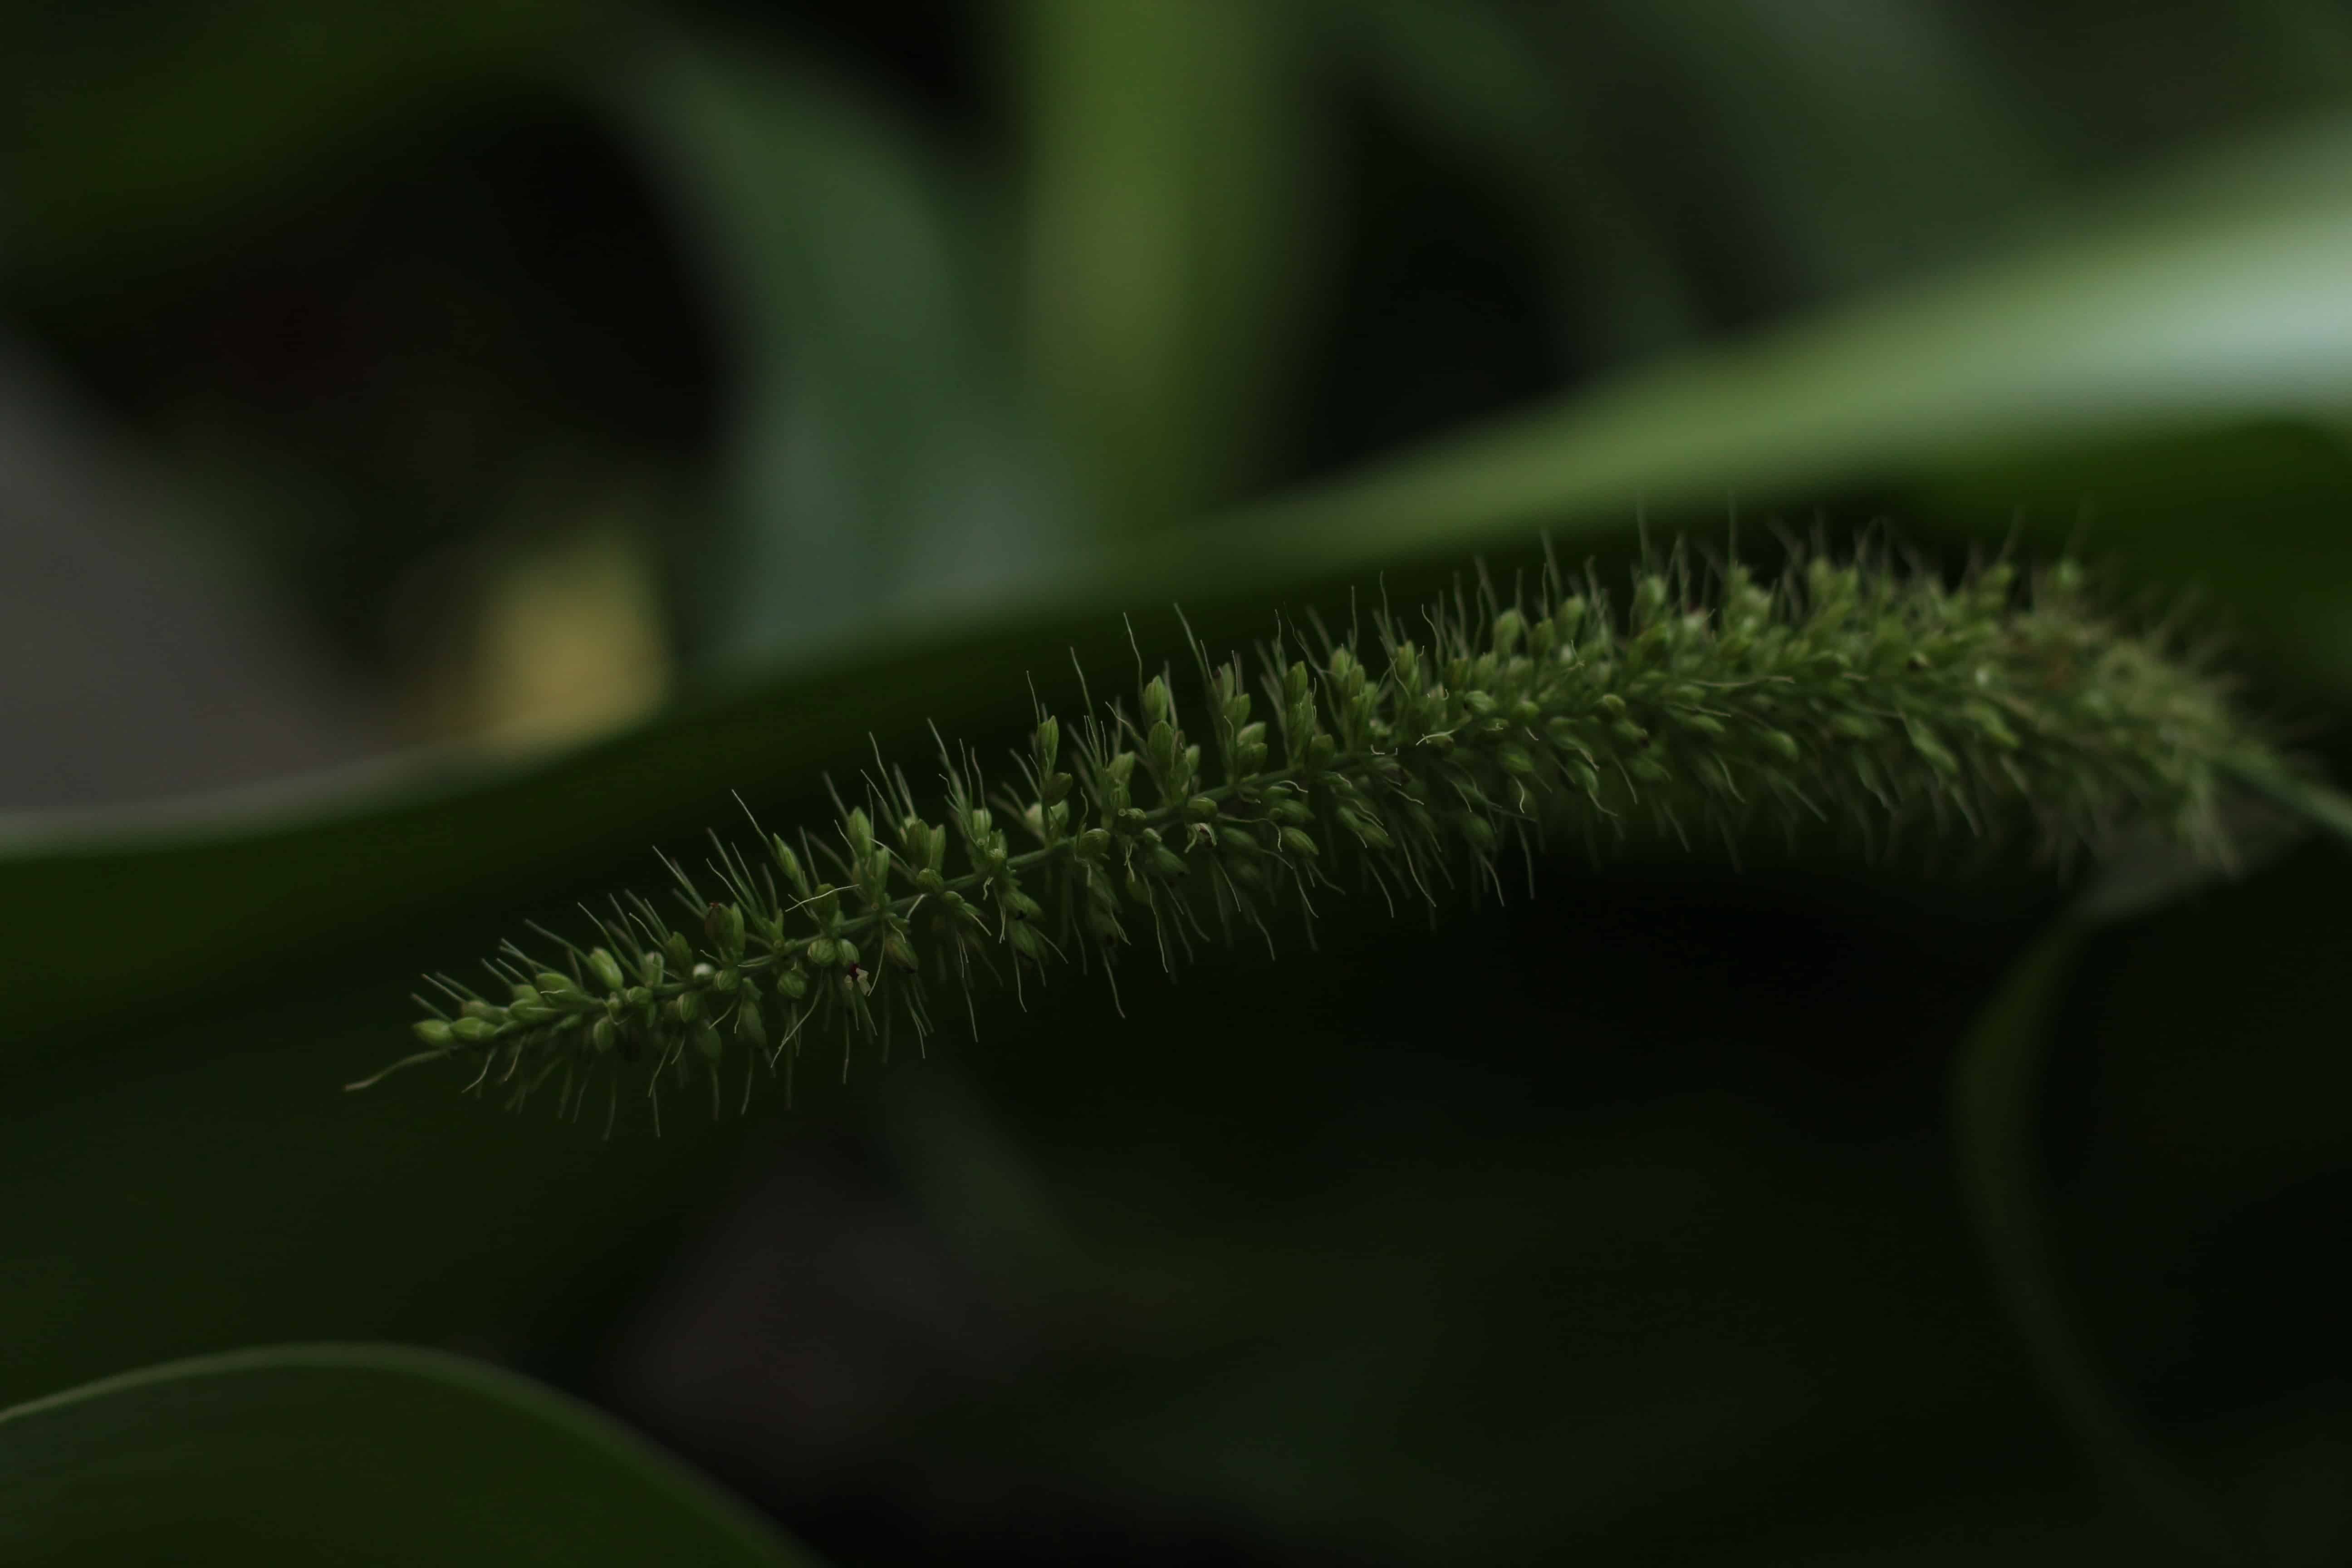
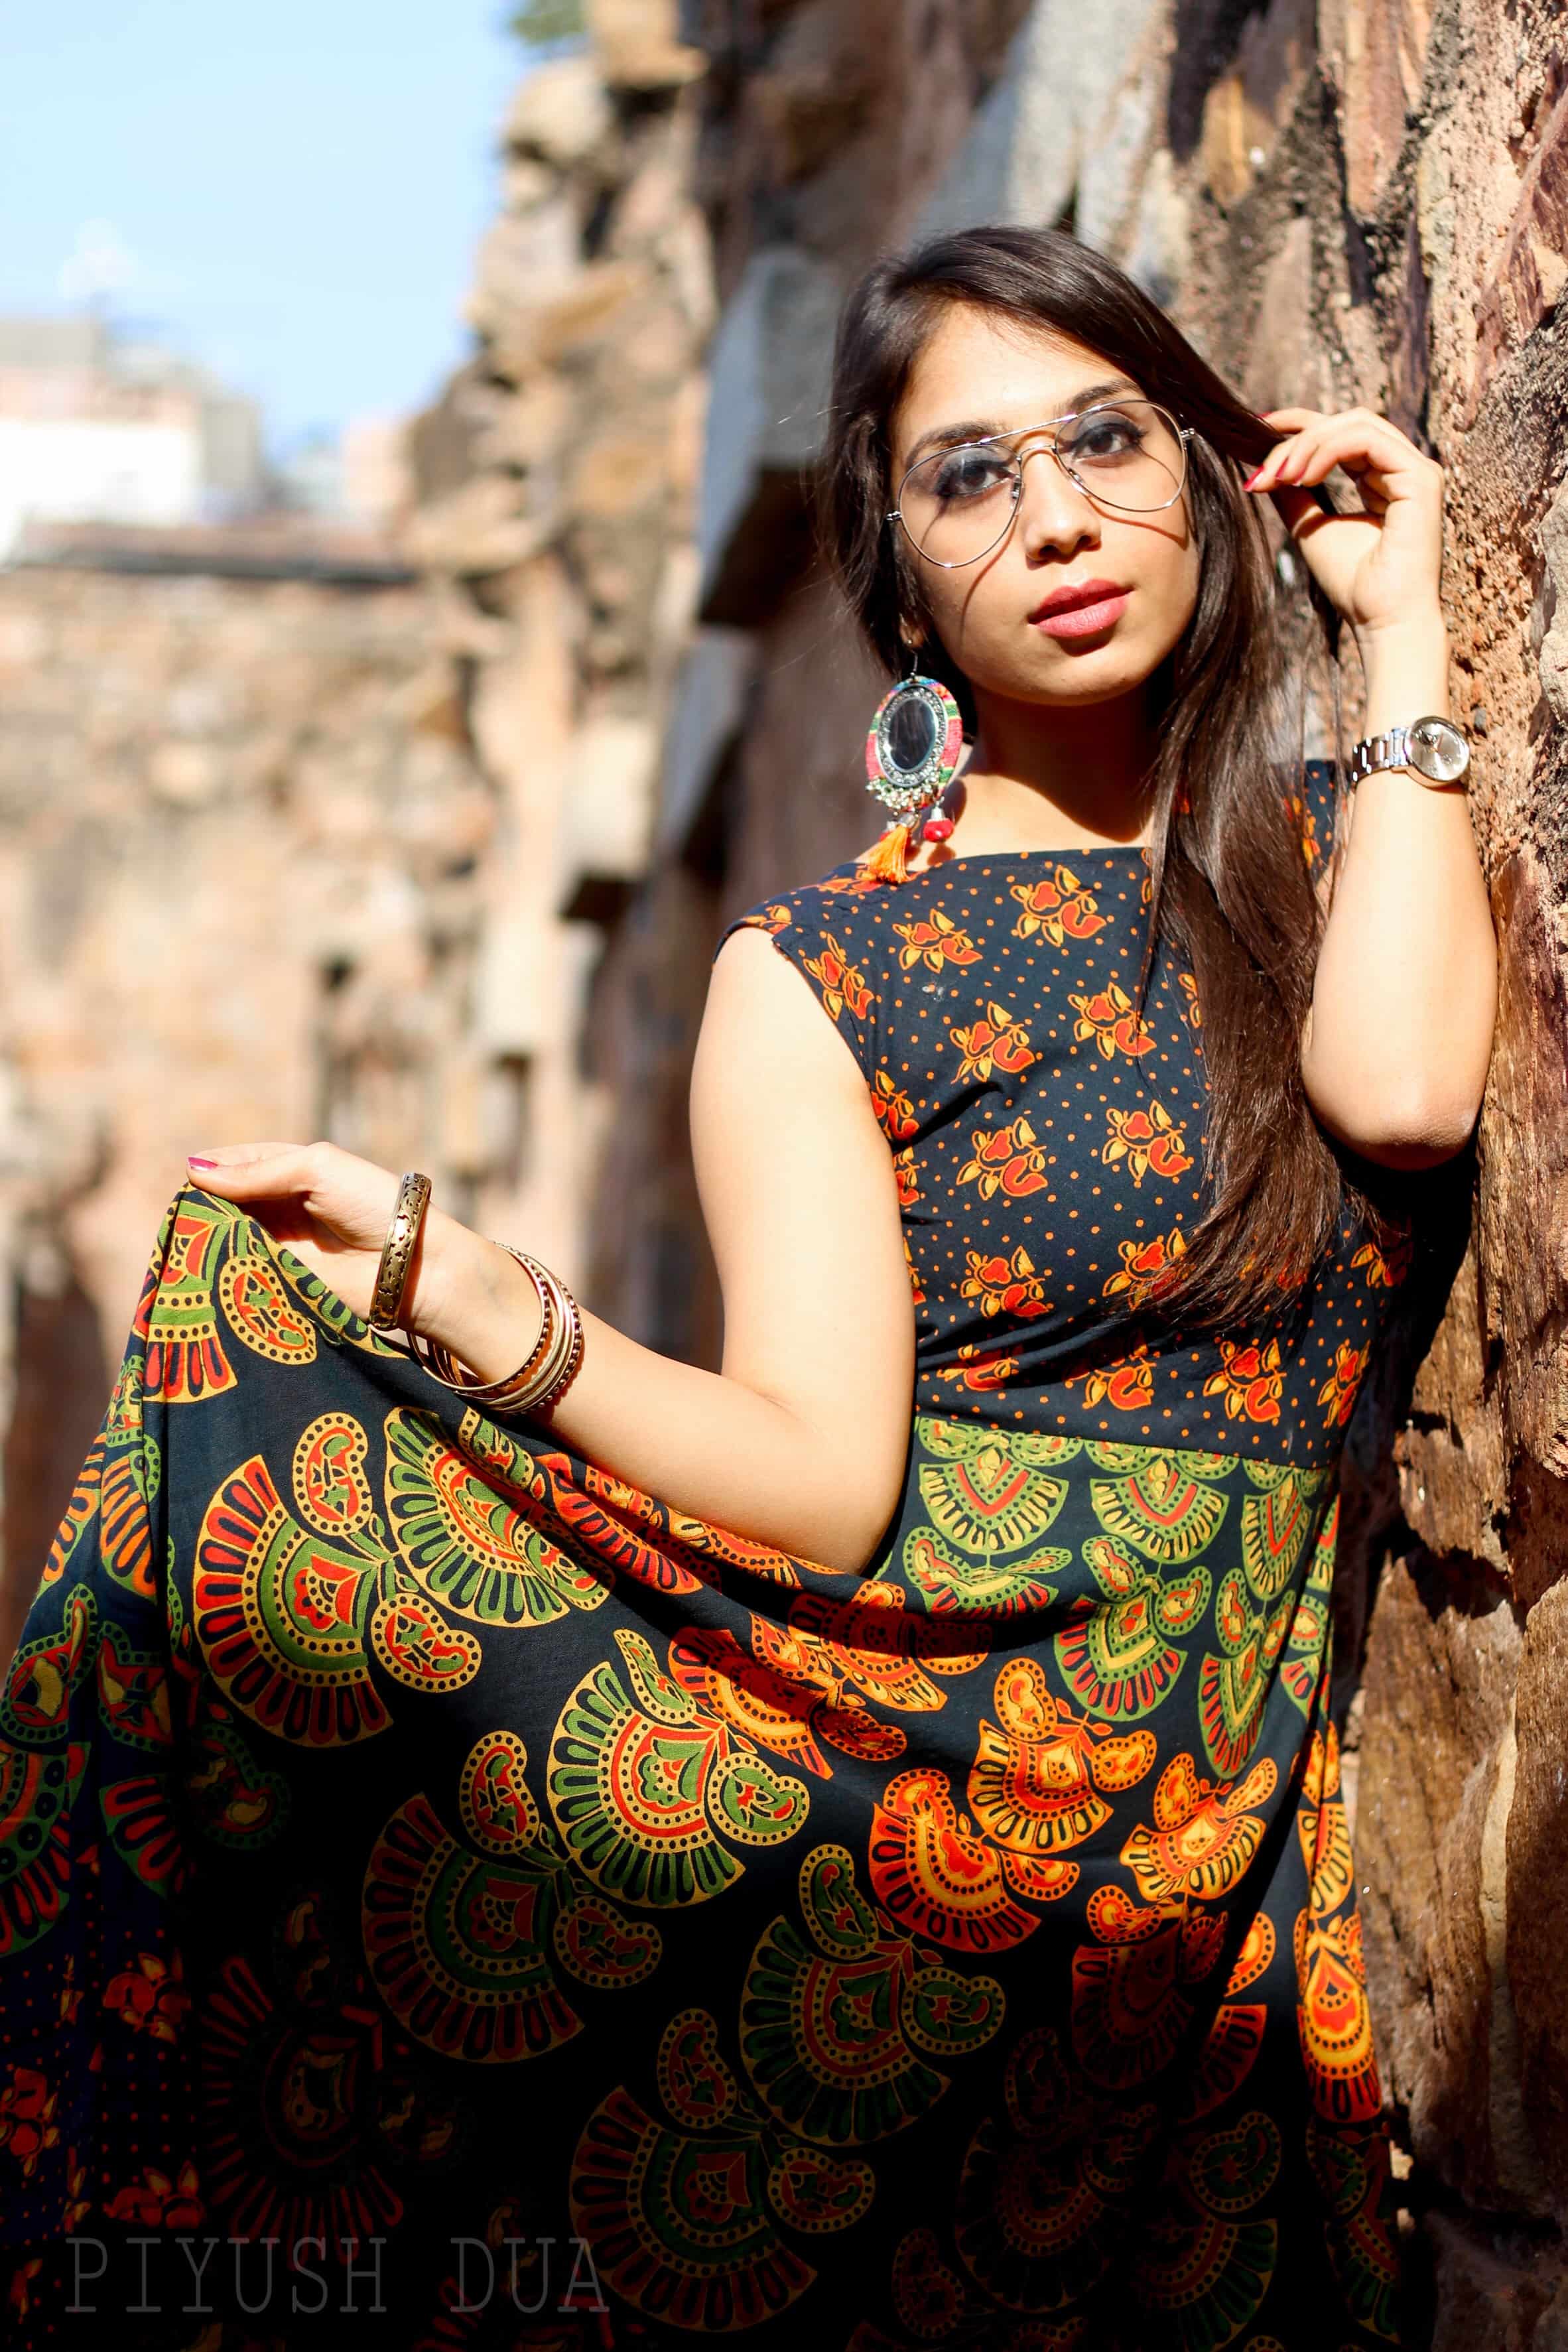
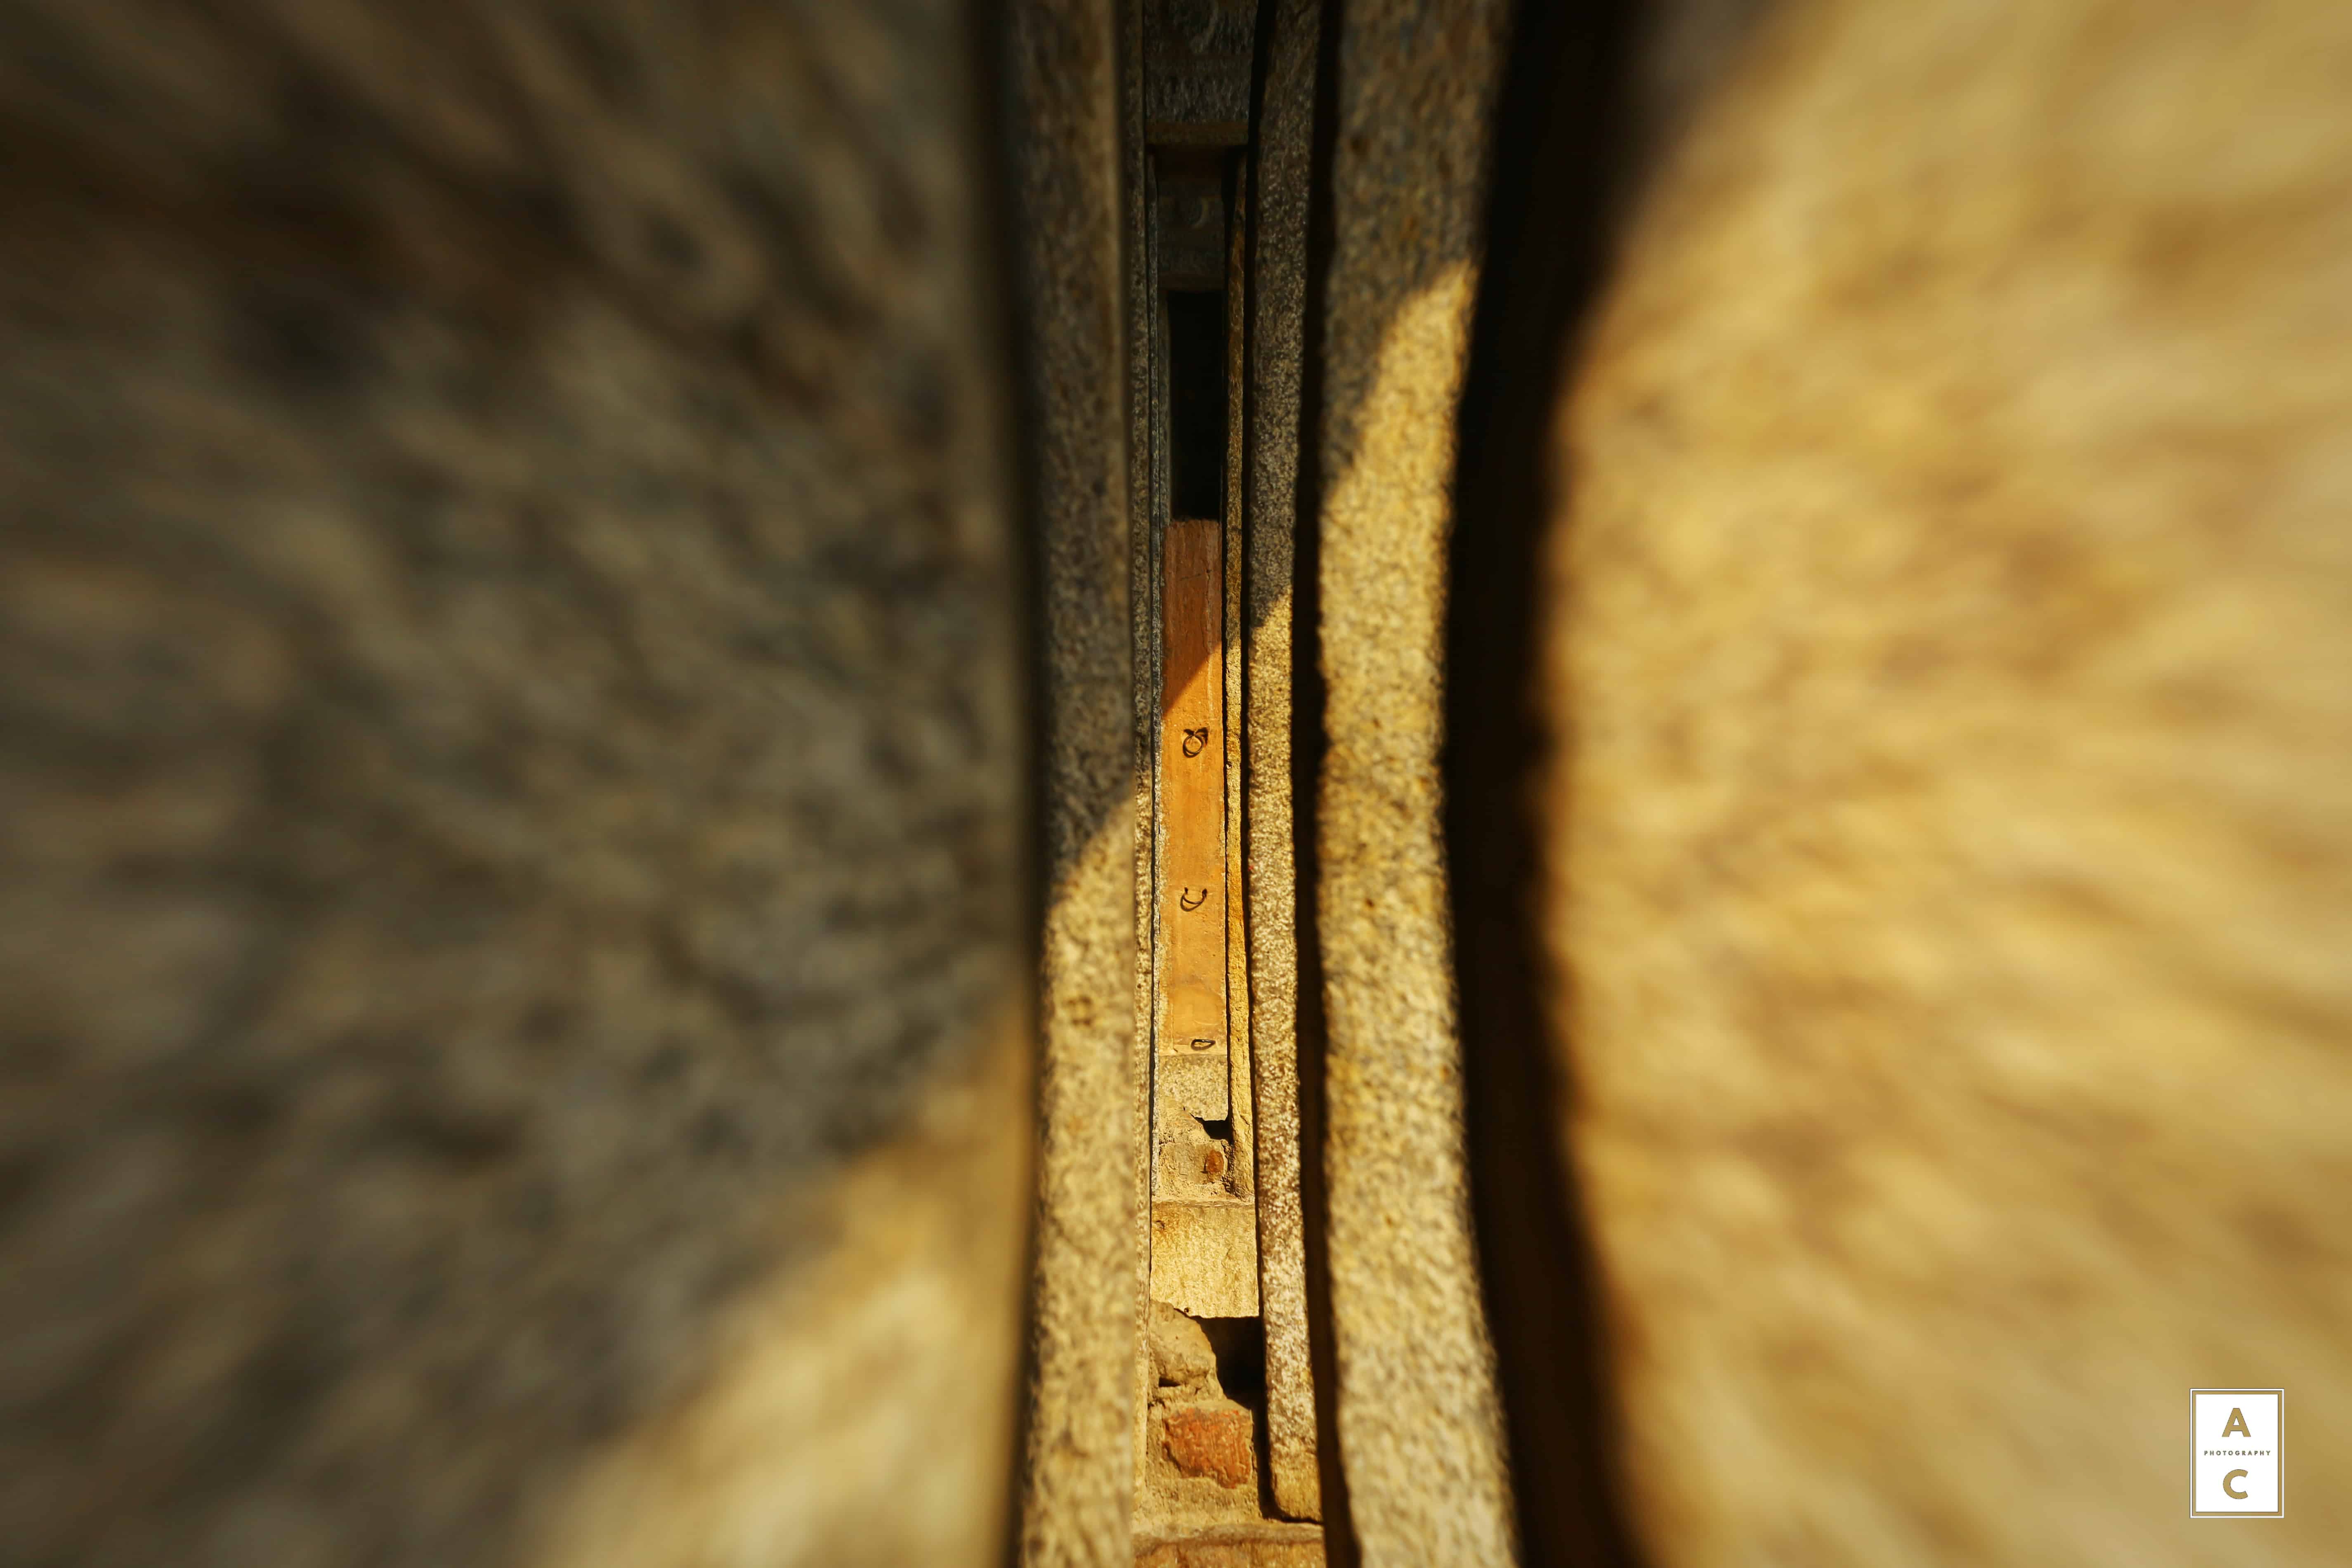
The same picture, when clicked in smaller aperture, results in less background blur and the image is not bright enough. (Image Credits: Surabhi Khare for DU Beat)


Shutter Speed:

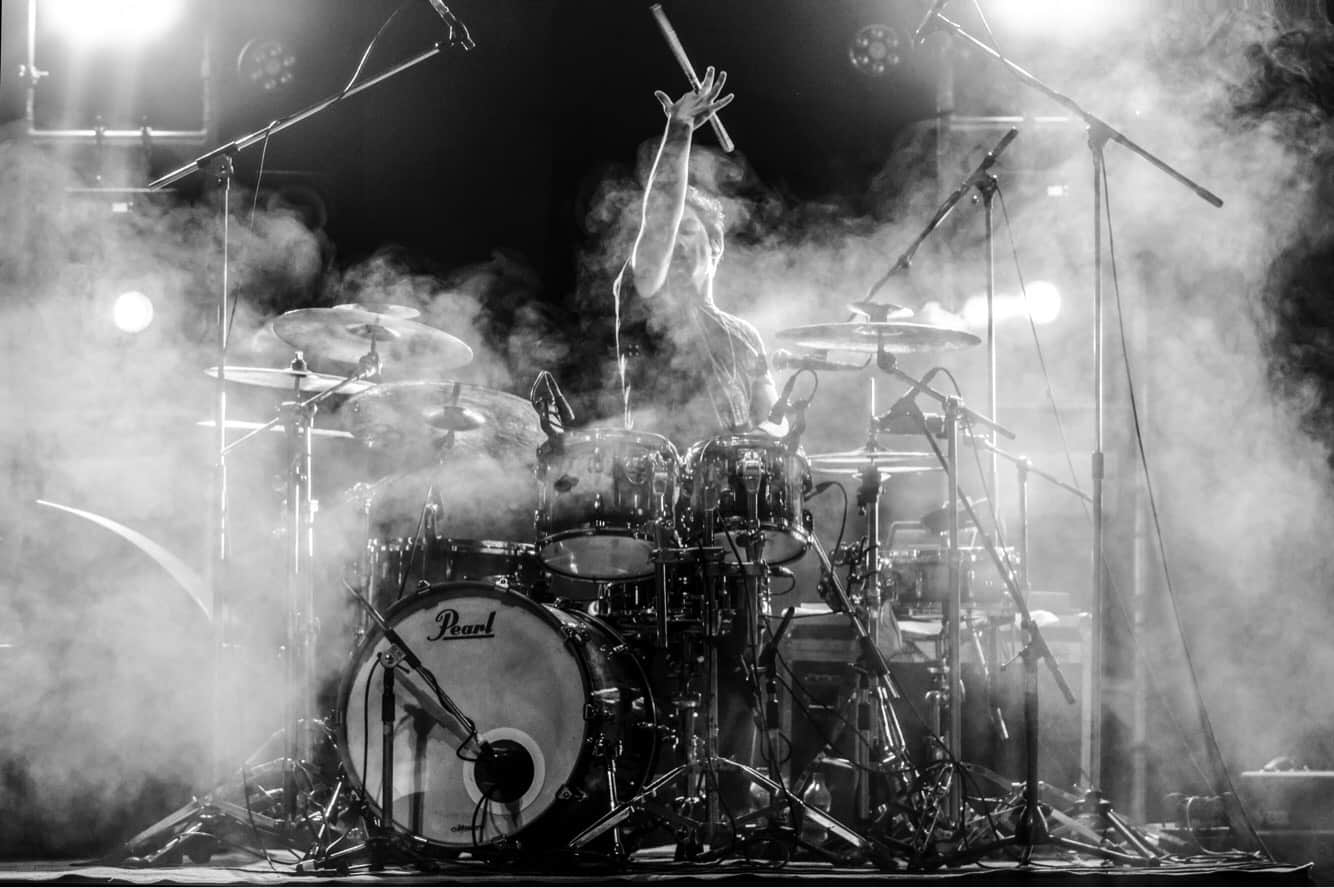
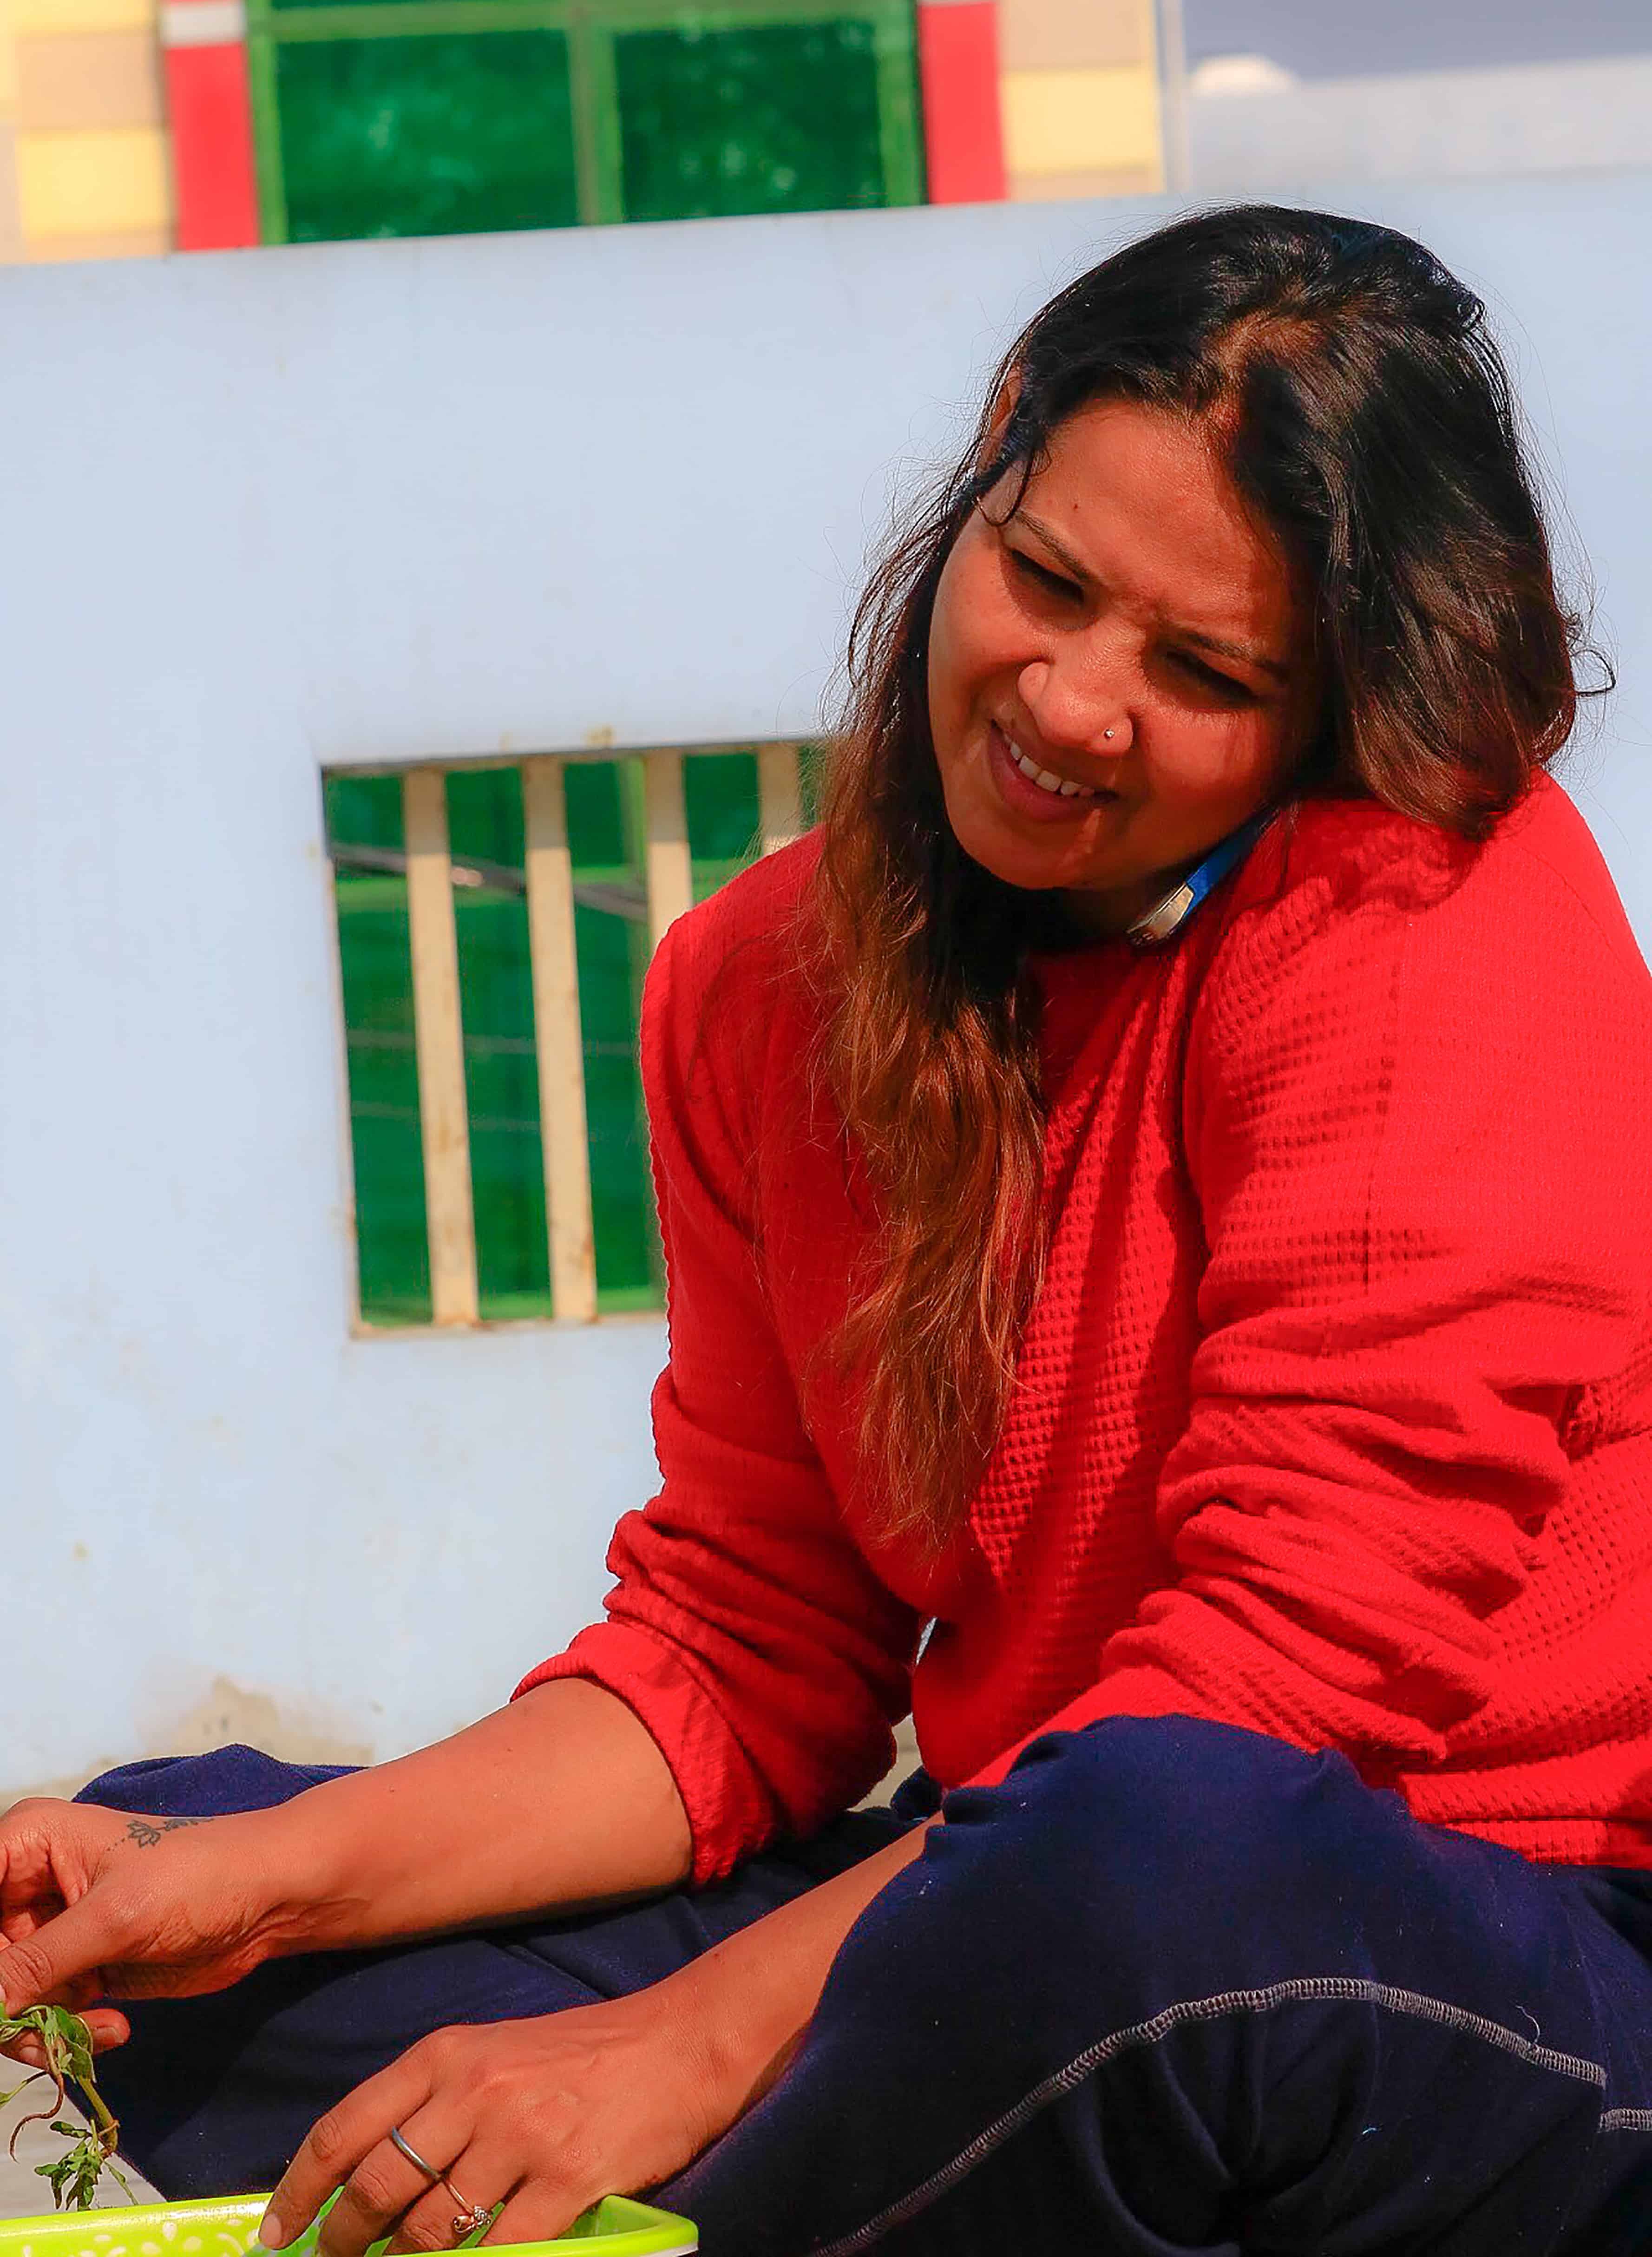
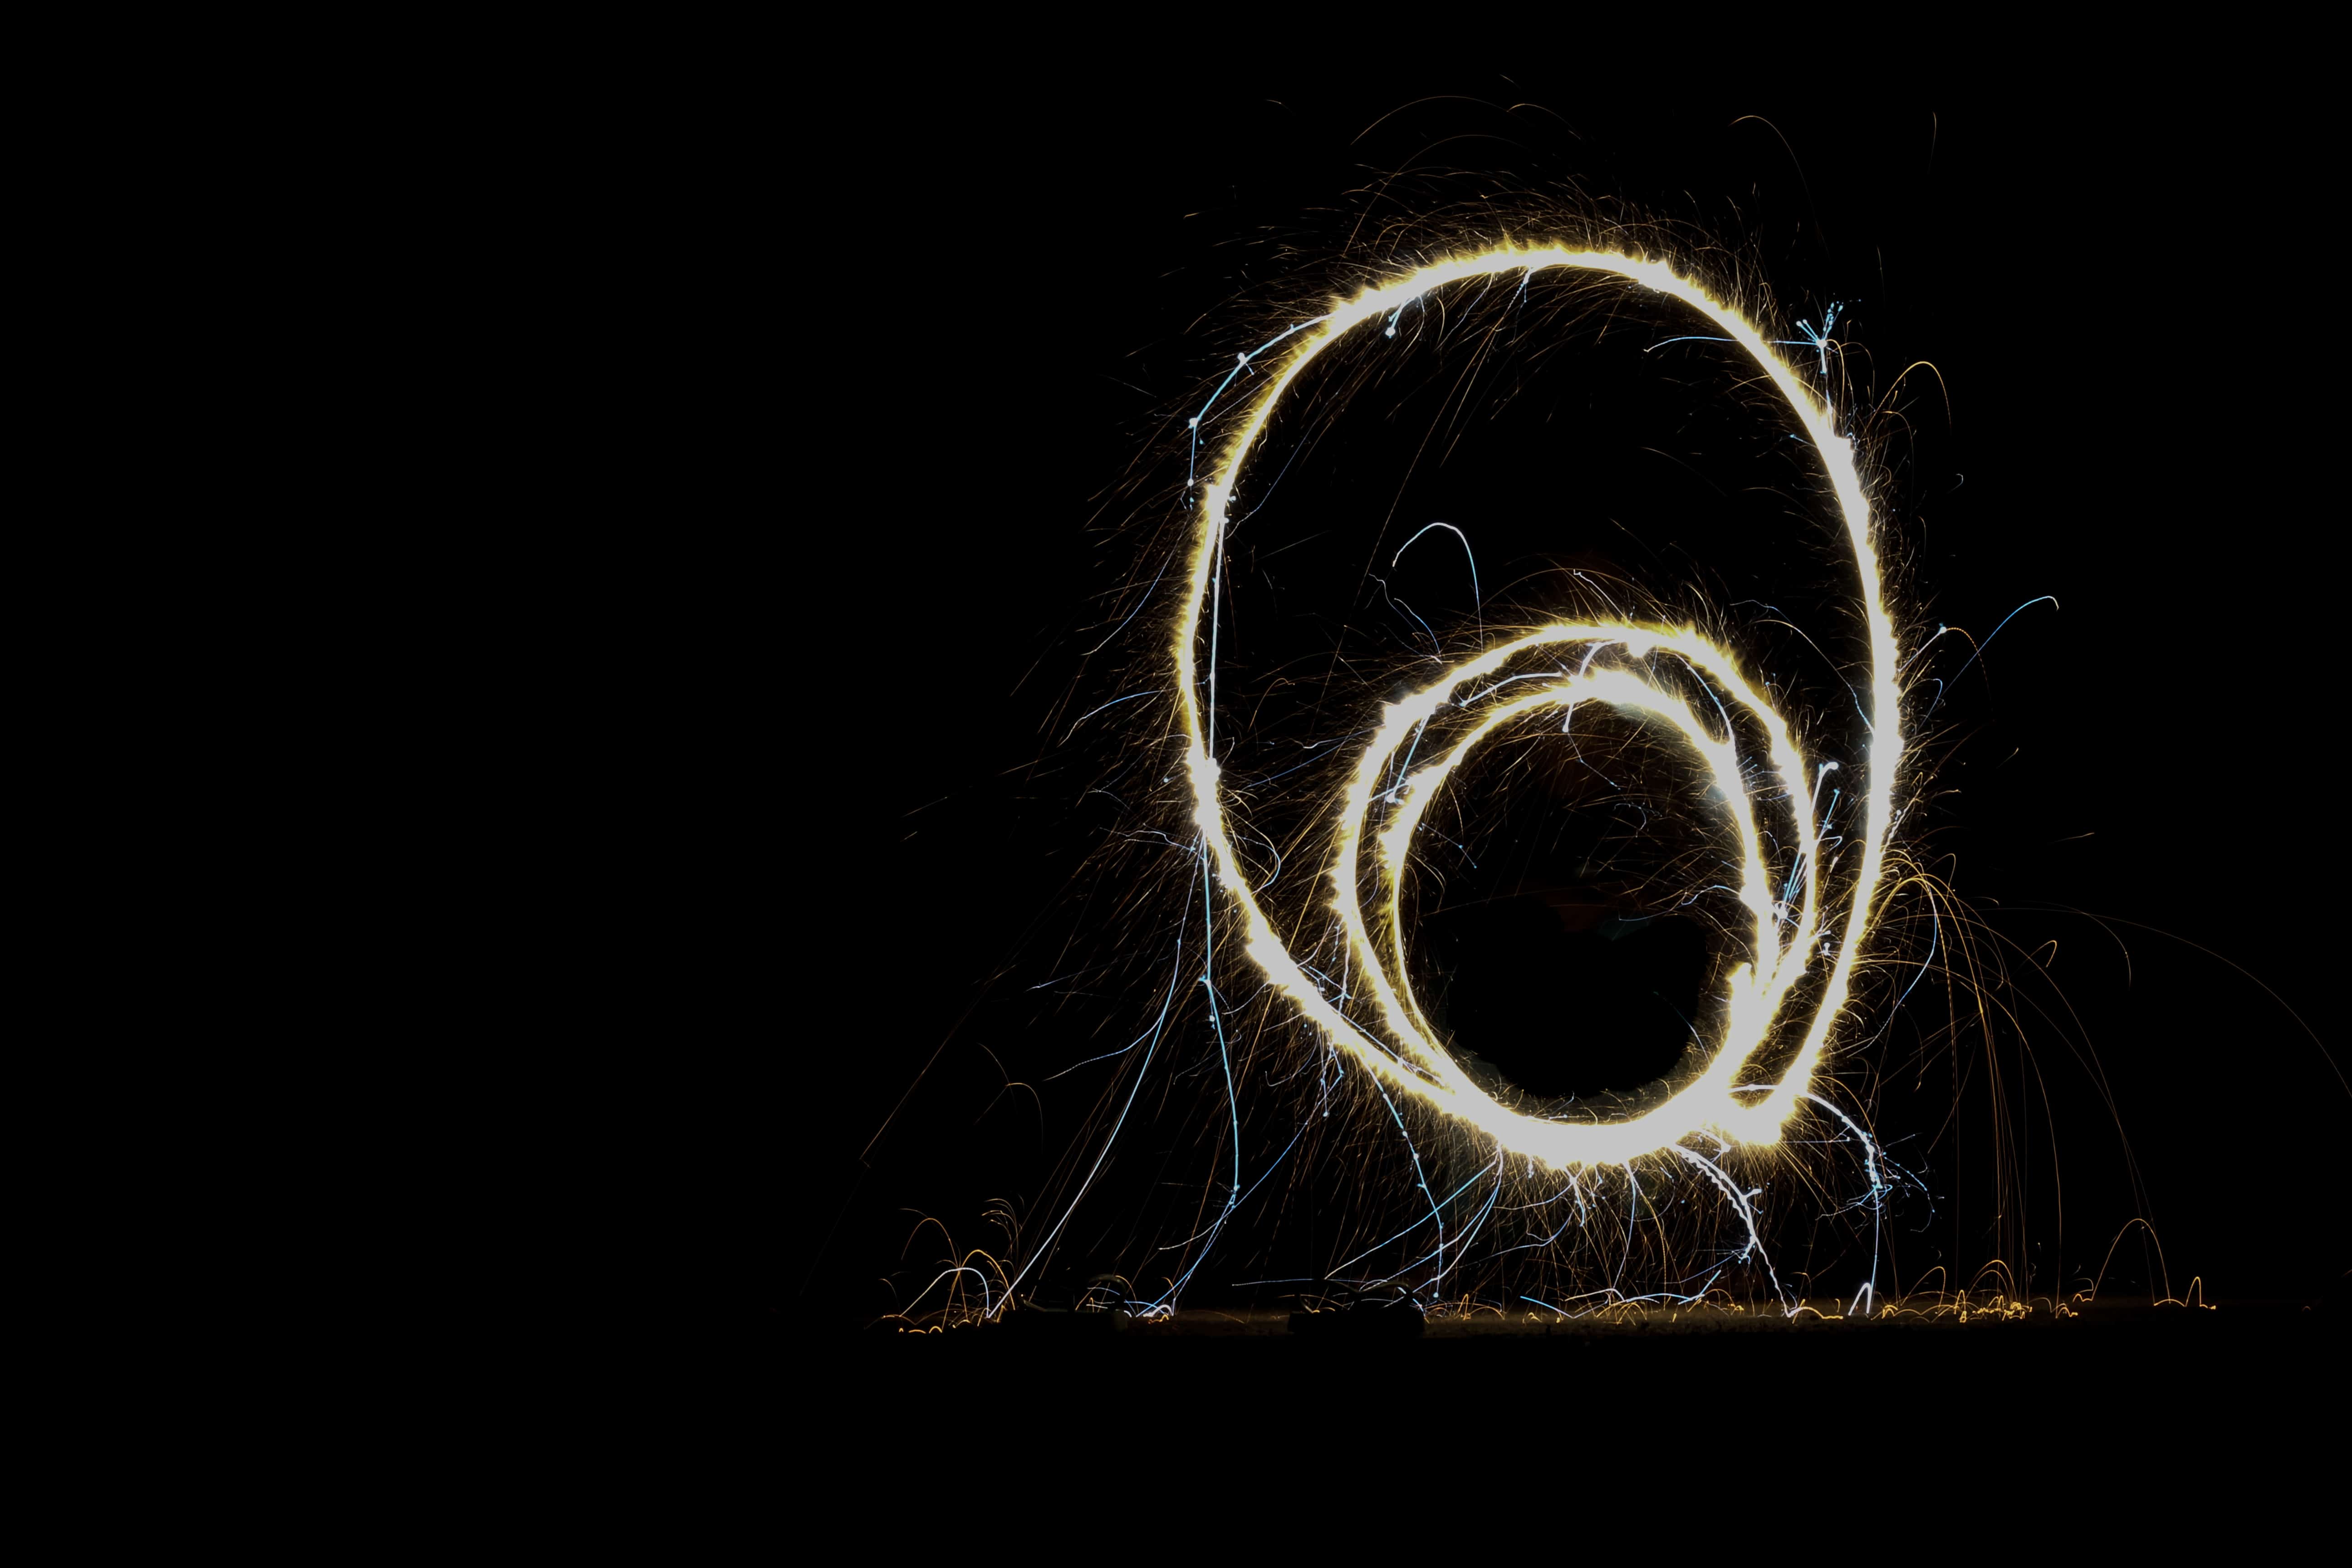
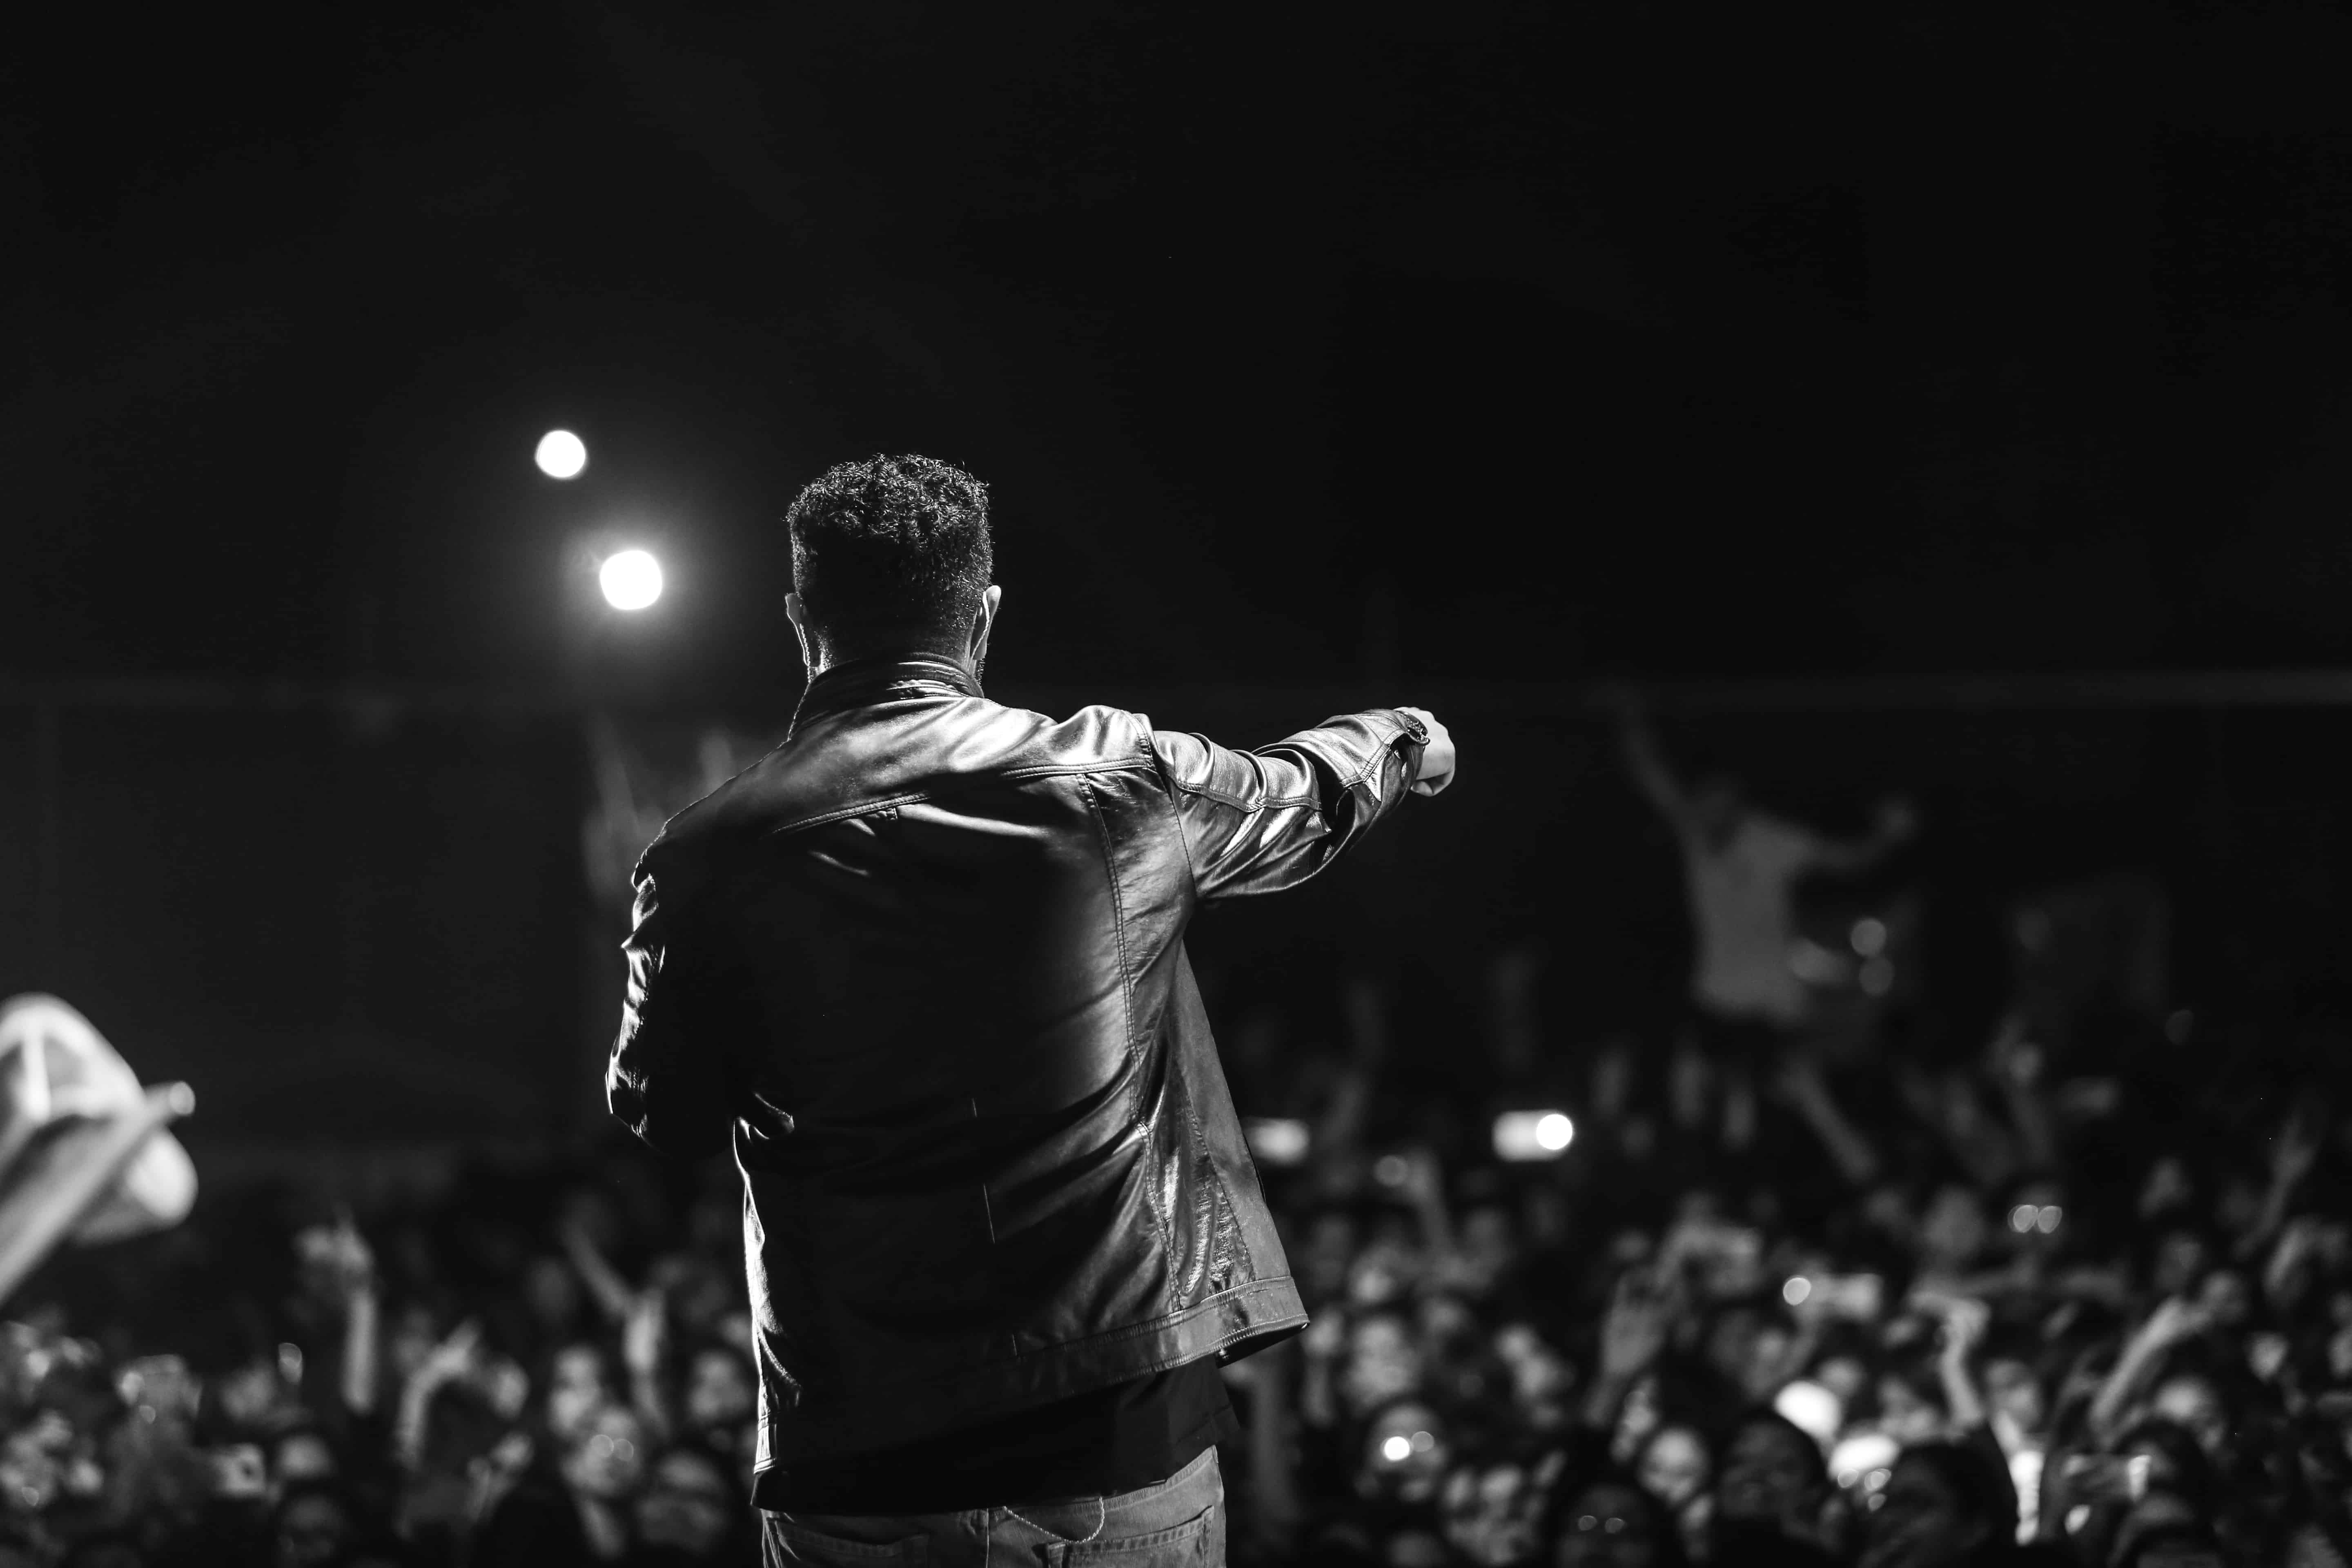
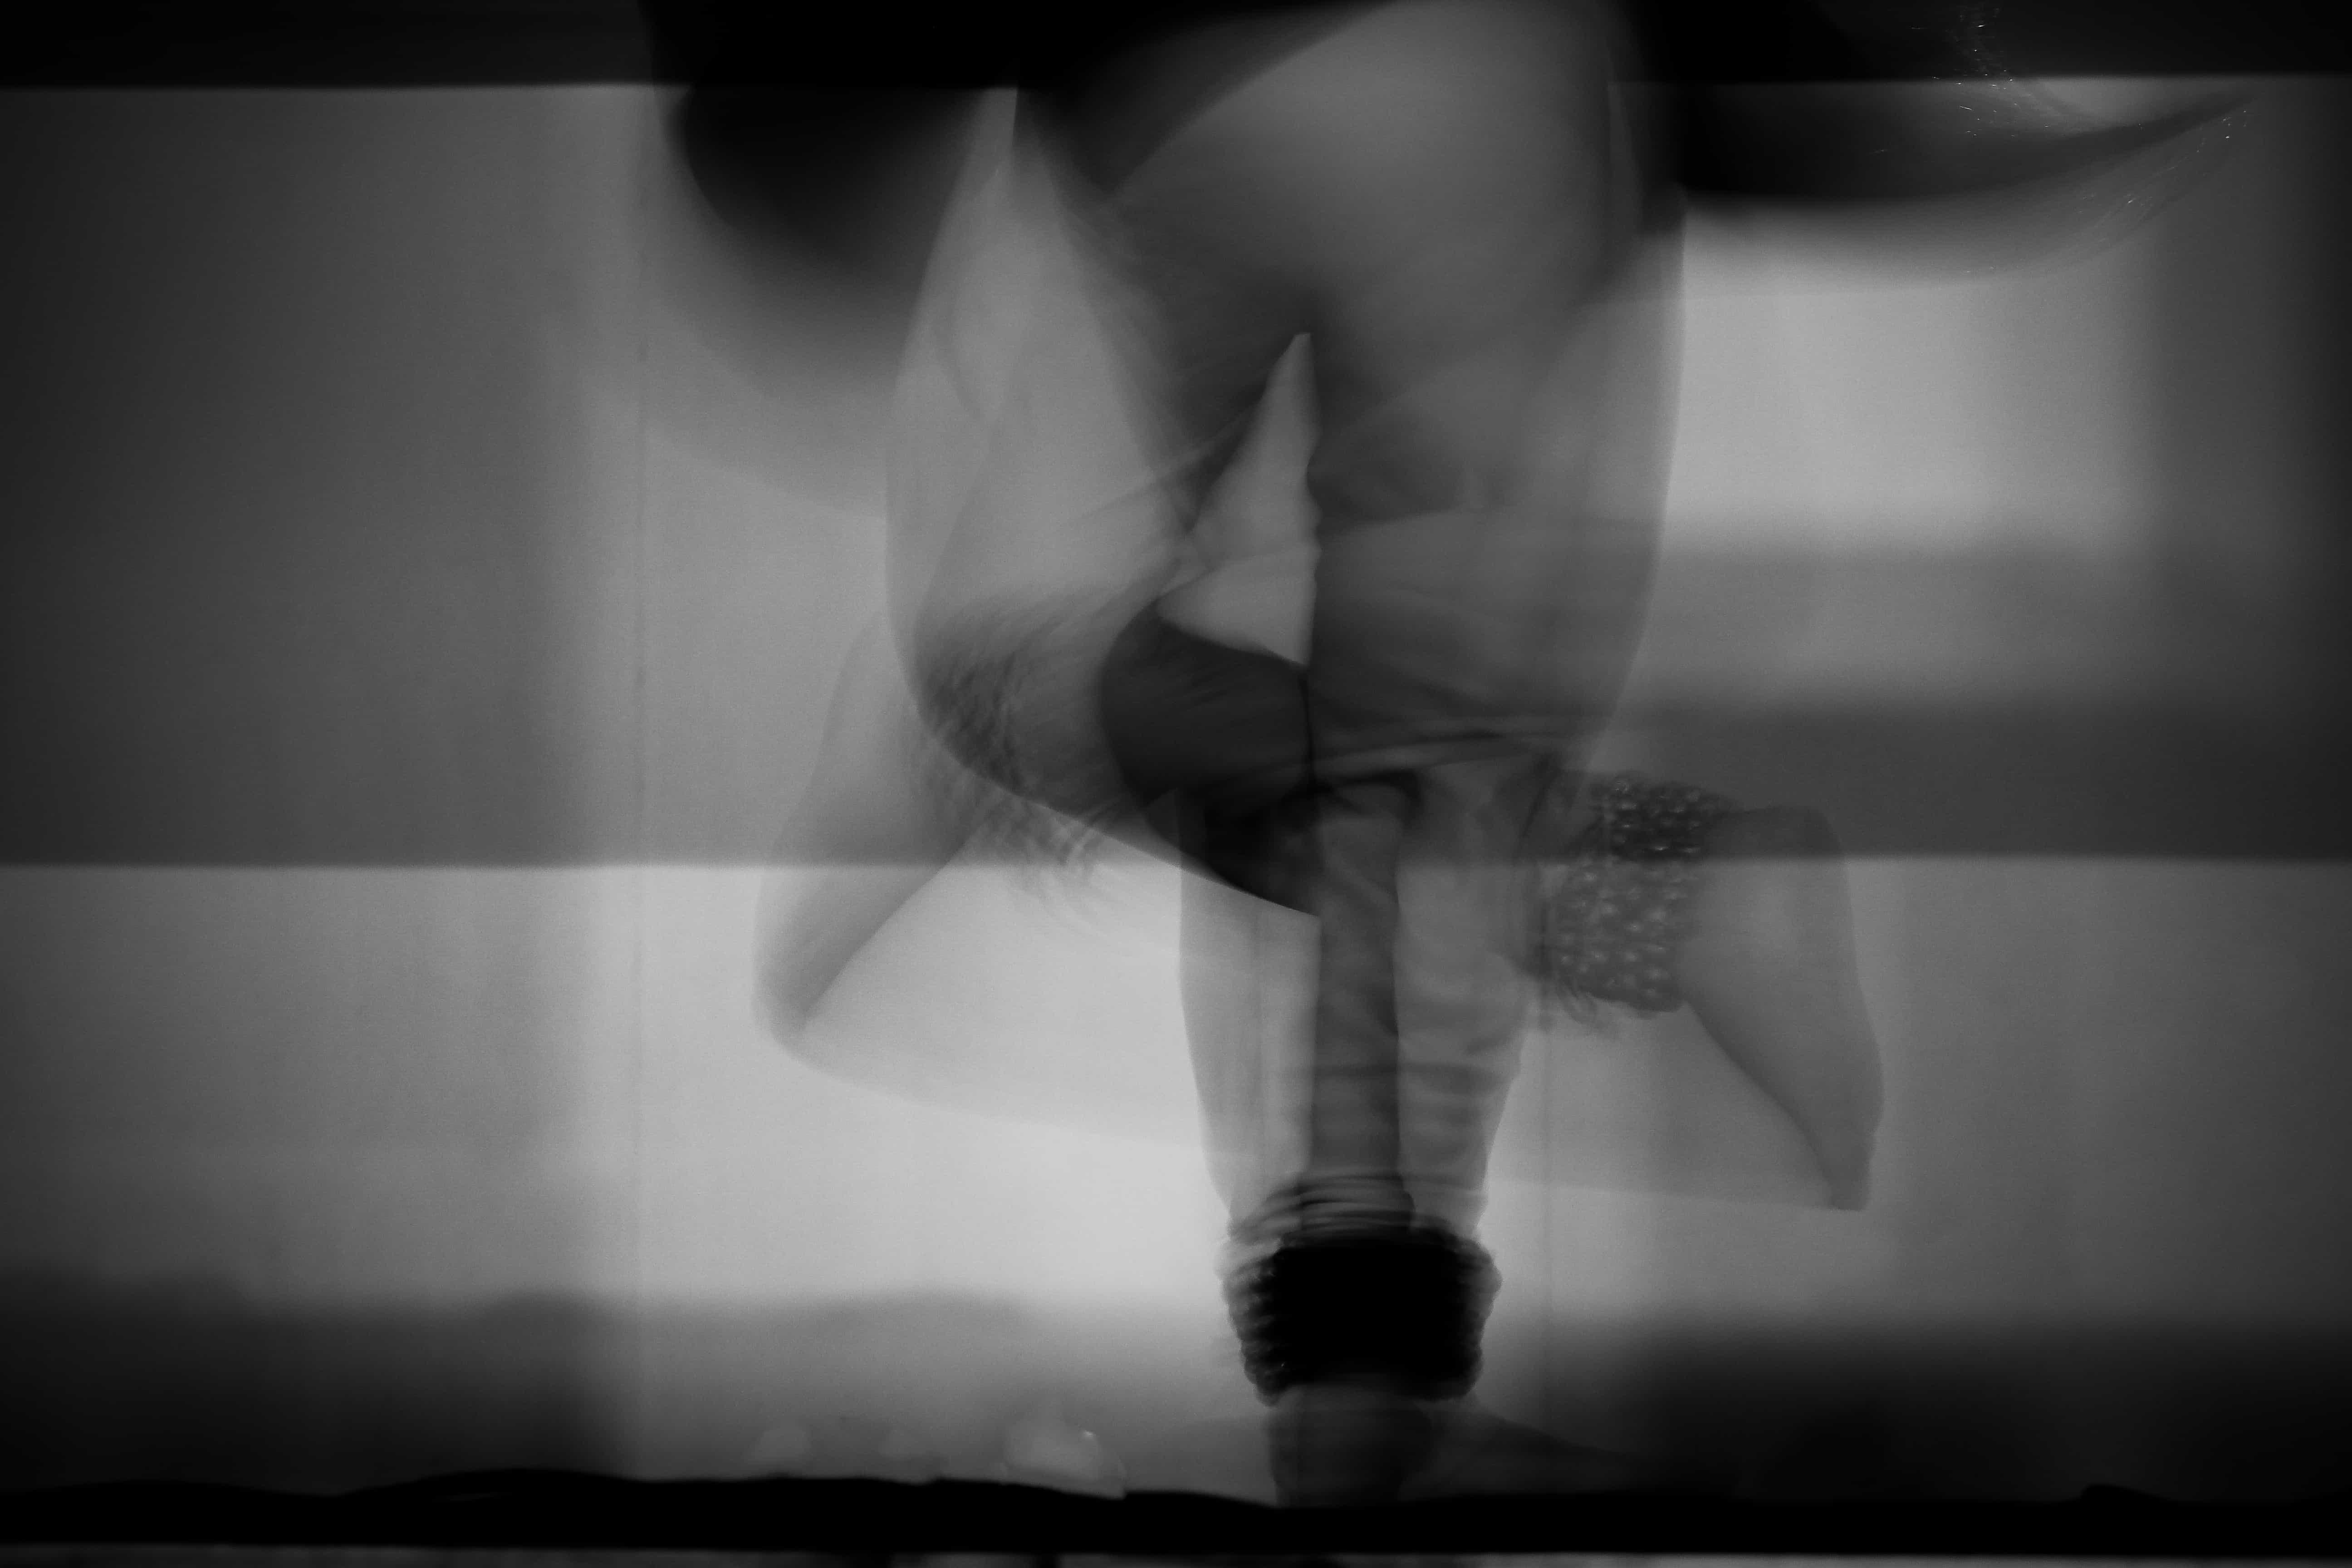
Shutter speed is the length of time your camera shutter remains open, exposing light onto the camera sensor. Basically, shutter speed allows the camera to capture a frame with different speeds. High shutter speed means that the shutter will close fast resulting in shorter duration of time in which your camera shutter remains open. Less amount of light enters, so the picture is not so bright. Similarly, more amount of light enters in the case of low shutter speed as the shutter remains open for a longer time. High shutter speed is used to freeze motion while low shutter speed is used to create motion blur and light paintings.


High Shutter Speed_SaubhagyaSaxena
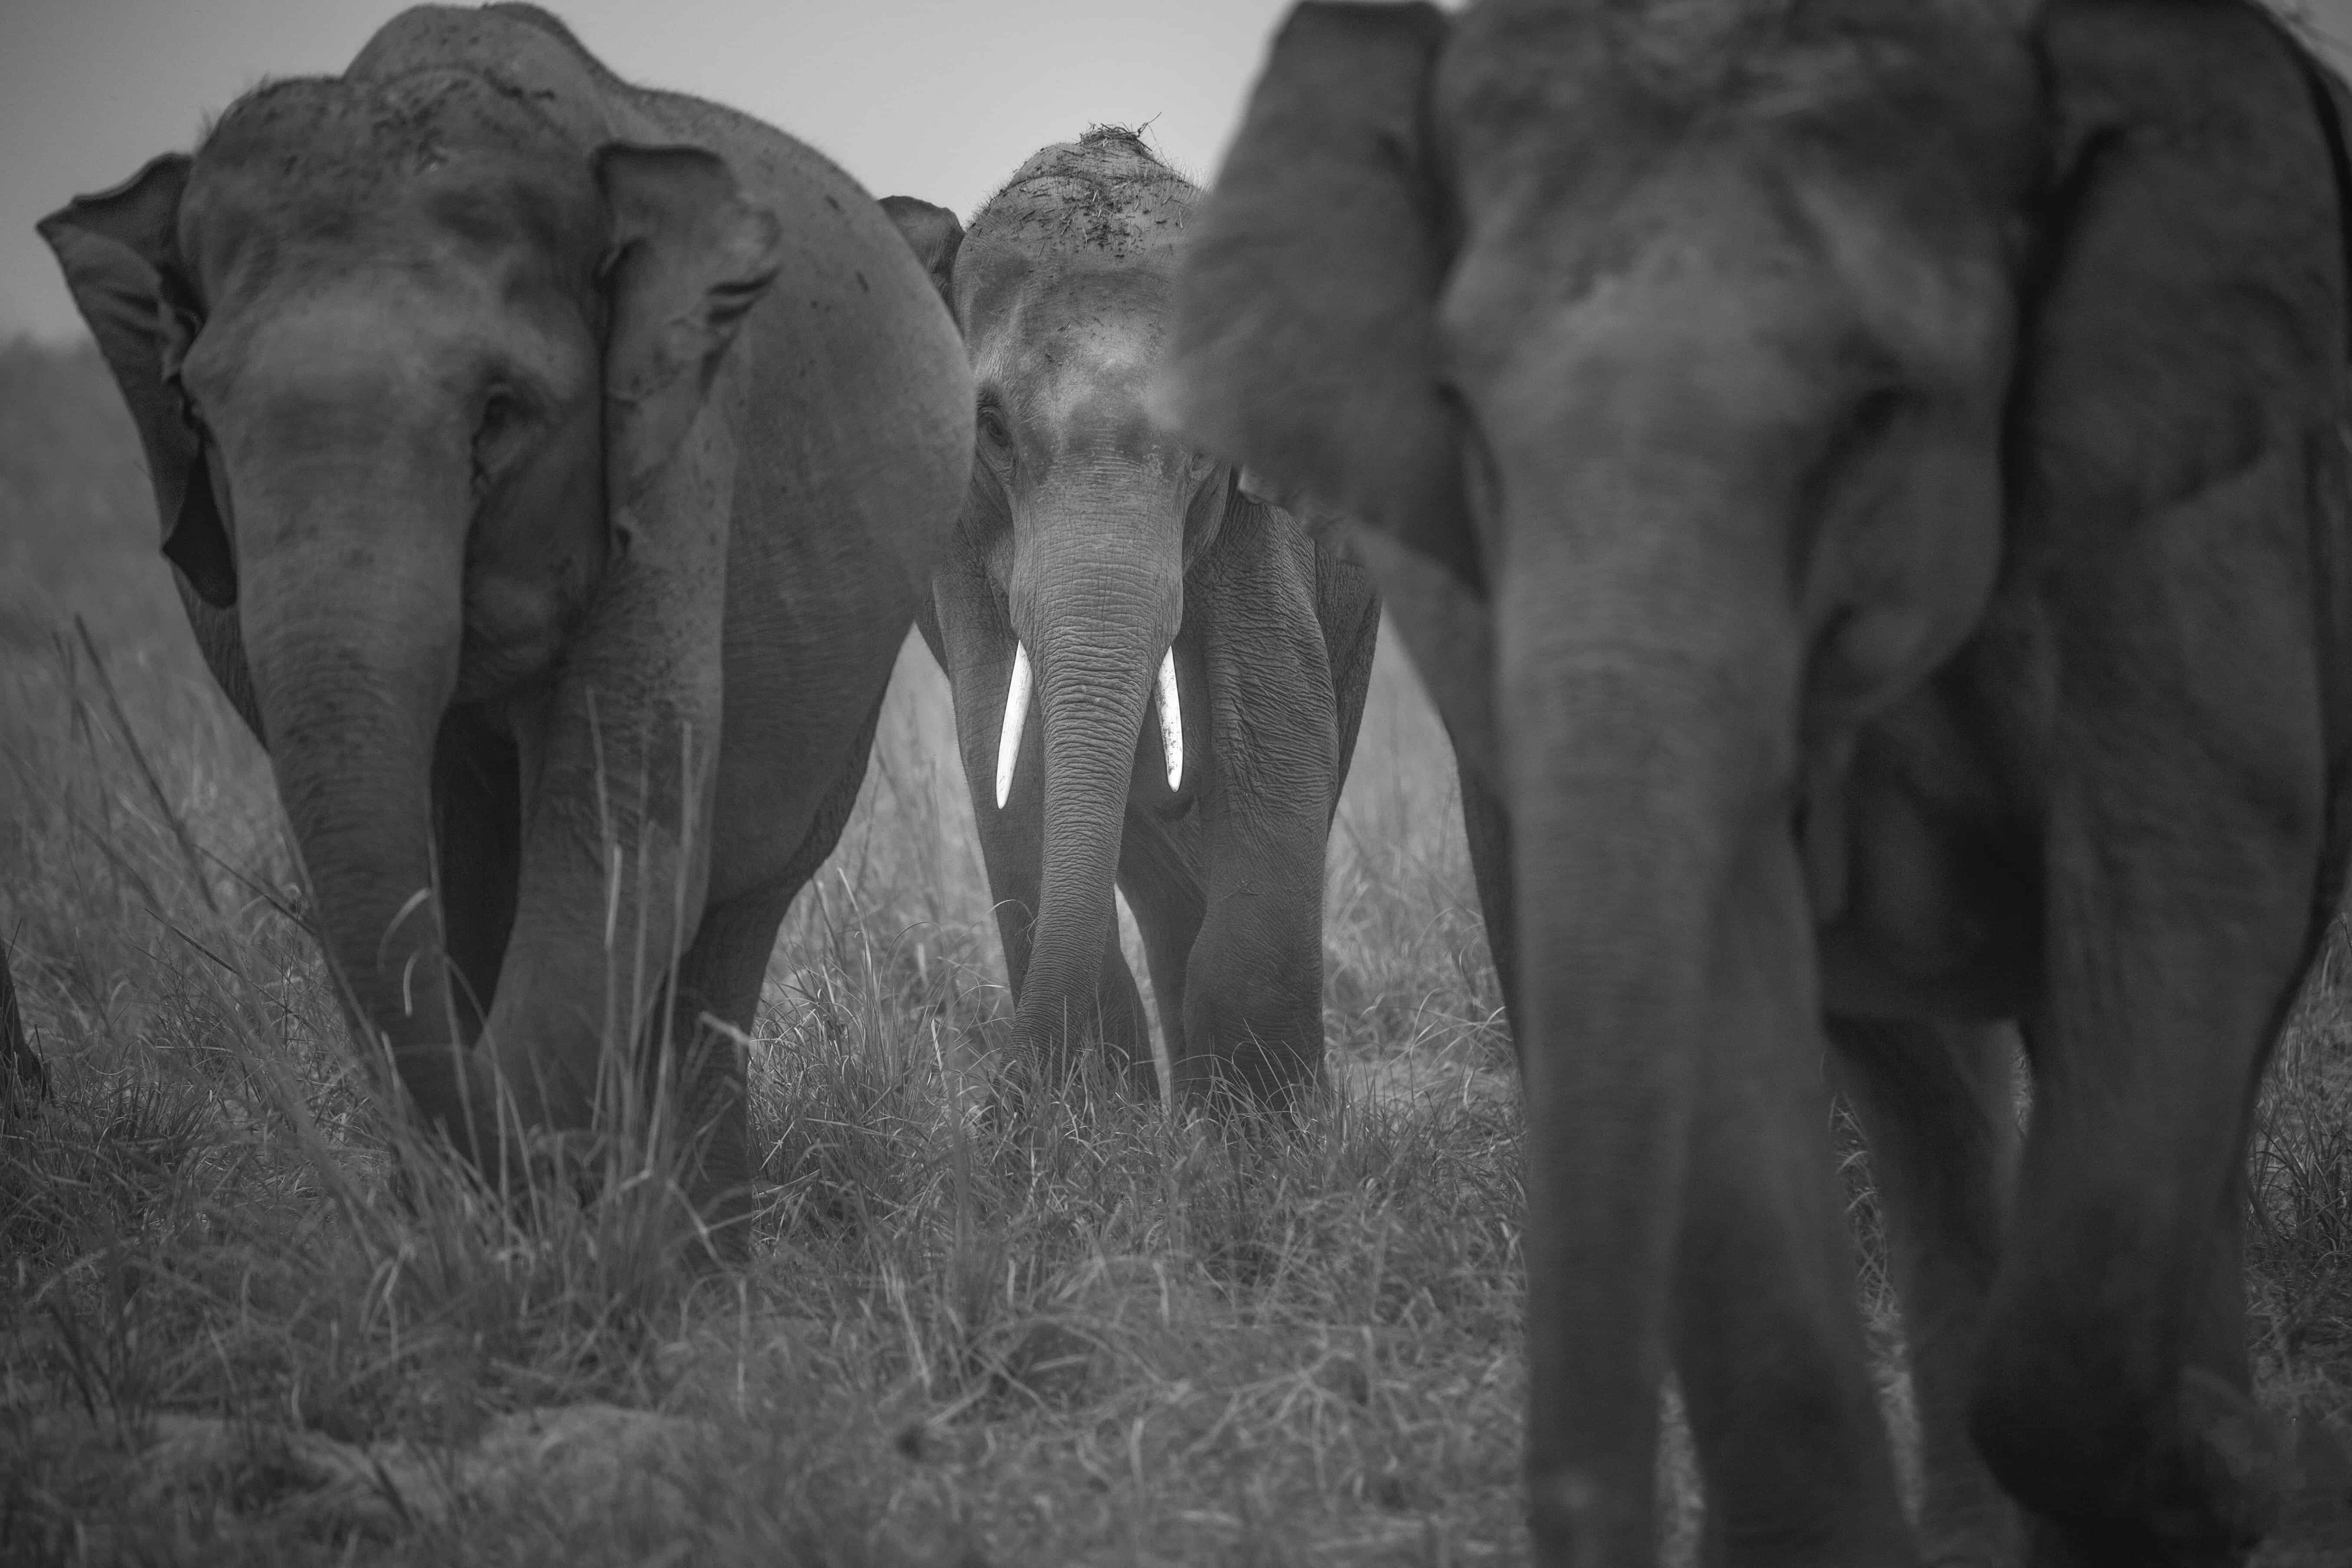
High shutter speed used to freeze motion of animals. (Image Credits: Saubhagya Saxena for DU Beat)


Low Shutter Speed_SaubhagyaSaxena

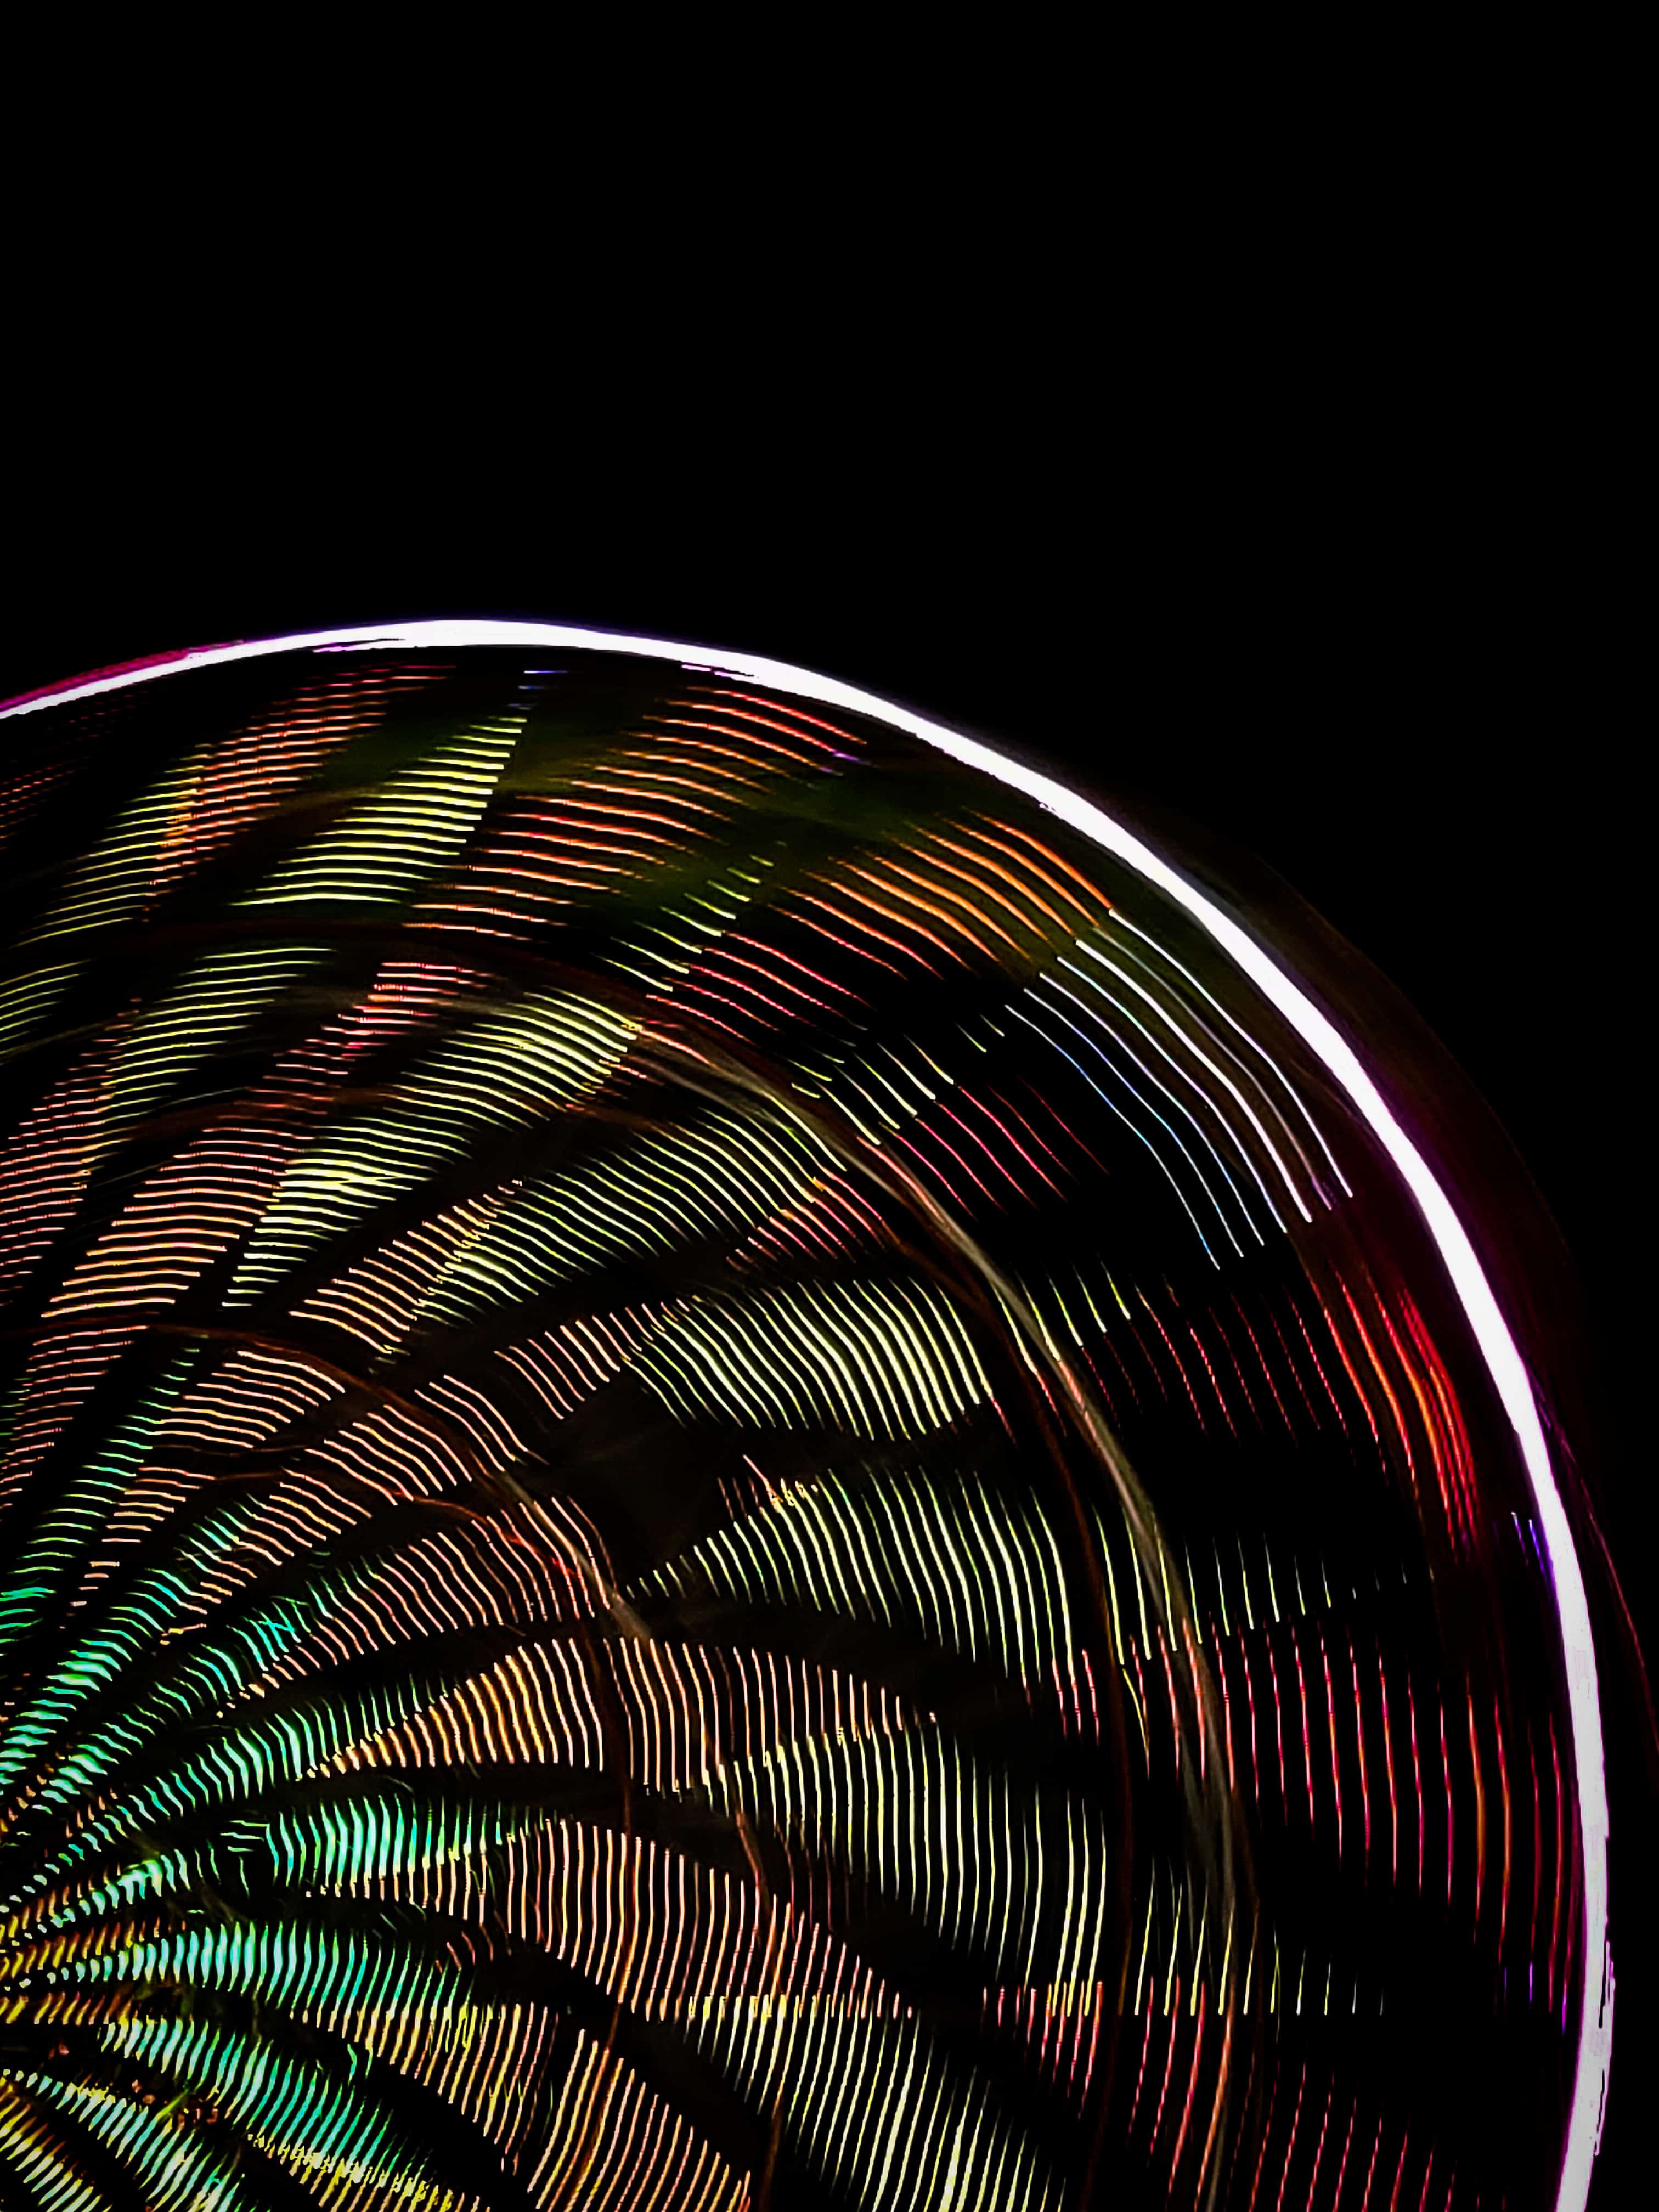
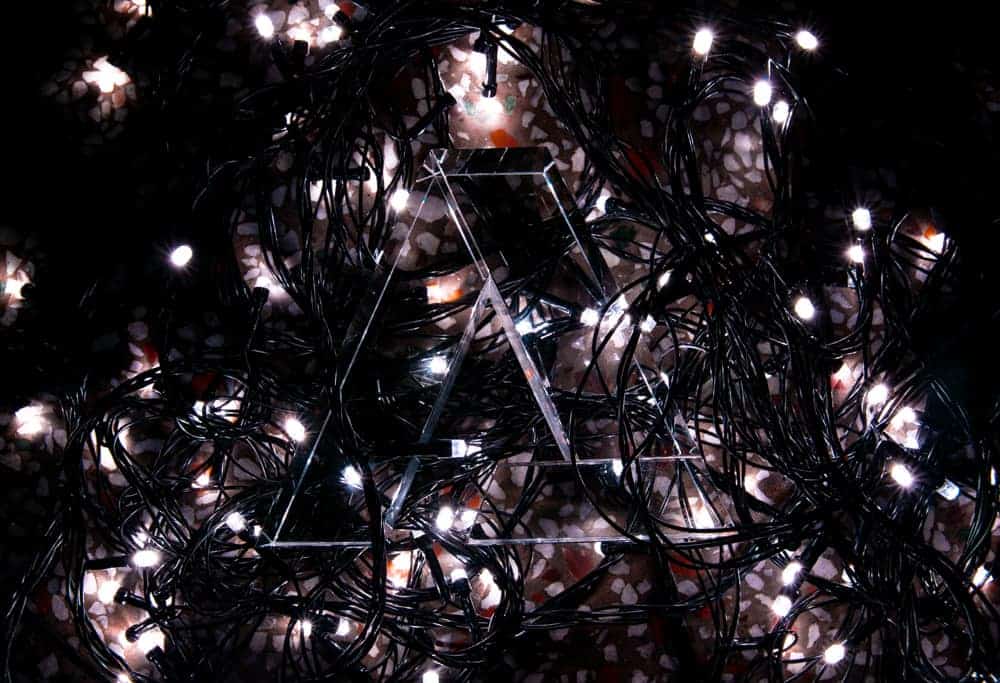
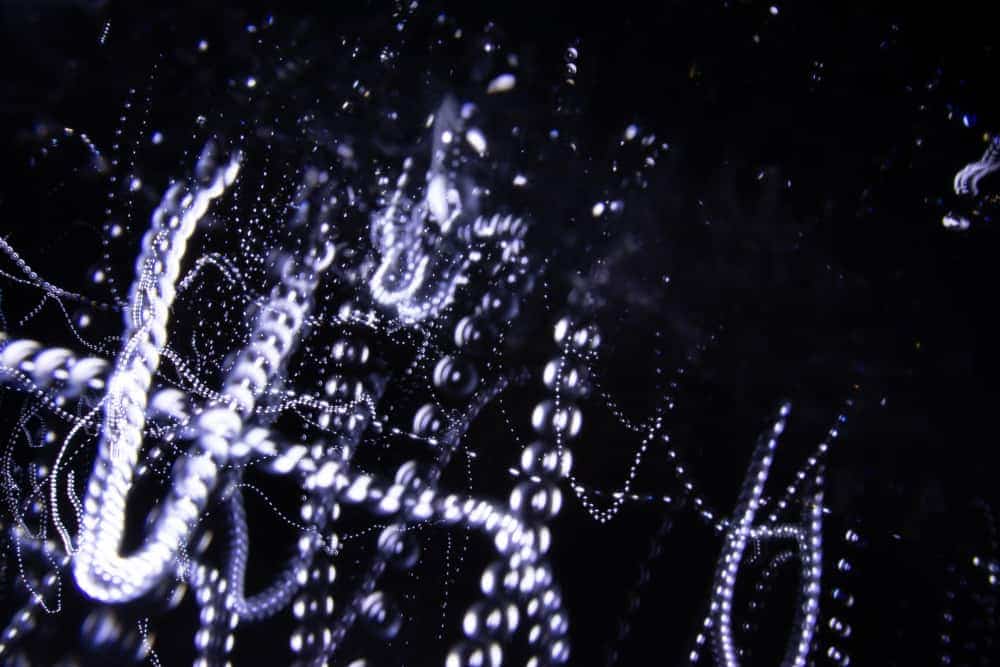
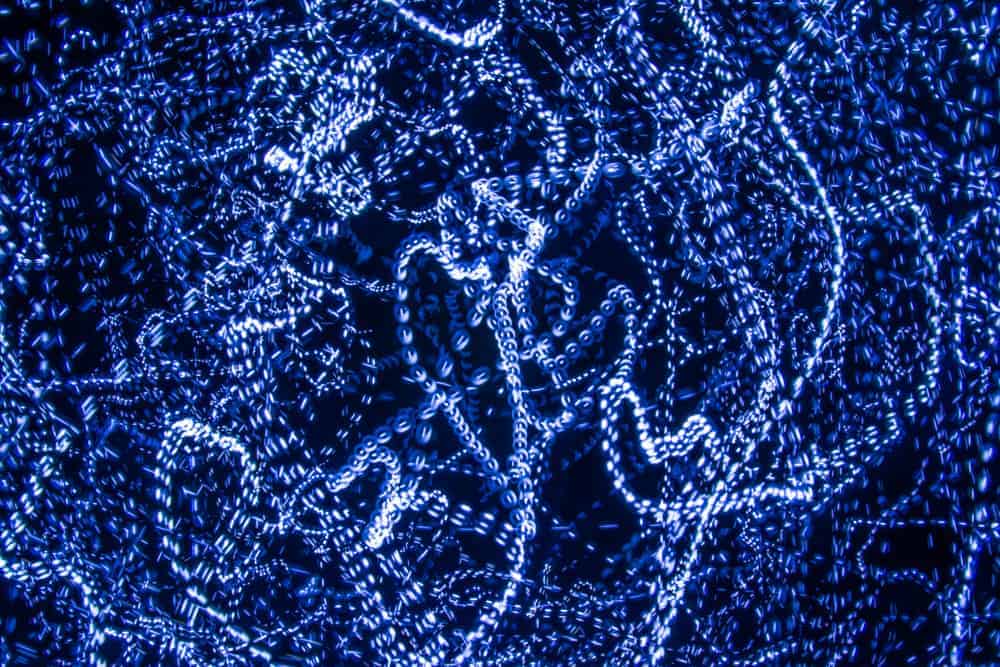
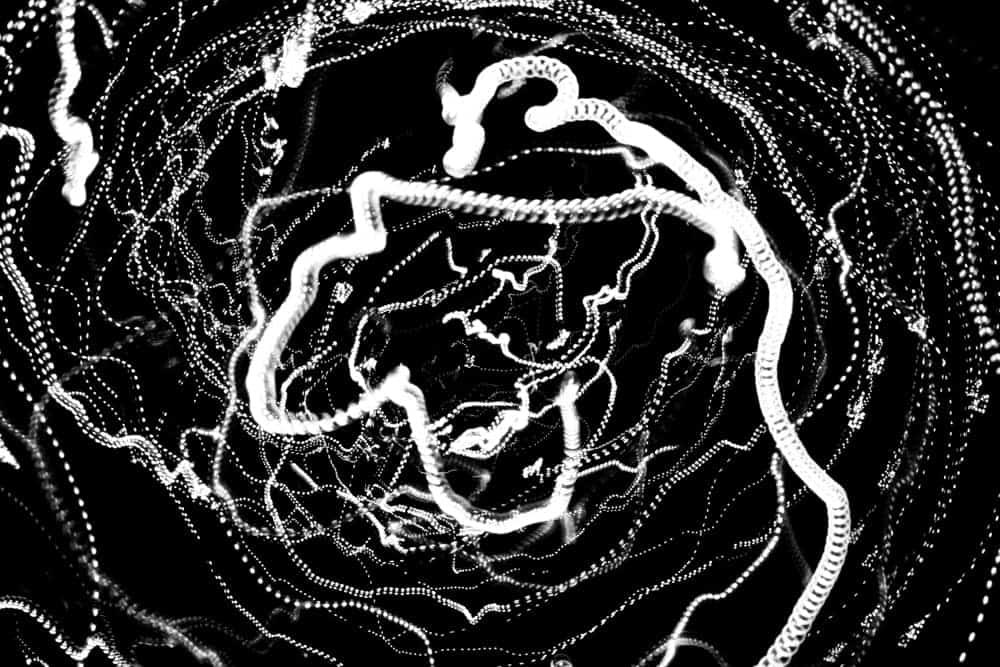
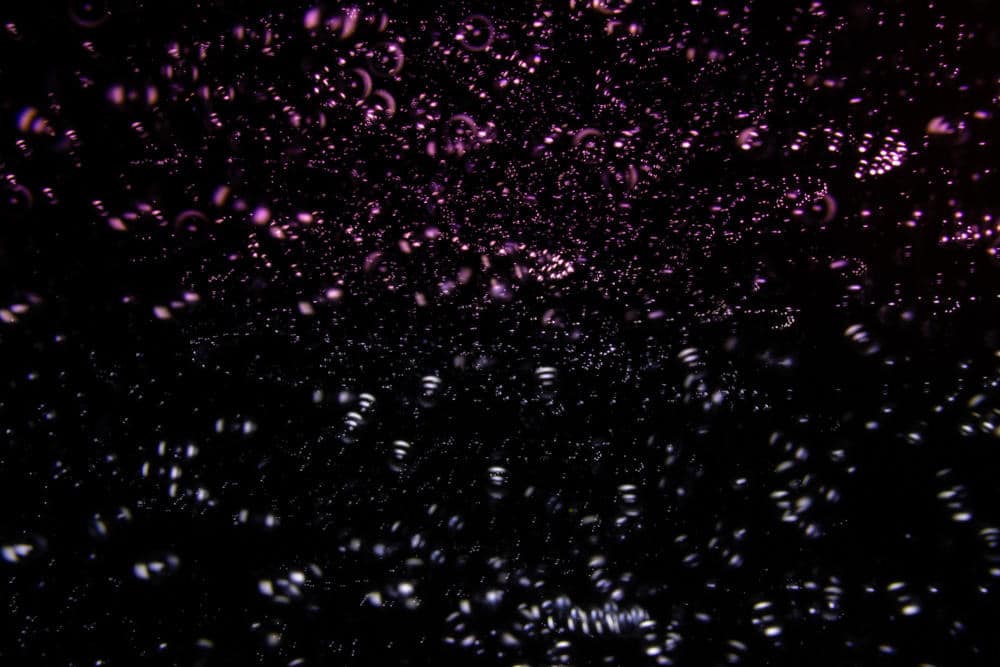
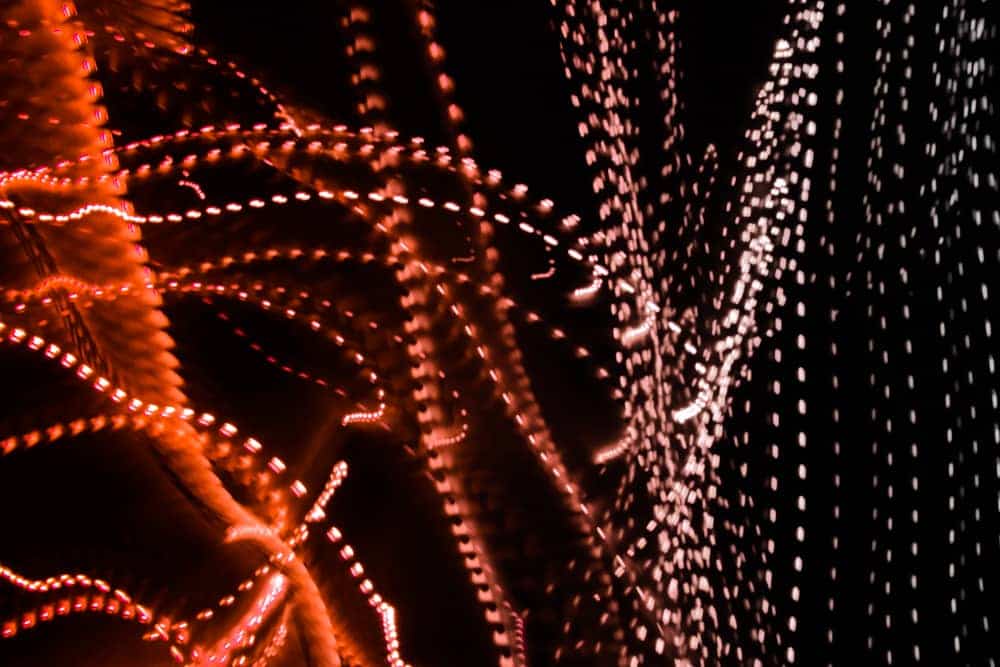
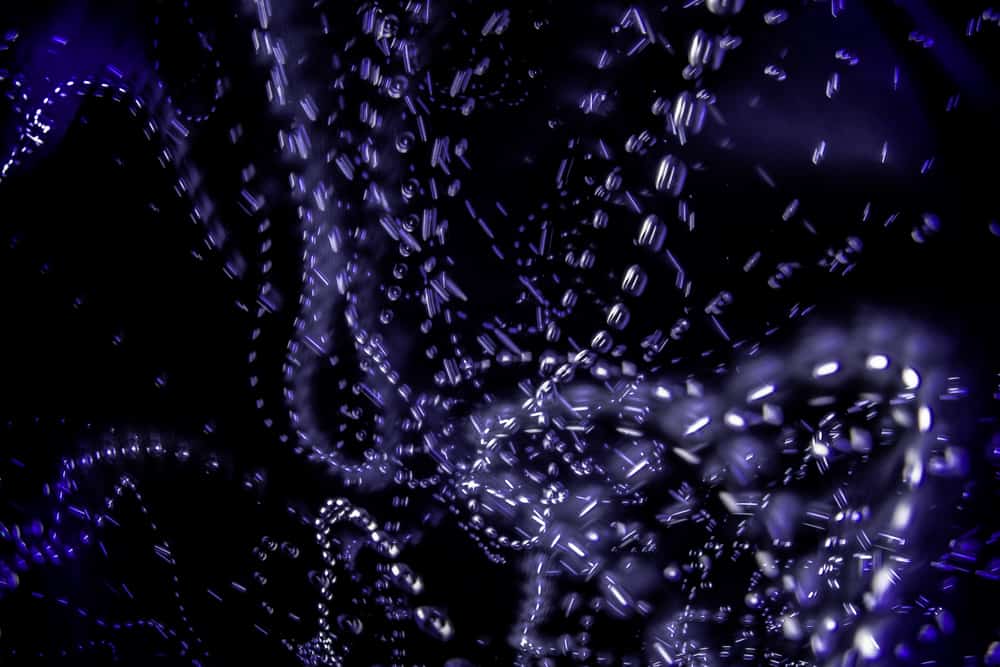
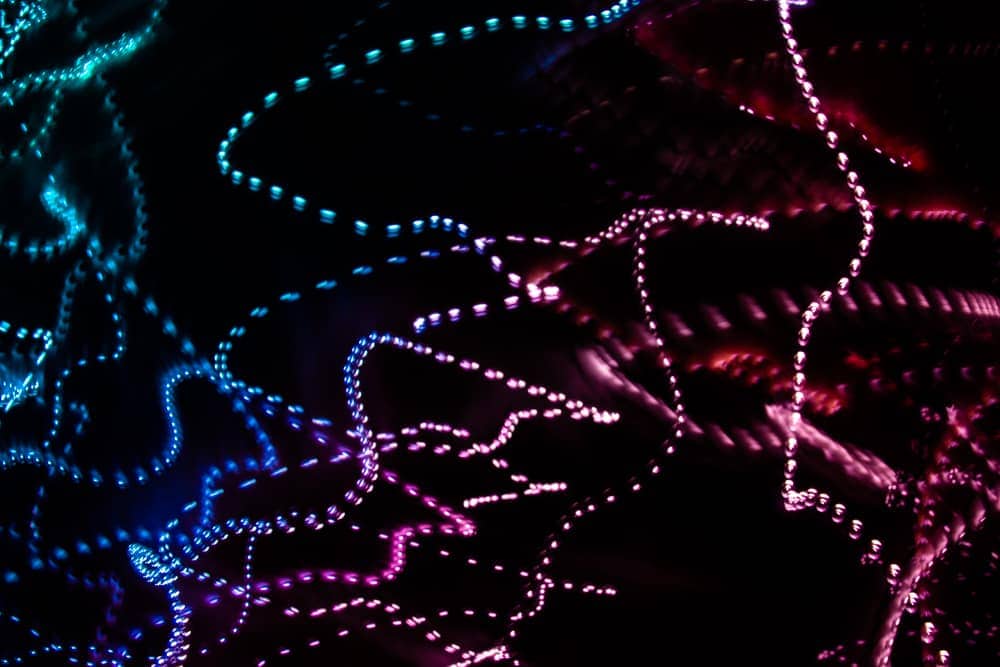
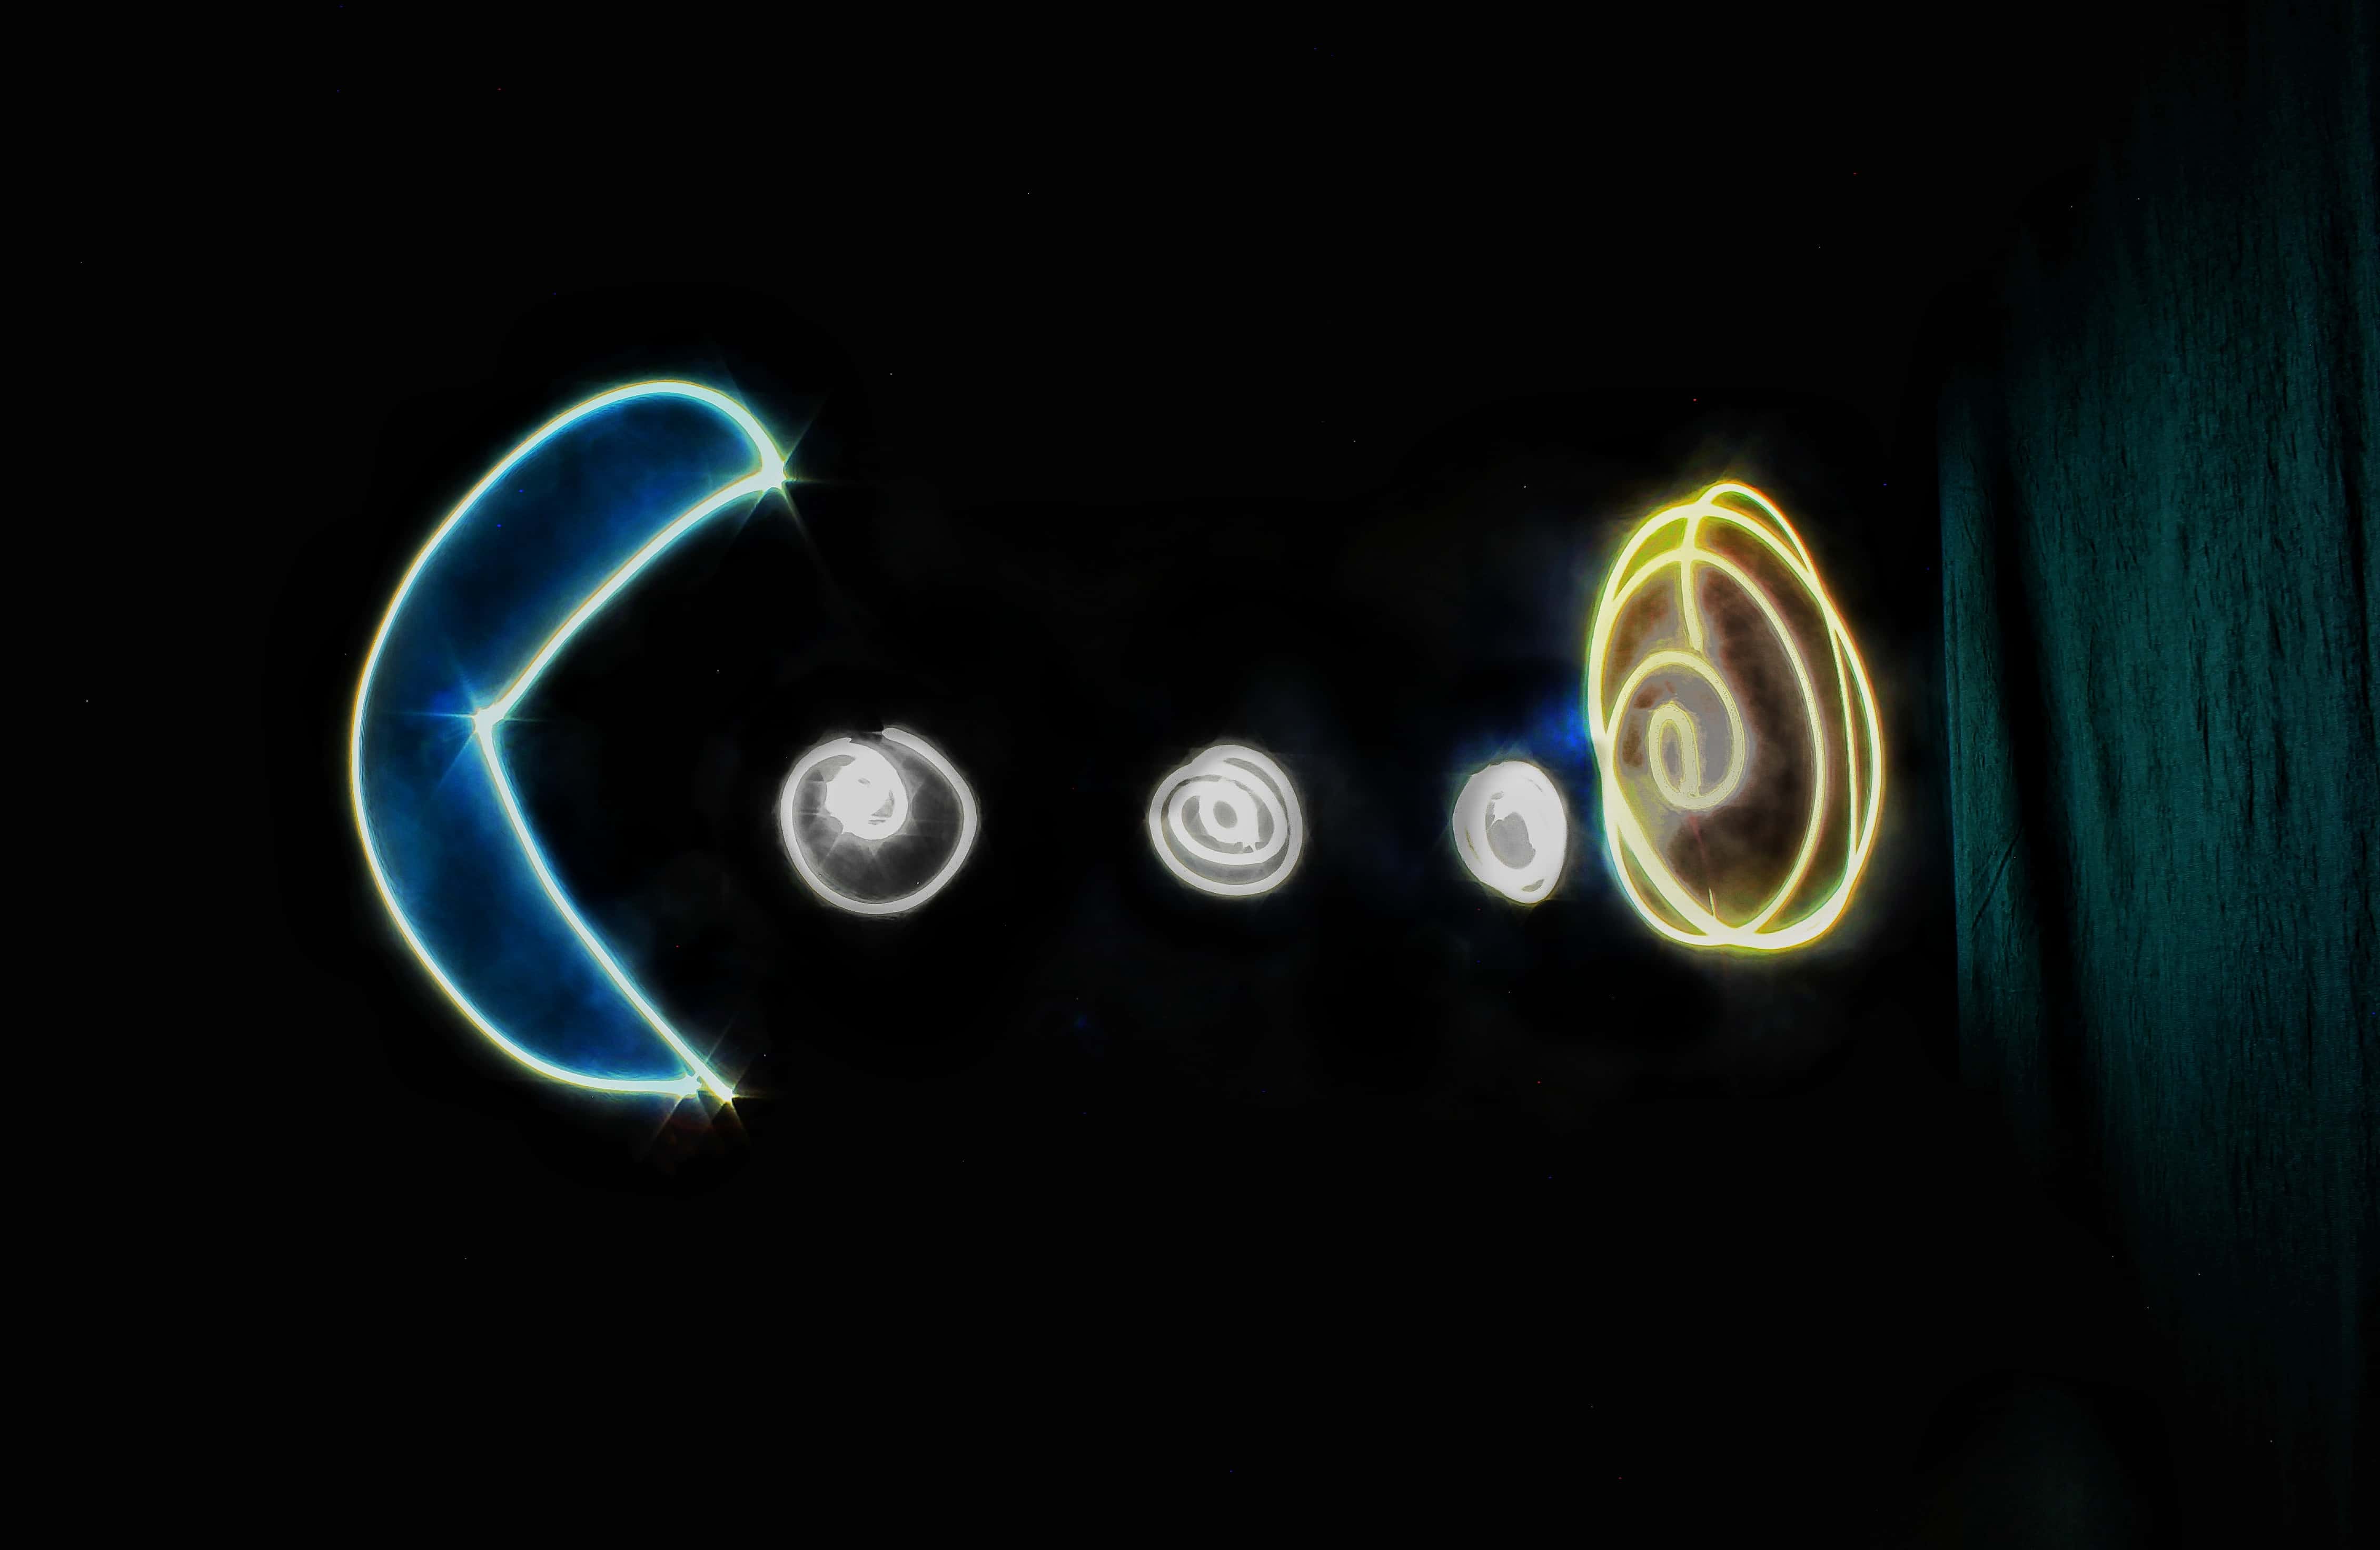
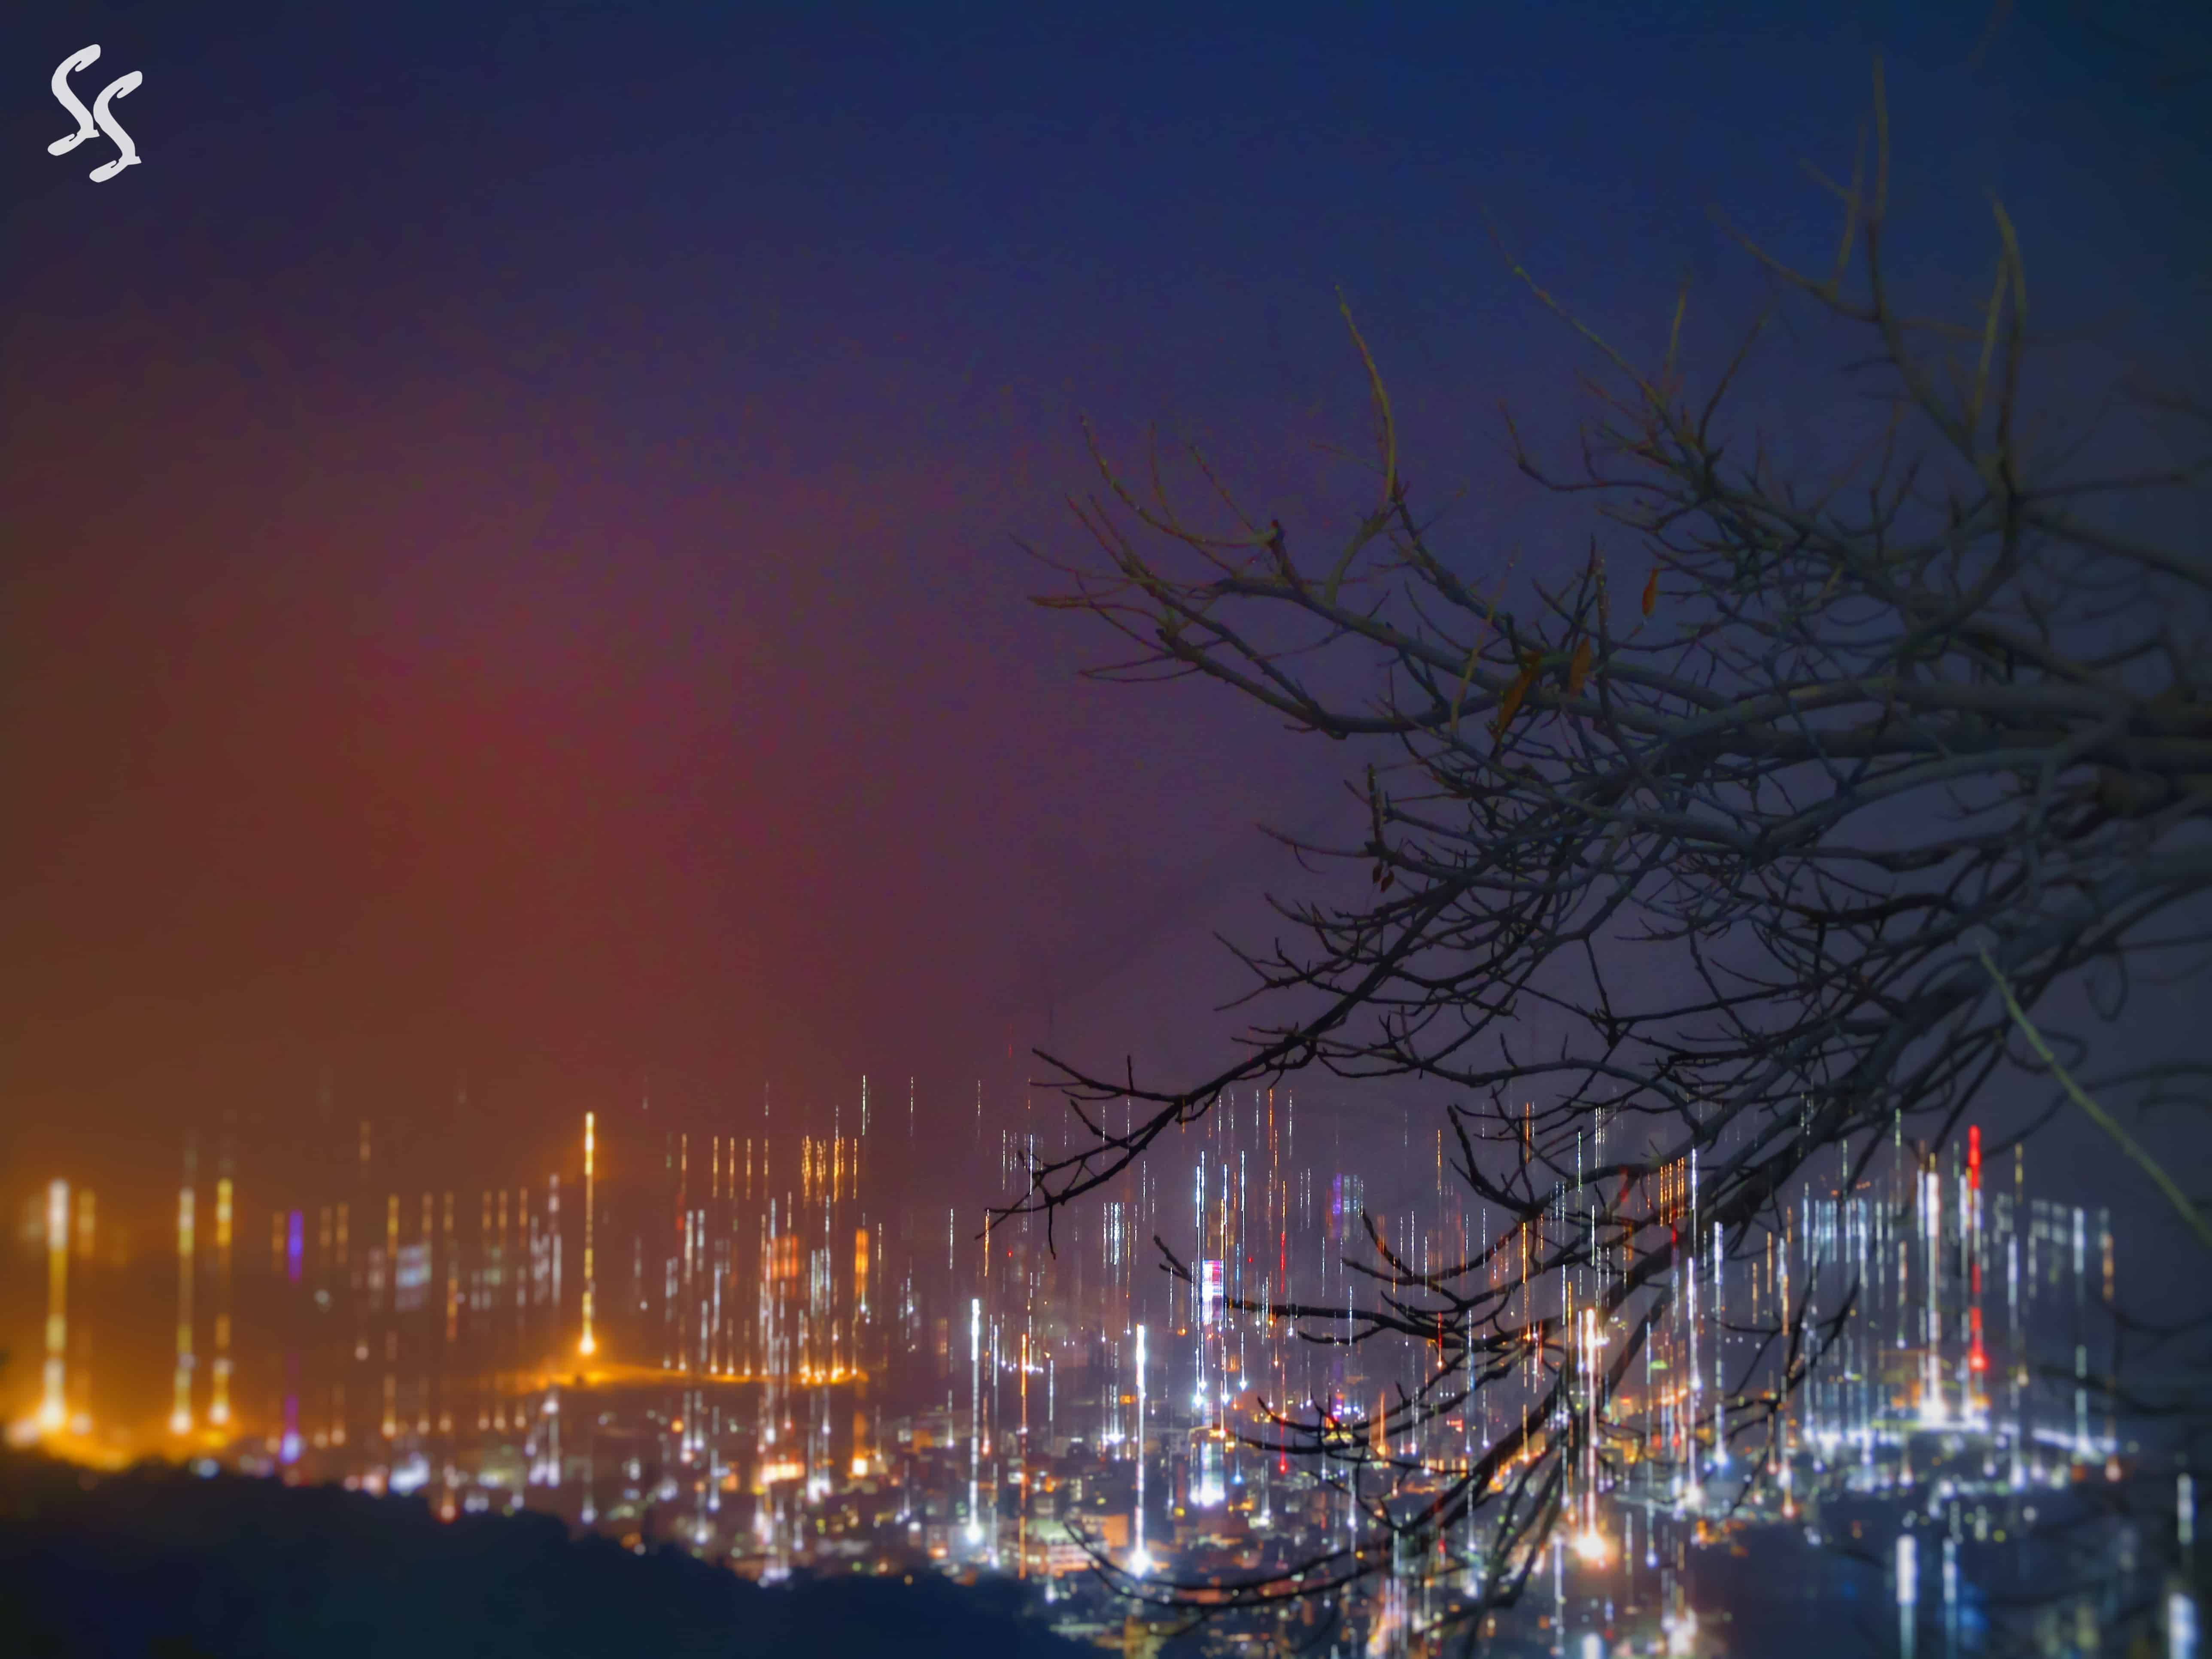
Low shutter speed used to create light paintings. (Image Credits: Saubhagya Saxena for DU Beat)


ISO:

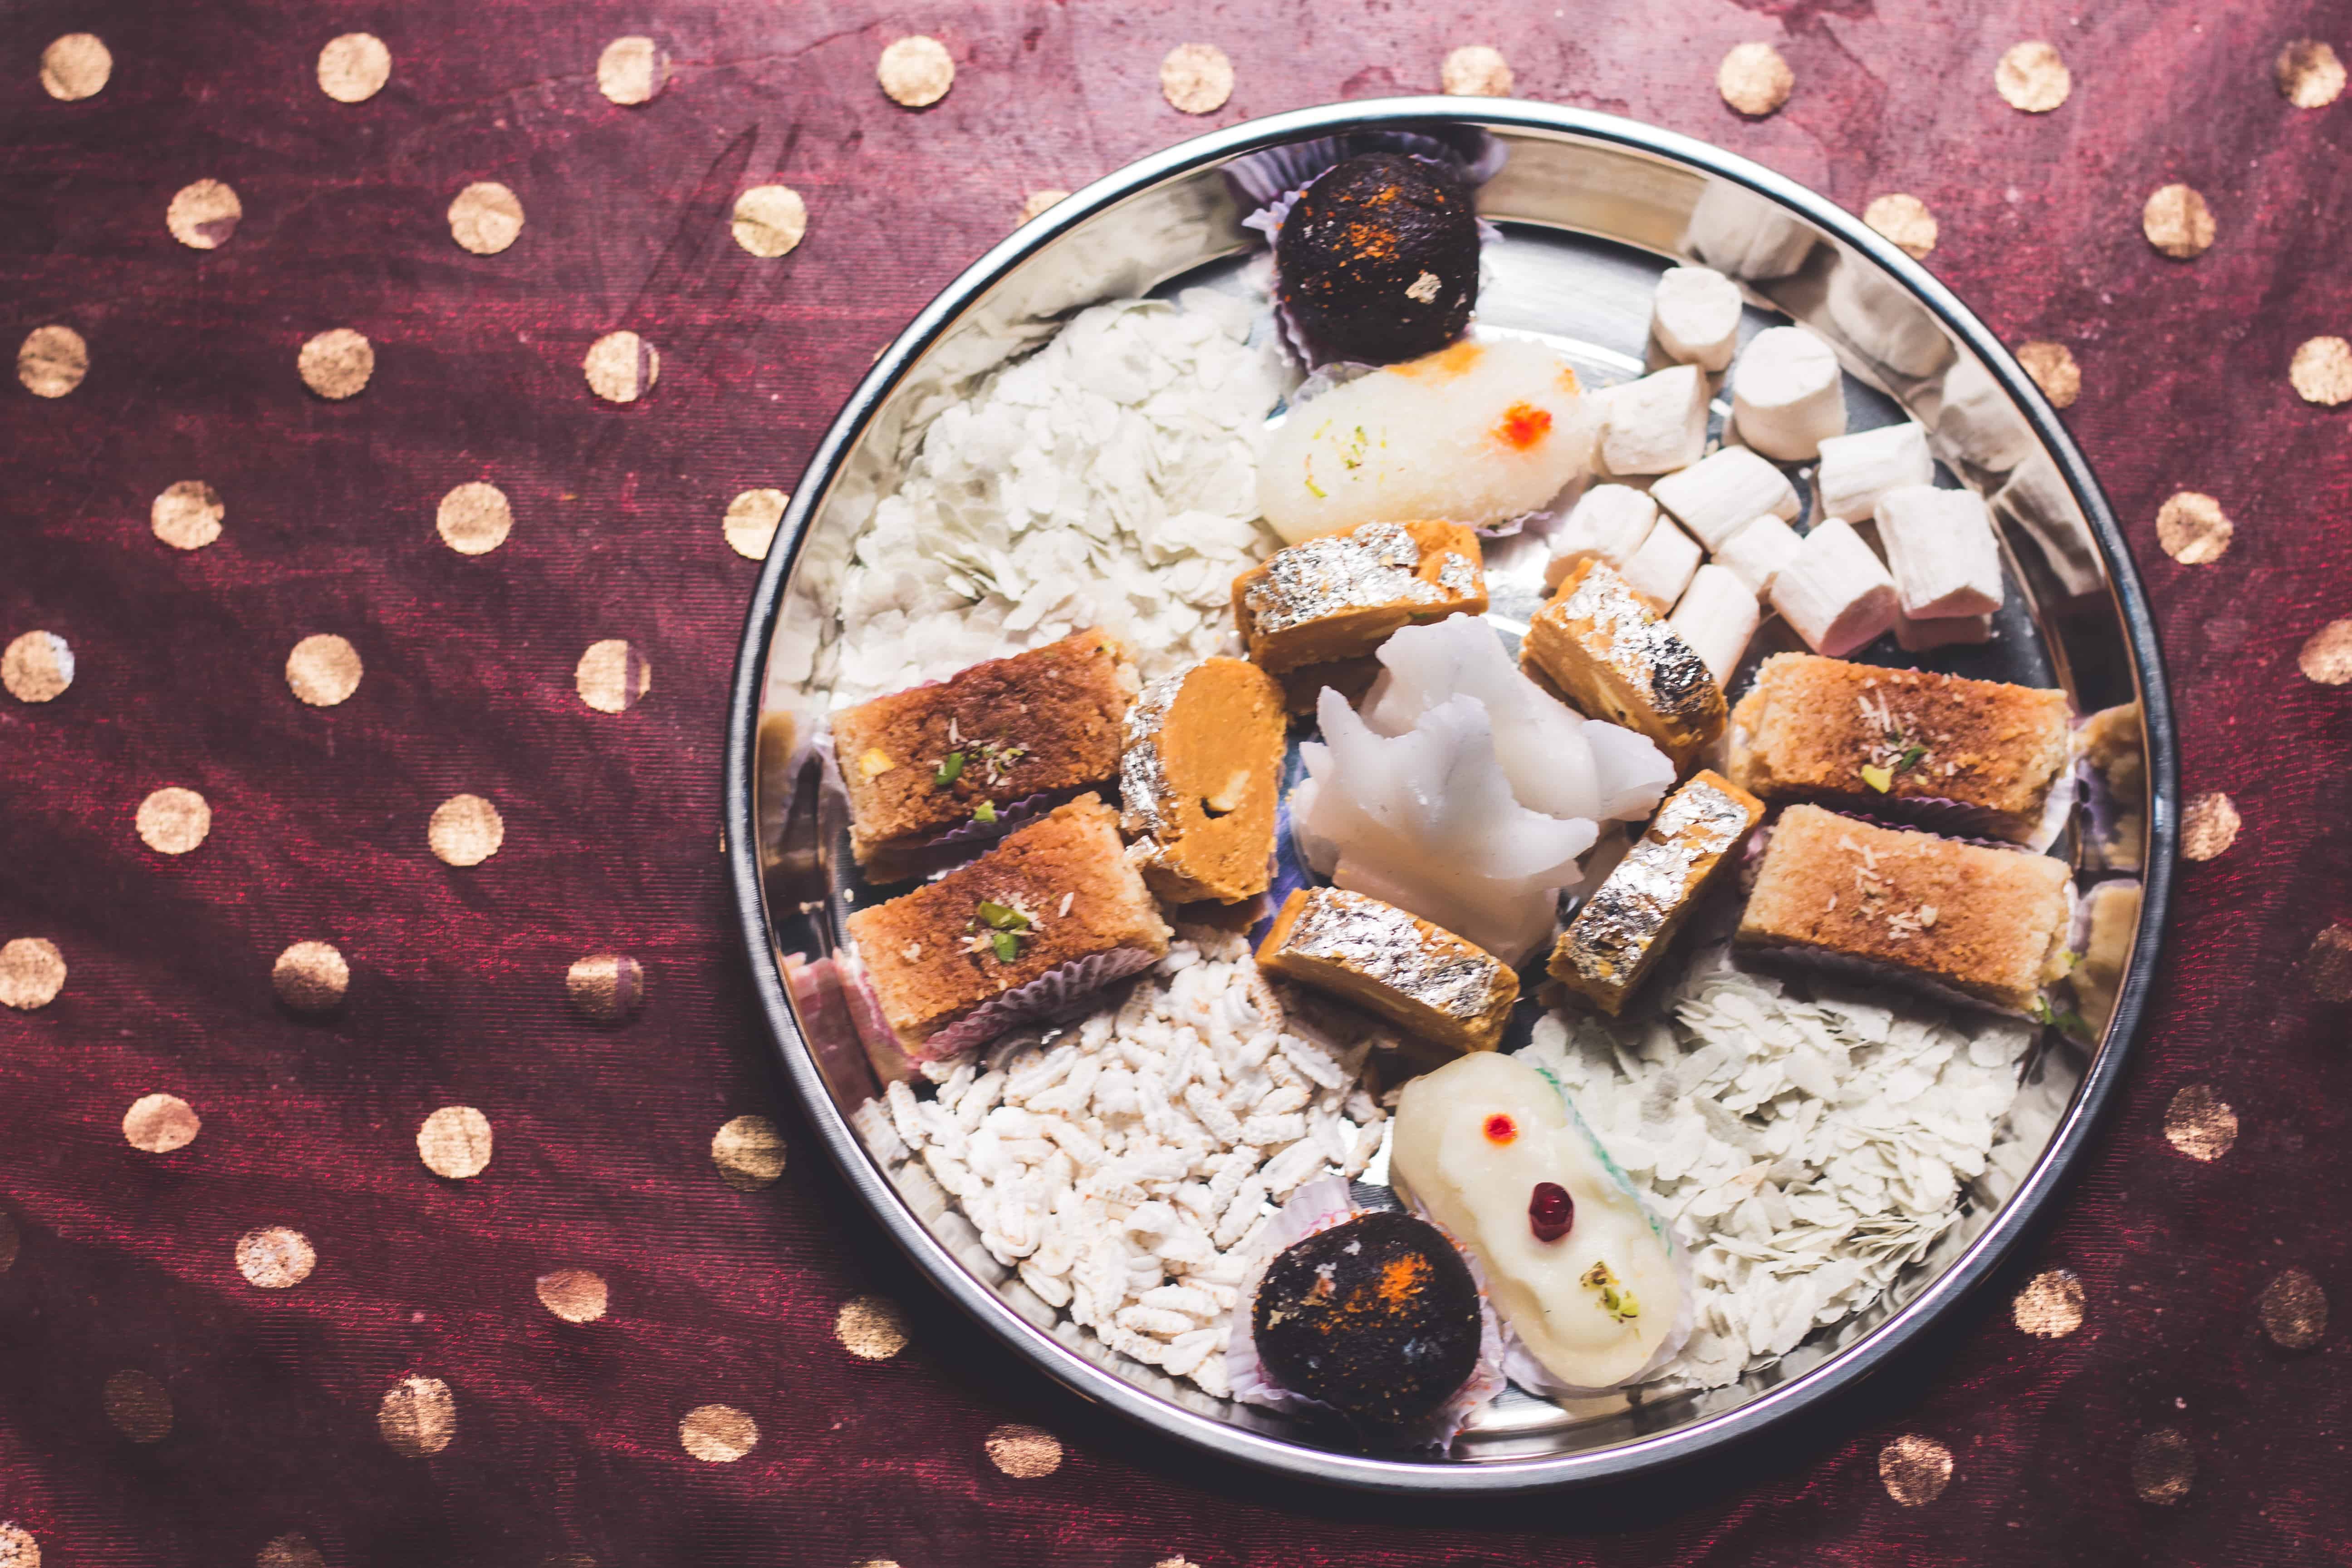
ISO is the artificial light created by the camera’s sensor. Low ISO will create pictures with lower brightness and lower noise while high ISO will create pictures with higher brightness and higher noise.


Low ISO_AdhityaKhanna
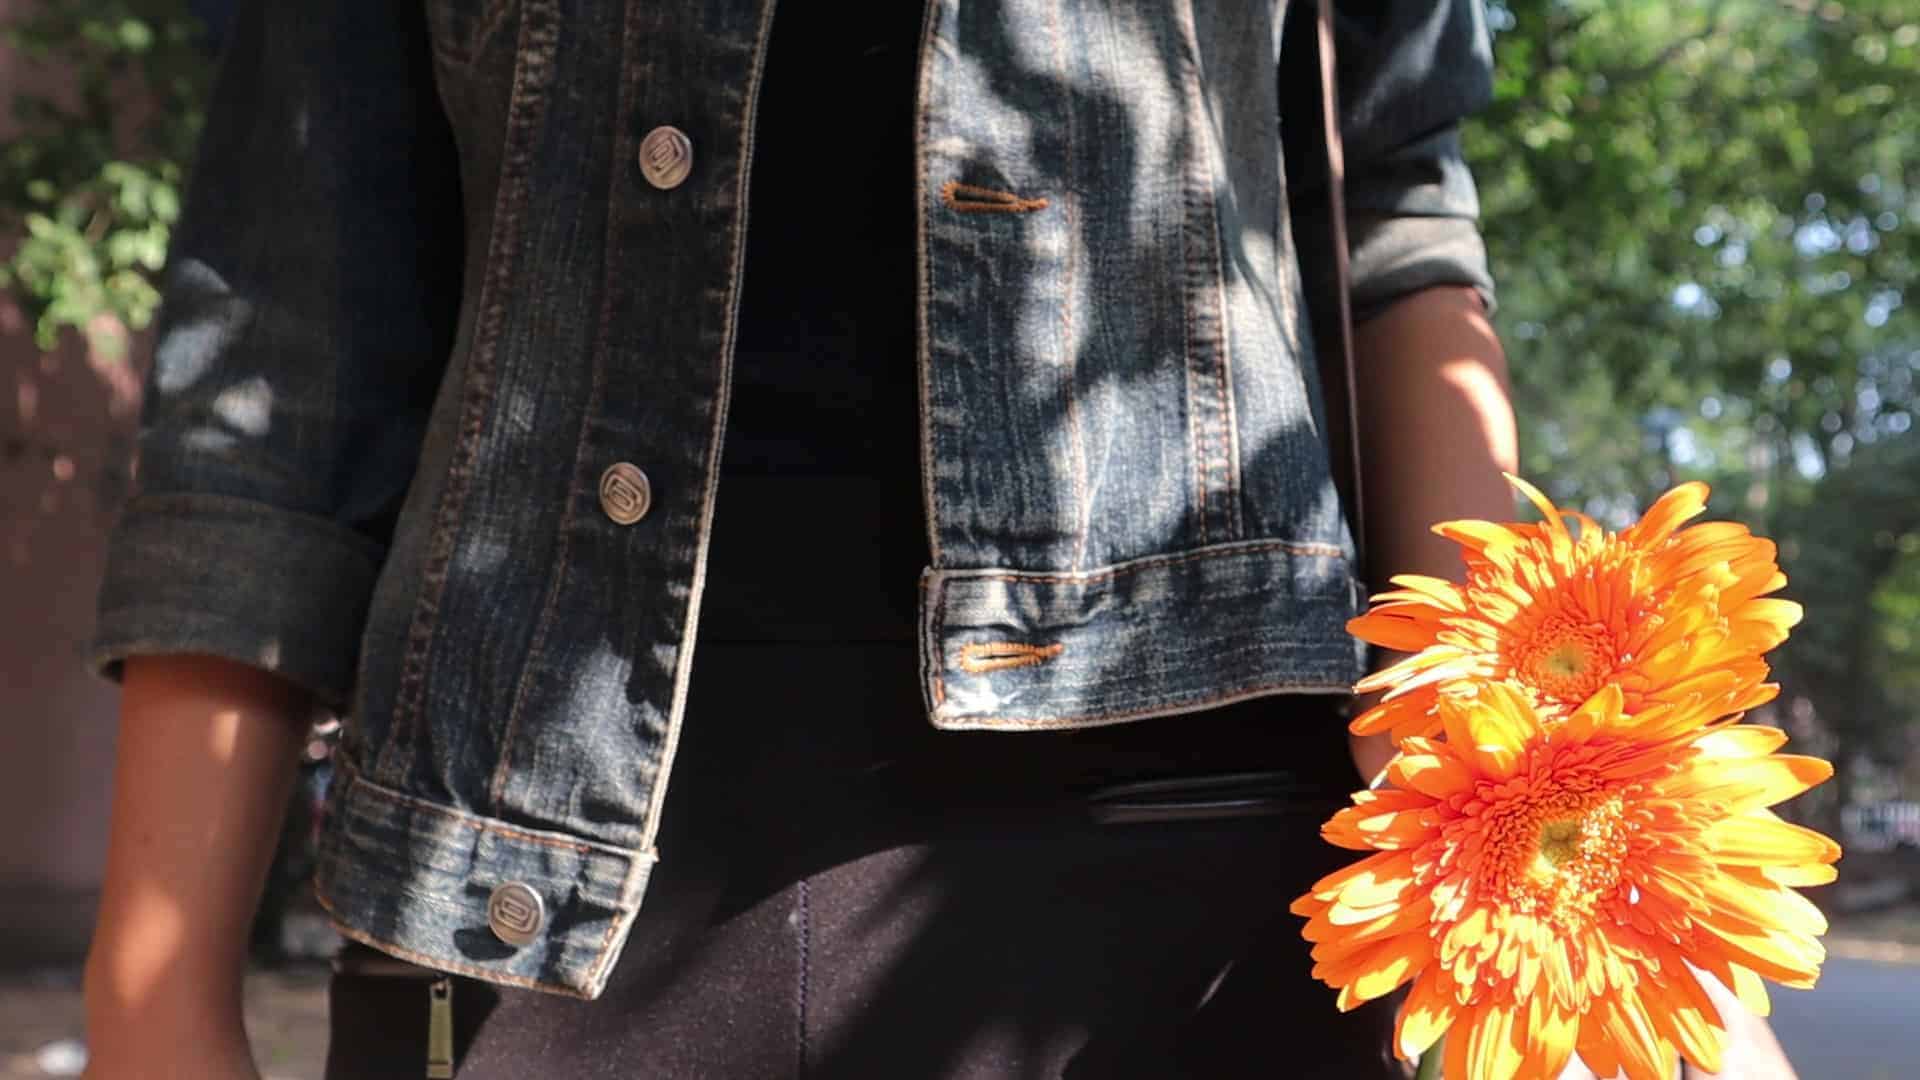
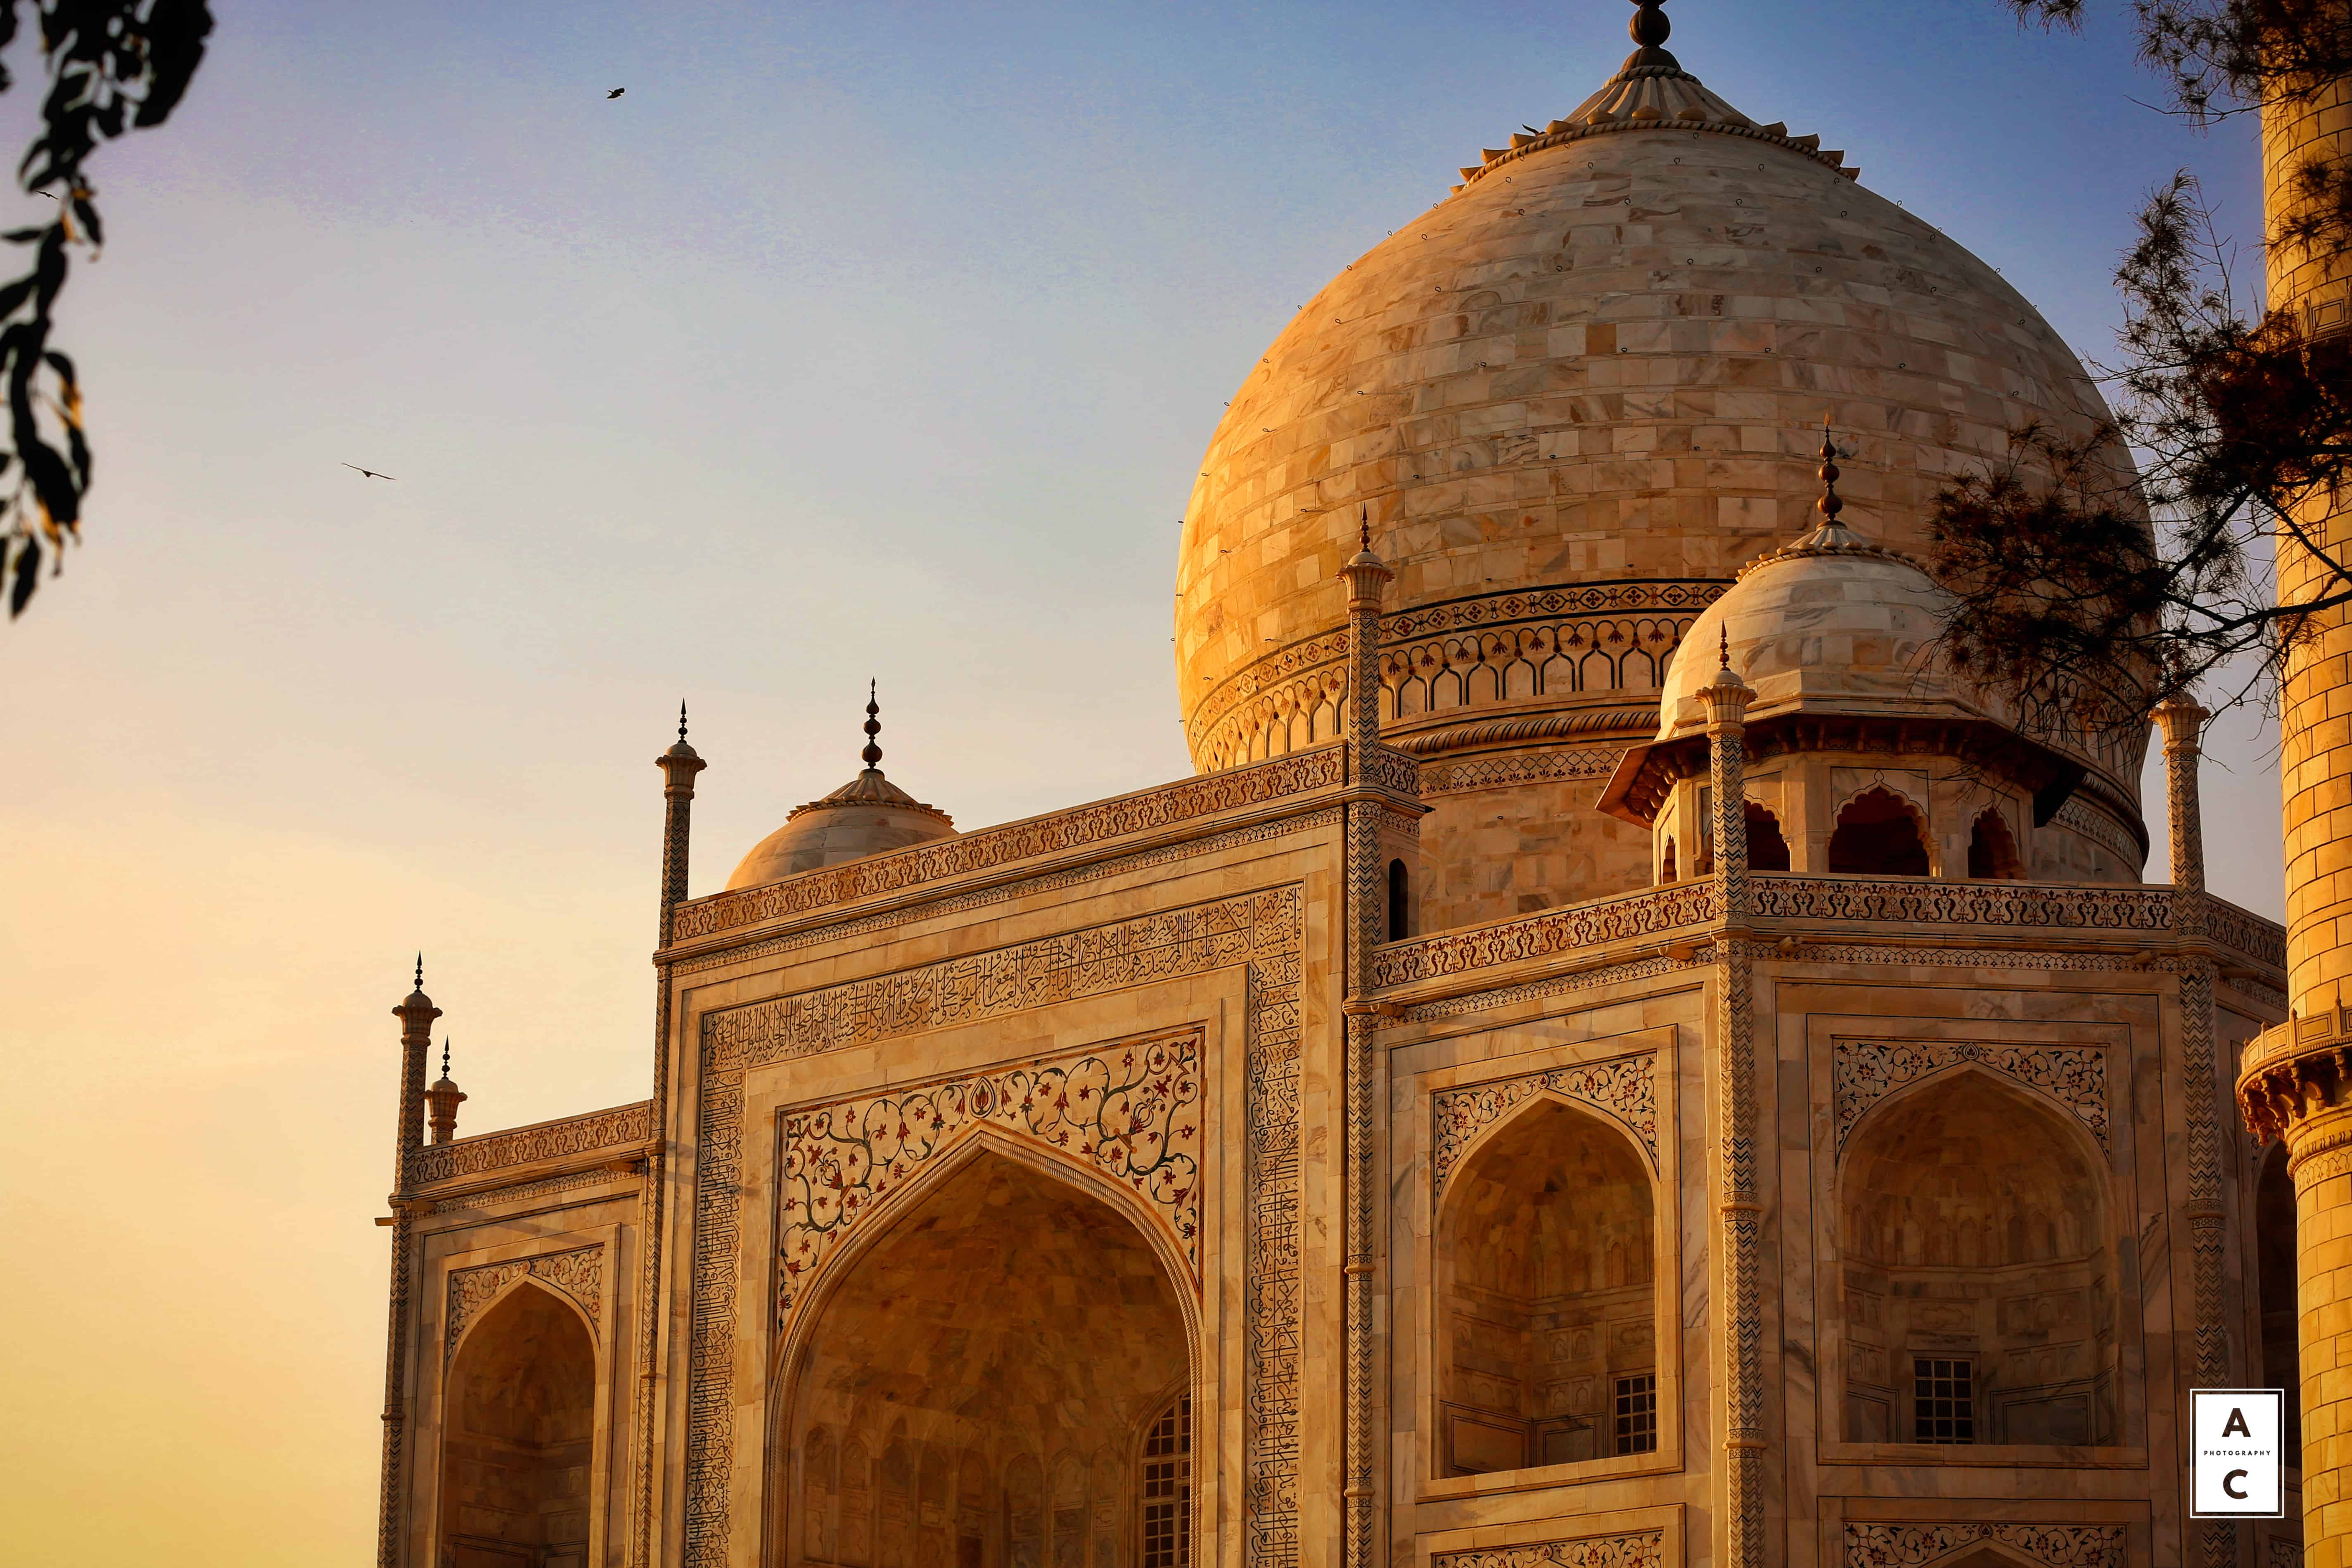
Low ISO picture with less exposure and less noise. (Image Credits: Adhitya Khanna for DU Beat)


High ISO_SurabhiKhare
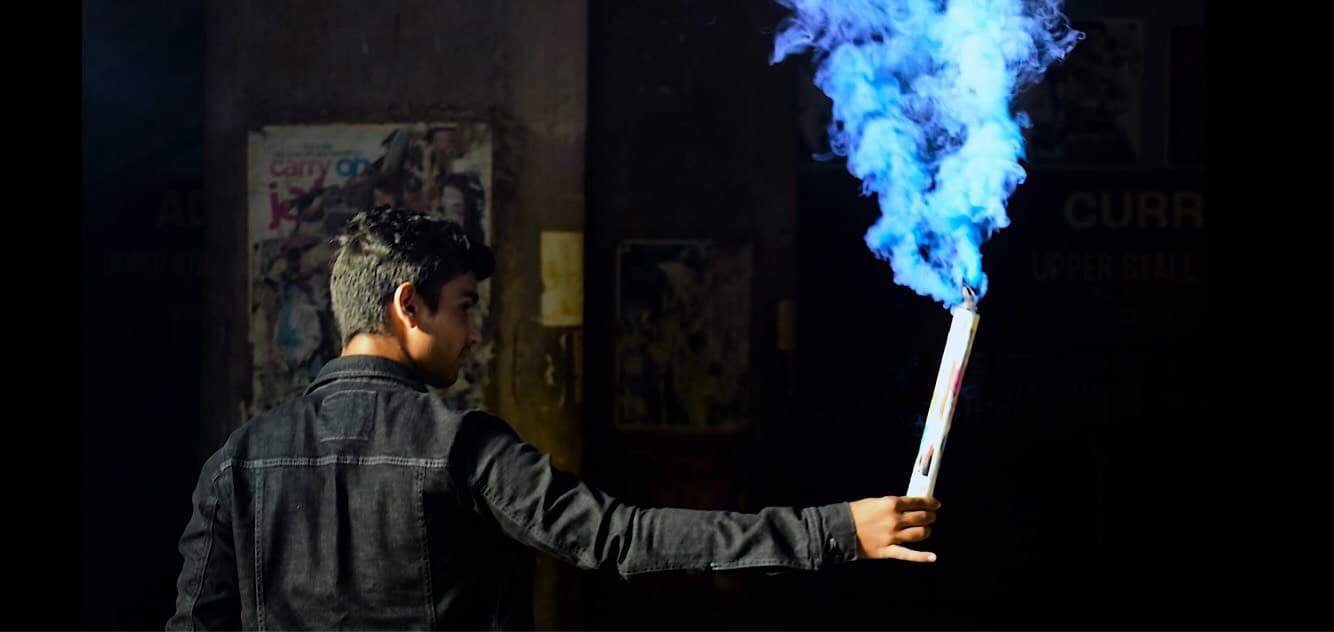
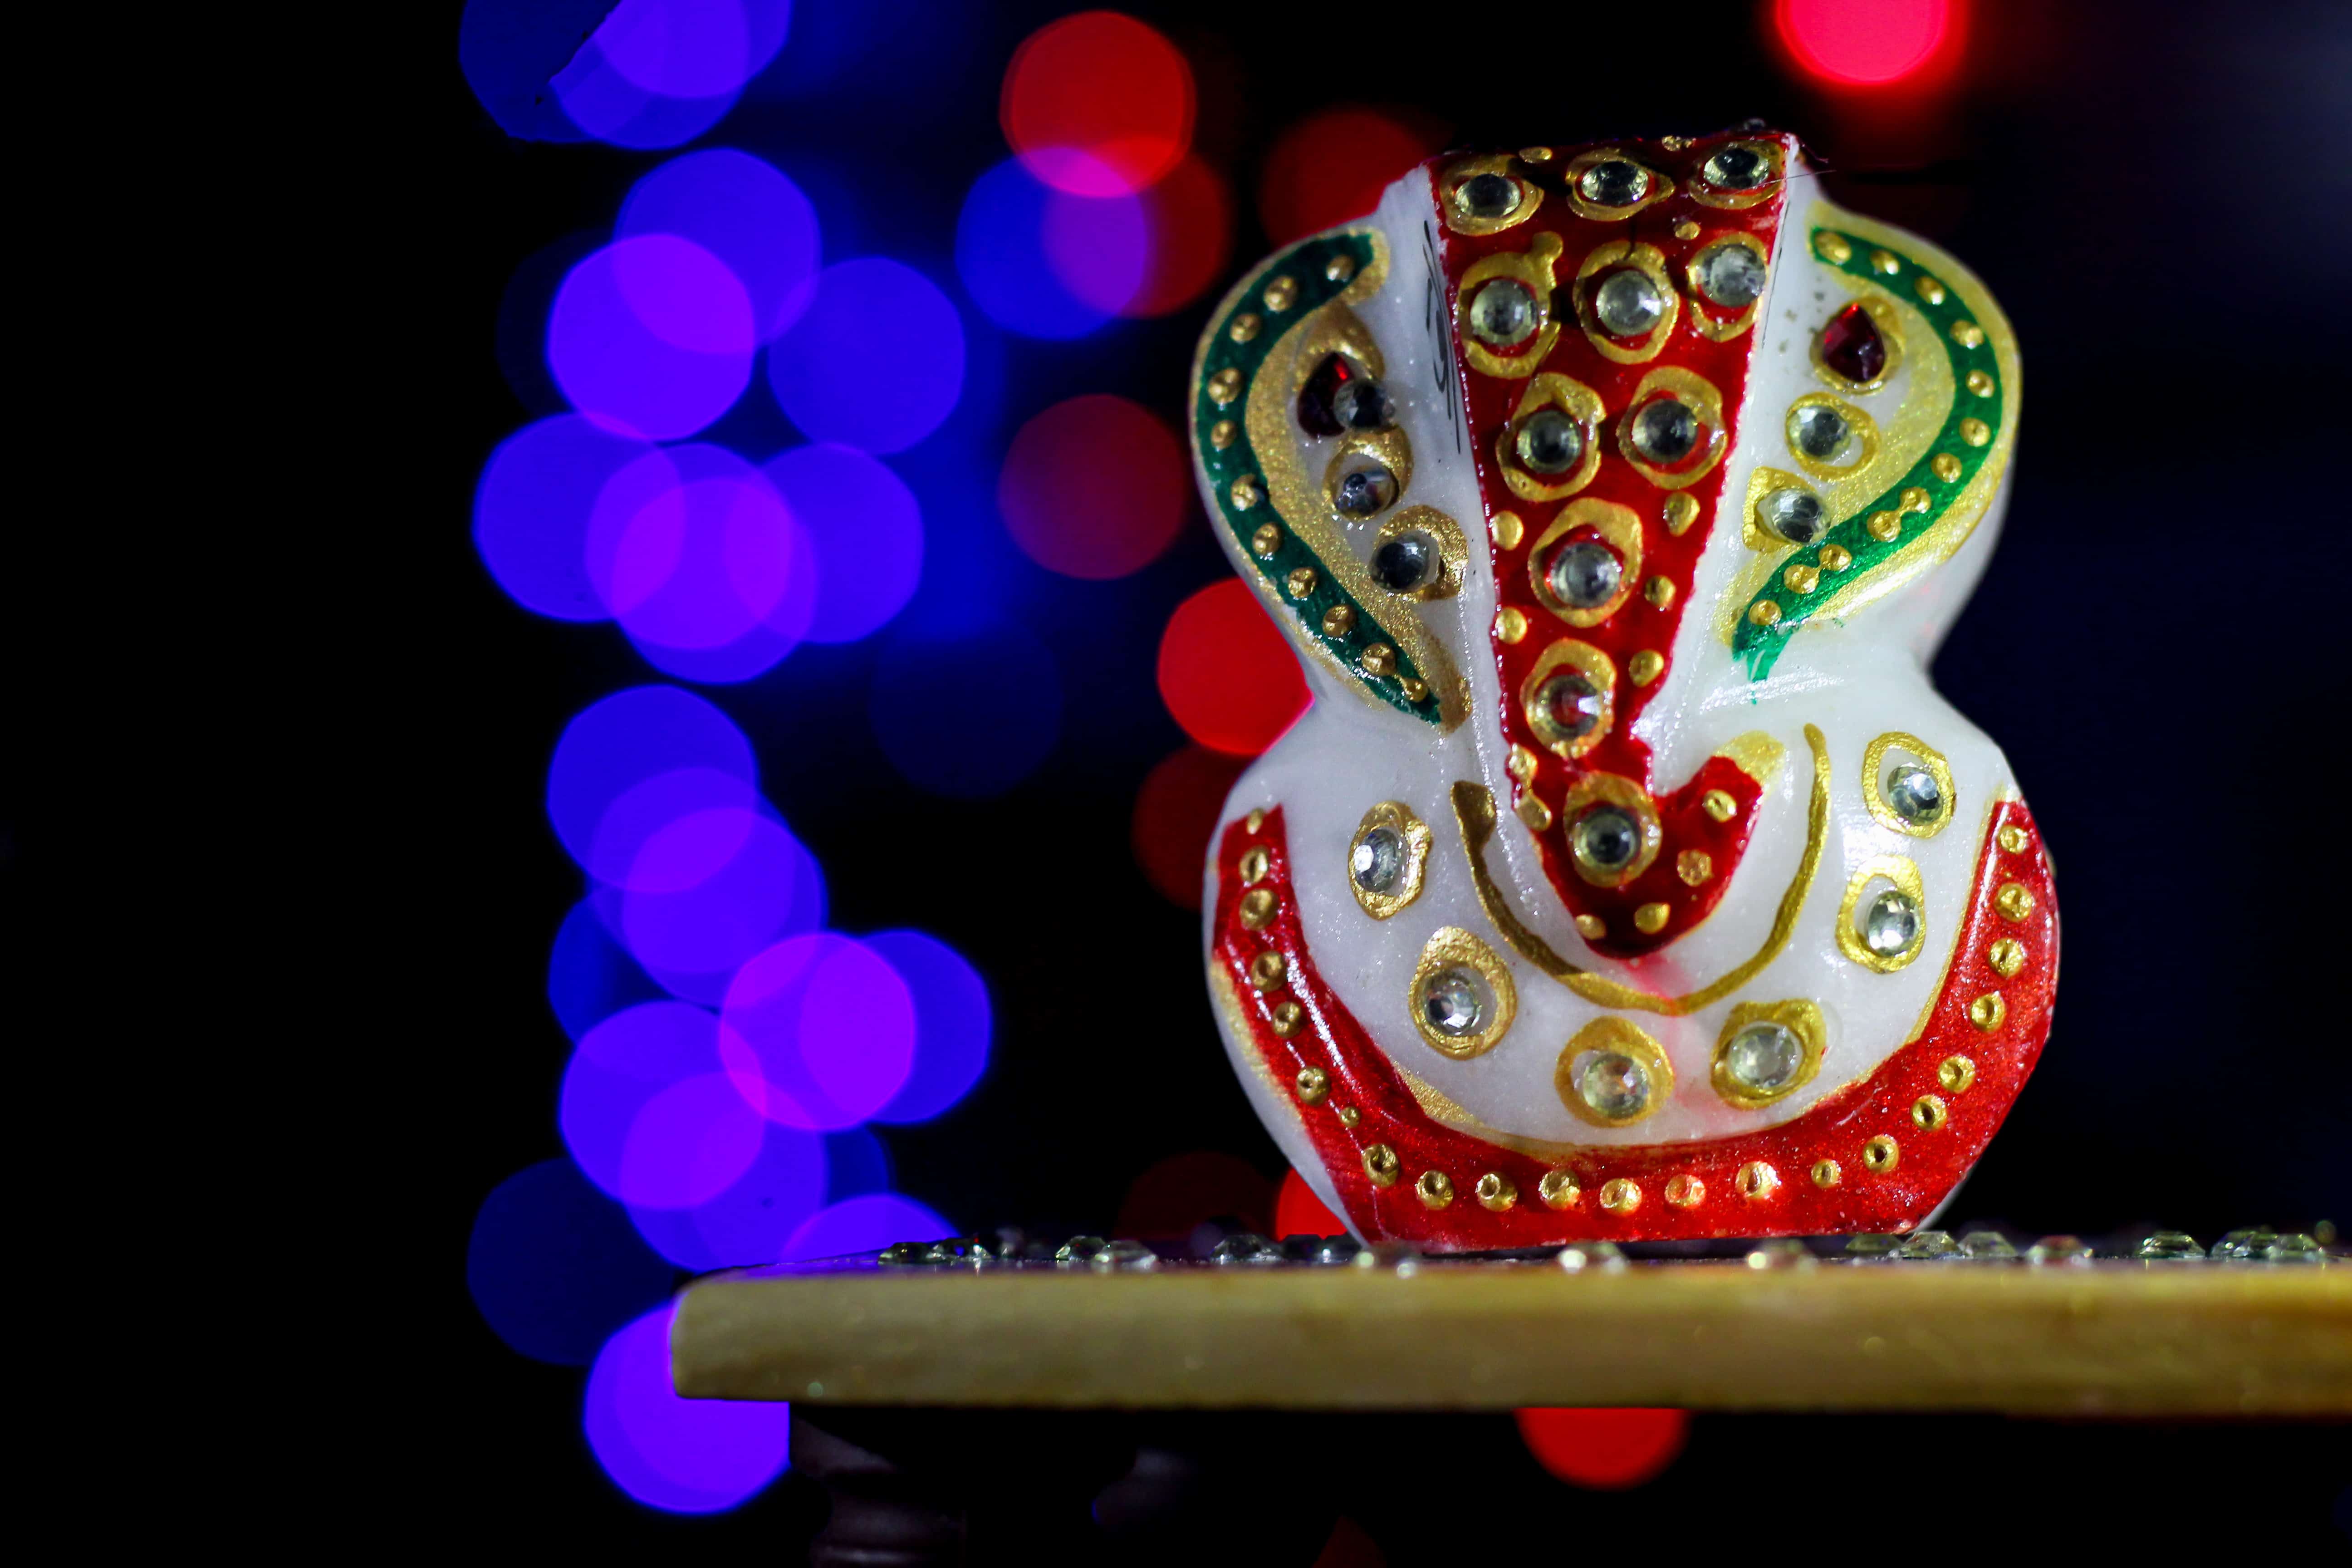
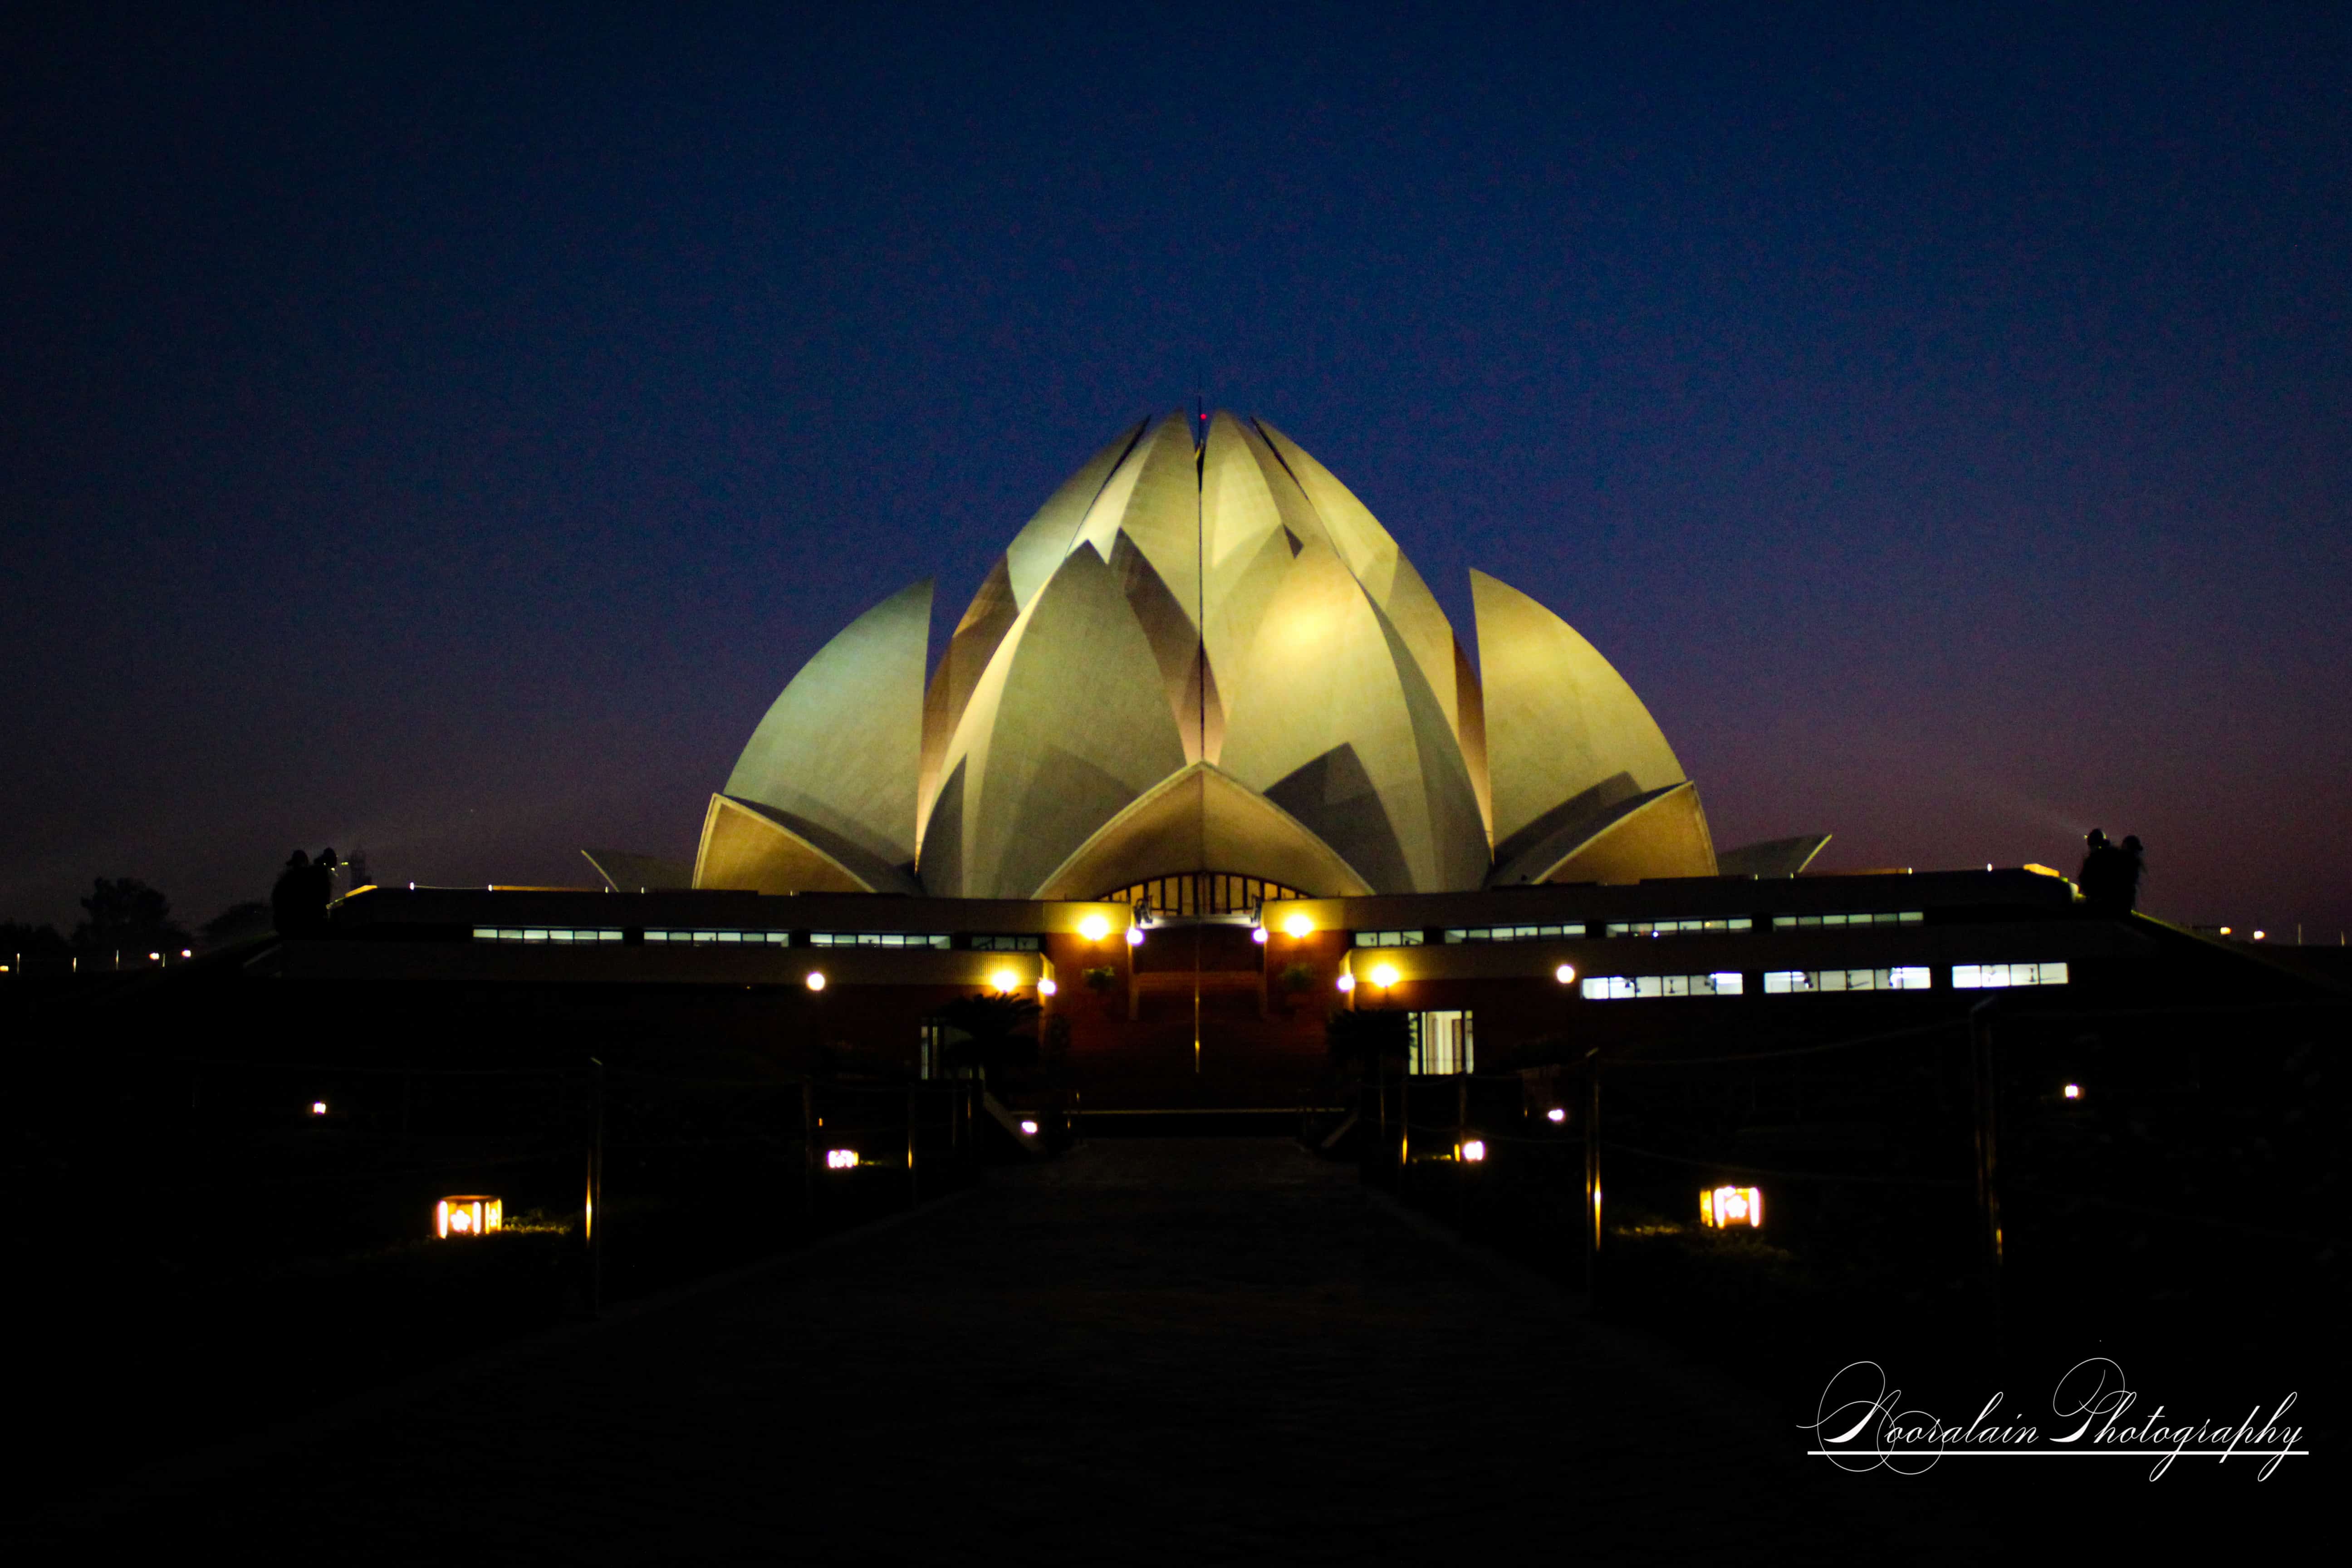
High ISO picture with more exposure and more noise. (Image Credits: Surabhi Khare for DU Beat)

The following infographic will help you understand aperture, shutter speed and ISO in a better way:

Infographic


White Balance

Another important element of the camera is white balance. White balance is used to adjust colours in the picture so that the picture looks more natural. White balance also defines how white the whites are in the photo. There are seven white balance presets in a camera which adjust the colour according to the lighting. Some of them are:

Daylight_SurabhiKhareDaylight (Image Credits: Surabhi Khare for DU Beat)


Shade_SurabhiKhareShade (Image Credits: Surabhi Khare for DU Beat)


Cloudy_SurabhiKhareCloudy (Image Credits: Surabhi Khare for DU Beat)


Tungsten_SurabhiKhareTungsten (Image Credits: Surabhi Khare for DU Beat)


White Fluorescent Light_SurabhiKhareWhite Fluorescent Light (Image Credits: Surabhi Khare for DU Beat)


You can notice the different colour tones in each of the presets. You can also customize the white balance through bracketing.

Metering

Metering is how your camera determines what the correct shutter speed and aperture should be, depending on the amount of light that goes into the camera and the ISO.

Most of the DSLRs have an integrated light meter that automatically measures the reflected light and determines the optimal exposure.

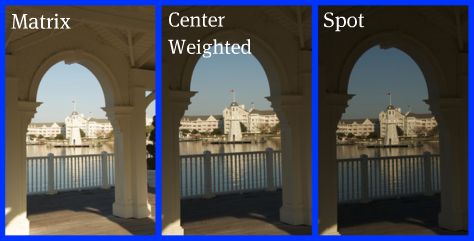
There are three common metering modes in the cameras:

  1. Evaluative (Canon) or Matrix (Nikon) metering: This kind of metering takes the complete exposure in count. This is used in landscape photography where you want all the elements of the frame to be perfectly exposed.
  1. Centre-weighted Metering:  Center-weighted Metering evaluates the light in the middle of the frame and its surroundings and ignores the corners. This is used when we want the centre of the frame to be perfectly exposed and not the entire frame.
  2. Spot Metering: Spot Metering only evaluates the light around your focus point and ignores everything else. It evaluates a single zone/cell and calculates exposure based on that single area, nothing else. When your subject occupies a small part of your frame, it is best to use the Spot Metering Mode.


Metering_Source-AllEarsSource: AllEars

Click as many pictures as you can, play with your camera, participate in different competitions. As the famous photographer Henri Cartier-Bresson had said, “Your first 10,000 photographs are yourt worst.” Keep clicking!

Feature Image Credits: Saubhagya Saxena for DU Beat

Surabhi Khare

[email protected]

A photography business requires time and effort to be set up. But hard work alone is not enough, the right skill set, marketing, and collaborations and promotion go a long way to establish a photography business.

  •  Payment

In the initial stage, while building up ones portfolio, people might do some jobs like doing shoots or covering events for free or for a modest fee in order to gain exposure and talent. This is fine for a while but once you try to engage yourself in a full-fledged photography business, there are quite a few things that one needs to take care of while charging the payment. Some of the major things that are to be considered while determining the cost are travelling expenses, equipment rents, worth of your talent and other expenses like props, makeup, etc. Determining the cost as mentioned above will give you confidence to  charge customers your talent’s worth. If you’re not able to cover all of these costs, then you’re not running a true full-time business, you won’t survive in the long run, and you’re lowering the value of your work itself.

  • Collaborations

No matter how talented and famous photographer you are, collaborating with other photographers in the same field will always help you to grow your business. It often happens that photographers get their first job by collaborating with other photographers or assisting them. There’s no harm in it because that’s the key to growth. If you collaborate with others even after reaching a good level in photography, it will ultimately help you in sharing your ideas, improving your creativity, expanding your sources and also reducing your competition. This can be integral to your success and to get you through the hard times.

  • Active Marketing-

One has to always be proactive in marketing their business. One has to go out themselves, search and deal with their clients. The more you put yourself out there, the more business will come to you. Offering services to individuals through different means, attending different events, promoting your work, collaborating with photographers, etc are some of the good ways to market your business.

  • Responding to Customers-

Responding quickly to customers for their queries shows a level of dependability, and in addition to helping people to want to work with you, it will also make them want to refer you. You never know when a casual conversation or advice that you give will turn into a job or reference. Keeping a good relationship with customers also helps you to know what do they exactly want out of you so that you are able to deliver the same. If you don’t respond or react to the queries of the customers positively then they might back off. It’s always better to respond and maintain a good relationship with customers.

  • Working Efficiently-

The last and the most important point is to work efficiently. Efficiency is one of the most important aspects of running a photography business, or any business for that matter. No matter how much you practice branding or marketing of your photography business, if you are not efficient at your work, you won’t succeed. Being efficient means to connect with the customers, using your best creativity to capture the pictures, dedicatedly edit them and give the pictures before time. If you don’t edit the pictures on time and keep on delaying,  it might create a negative perception of the customer. Always click and edit the pictures with best of your creativity and give it to the customers on time to ensure efficiency of your work and to build trust and a healthy reputation.

Thus, always try to be efficient at your work, promote it, and expand your business to make it a success.

Feature Image Credits – Epinium

Akarsh Mathur 

[email protected] 


The art of photography is heavily dependent on a variety of skills. Apart from knowing the technicalities of the cameras and lenses, a skilled photographer has a keen eye for detail. A lot of times, however, this skill is subject to the availability of the proper photography equipment. Many amateur photographers do not wish to pursue this lucrative career path by the virtue of the fact that almost all equipment is expensive. To help such people, the photographers at DU Beat have compiled a list of inexpensive photography supplements, detailing the importance of each and listing down the expected price rates as well.

1. Lenses Filter

Polarizing filter:  A polarizing filter removes the reflections of glass, water, plastic and everything. It helps to pop up the colours of the image and increases the contrast a little bit of the picture. Neutral Density (ND) Filter:  A Neutral Density Filter helps to cut the light entering the camera. It is used in various ways in daylight shoots when you have to take long exposure shots say for example a picture of a waterfall.

Image Credits: Amazon

Price: INR 50

2. Flash Gels

A flash gel is not like a gel at all. It is a sheet of transparent plastic that colours the light cast by the flash. You should frequently use flash gels when doing shoots to get the light match the ambient light or to introduce a creative colour into the scene For example Yellow, Green, Red etc.

Image Credits: Amazon

Price: INR 1000

3. Gorilla Pod

The biggest advantages of the Gorilla Pod over a tripod are portability and the ability to attach to a vertical surface such as a railing or a street light pole. There are many Gorilla Pod hacks that help to make a video better than a tripod that too in creative ways.

Image Credits: Flipkart

Price: INR 700

4. LED Lights

LED lights are available in a wide array of colours and intensities, which allows you to see lighting as you compose your shot. LED Lights provide you as much light as three 300w tungsten lights uses less than half the power of a single 300w tungsten bulb. LEDs leave immense room for creative lighting by incorporating different colours.

Image Credits: Amazon

Price: INR 1700(Approx)

5. Flash Diffuser

A flash diffuser is a simple light modifier that attaches to the upper part of an external flash unit. It’s used to soften or spread the harsh, concentrated light that bursts out of the flash, creating a more even and flattering light on the subject. It also helps in removing heavy shadows created by the harshness of the strong lighting. When using a flash diffuser, it’s best to point the external flash unit at an angle (and not directly at the subject) so that you can bounce the light off of a somewhat reflective surface—like a white ceiling, a nearby wall, or perhaps a reflector.

Image Credits: How To Geek


Price: INR 150 to 799

6. Reflectors

 A reflector is an improvised or specialised reflective surface used to redirect light towards a given subject or scene. They are used to bounce the light on the subject when there is insufficient light on the subject or the picture is taken against the light. Silver, white and gold are the three main colours that are used to reflect light on the subject. One can easily use their own creativity to play with lights and thus enhance their pictures with the help of reflectors.

Image Credits: Crafthubs

Price- INR 600 (approx.)

Feature Image Credits: Epinium

Akarsh Mathur
[email protected]

It’s as difficult to write about emotions as it is to capture them on camera. For this very purpose, the photographers at DU Beat have compiled a collection of their best photographs to highlight the different types of lighting effects that could be incorporated to give the photographs the desired look.

Golden Hour
goldenlight_ayush

The golden hour is an hour before sunset and an hour after sunrise. The best part about golden light is that it is soft, warm, and dimensional.

Blue Hour

BLUE HOUR_Surabhi

The blue hour is a period of twilight in the morning and the evening. The sun is at a significant depth below the horizon and the residual, indirect sunlight takes a blue shade.

Night Time

Night Time_saubhagya

Photography in the night time is an eternal bliss. You can click beautiful pictures with moonlight, star trails, light trails, city lights etc.

Daylight

daylight_ayush

You will get the most amount of light during the day.  In the full sun, use the Sunny 16 rule to get amazing pictures. Set your aperture to f/16, the ISO should stay around 100 and the Shutter Speed to about 1/100 or 1/125.

Twilight

Twilight_Surabhi

A twilight photo is usually taken at dusk to showcase landscape/property lighting, pool lighting and features like fire pits, and a beautiful sunset.

Backlight

BACKLIGHT_PIYUSH DUA

Photographers use the backlight to add depth into the photograph. Many others use it to create a more dramatic effect.

Front lightFRONTLIGHT_PIYUSH DUA

Front light evenly illuminates your subject. The shadow it casts is behind the subject, out of the sight of the camera’s point of view.

Sidelight

sidelight_ayush

Sidelighting is a useful way to bring out the texture of the subject. It works very well for creating areas of strong shadow in the image.

Tyndall Effect

tyndall_ayush

Tyndall Effect is the phenomena of the scattering of light by particles in a colloid or in a very fine suspension. Tall trees which a form a canopy like structure in the top create beautiful images with the Tyndall Effect.

Dramatic Light

DRAMATIC LIGHT_ Surabhi

Storms and bad weather are usually considered as hindrances, but if you are in the right location after the storm clears, then you will be able to create a lot of drama in the picture. The clouds and the lights can play together to create the desired dramatic effect.


Feature Image Credits: Surabhi Khare for DU Beat

Surabhi Khare
[email protected]

Ayush Chauhan
[email protected]

Piyush Dua
[email protected]

Saubhagya Saxena
[email protected]