
Smoke photography is not as difficult as it seems, in fact there is no correct or incorrect way of photographing smoke.
In other words, there is no right or wrong way to photograph a smoke trail. So its experimenting that will give you that perfect picture, that perfect angle and that perfect lighting that you aspire for. So here are a few tips and techniques that might help you to create such pictures.
Camera setting:
Shutter Speed: Fast shutter speed is recommended to capture such images as the smoke is constantly moving, so to avoid any blur movement, the settings should be done accordingly.
Aperture: A small aperture is recommended to get a sharp and detailed smoke trail for your picture.
ISO: Where there is very low light, smoke will show up grainy or noisy and a high ISO will only add to this, so try not to raise the ISO very high (ISO between 500-1200 is recommended depending on the camera) in indoor shooting whereas while shooting outside, ISO can be adjusted according to the light condition prevailing.
Light: Use the flash at full strength because with fast shutter and low ISO, the image quality may deteriorate but while shooting outdoor, no external light shall be needed and the settings can be done manually.
How to photograph the smoke the right way:
1. Get Physically Comfortable
As we start with the fun part, the shooting. Make yourself comfortable and focus on the object you just lit up. First 20-30 clicks and a few burned out source may dig your confidence down but keeping on learning from every previous shot will eventually lead you where you aspire to be.
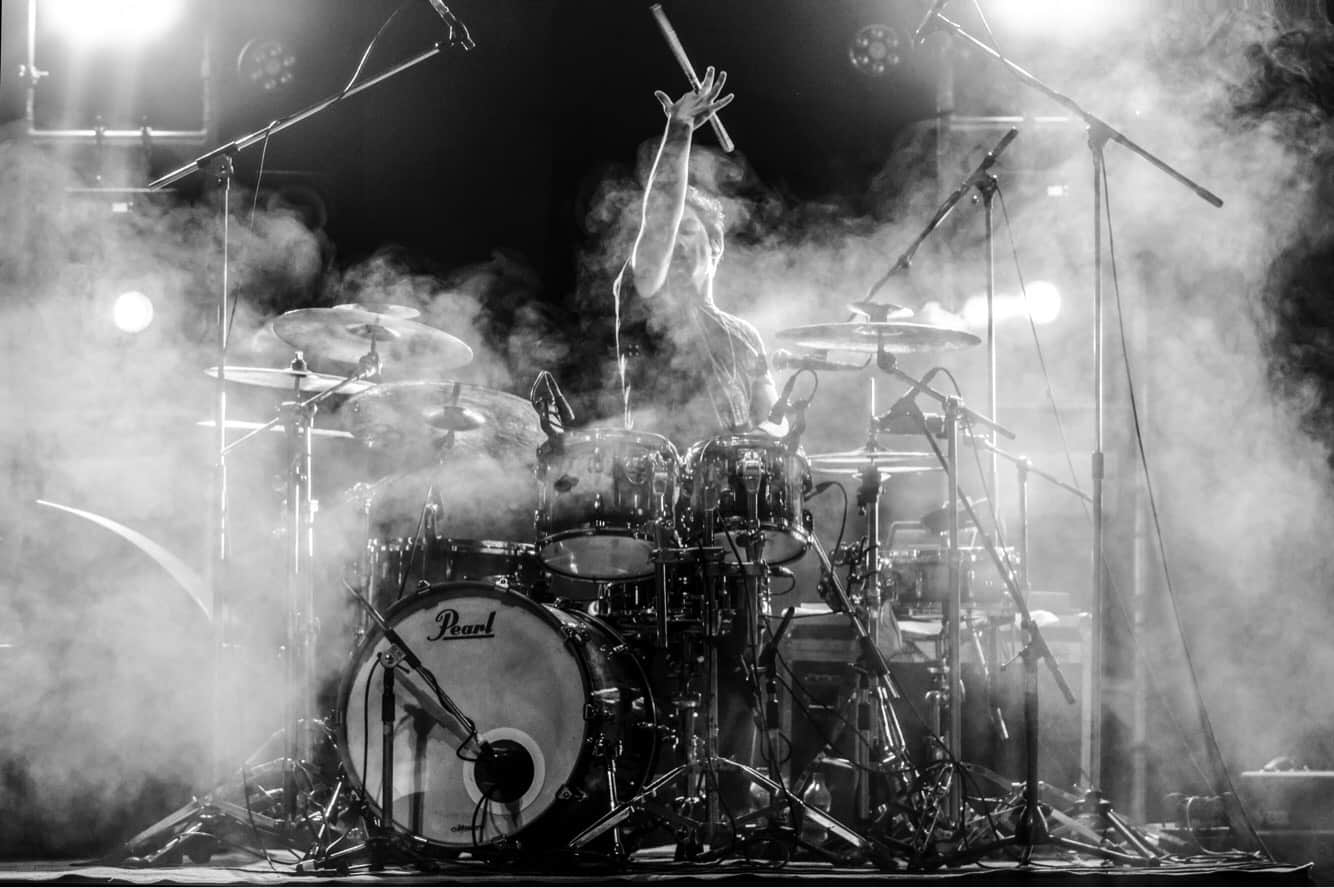
Image Credits: Akarsh Mathur for DU Beat
2. Get the Smoke Moving Around.
For really nice curved smoke you need smoke that moves around. A little piece of cardboard can help you whoosh little bits of air towards the source like a colour bomb and get the smoke moving around. Using source like incense stick , there is no need to get the smoke moving around as the source flows well with the atmosphere air and gives you the smoky look that you need.

Image Credits: Vaibhav Tekchandani for DU Beat
3.Let the Smoke Take Over the Background
Letting the smoke take over the background, will enhance the impact of your picture. This method is very impact full while covering onstage events as the object and its actions are fluently expressed. Using external light under this situation is recommendable as it terminates noise and prevents picture blur.
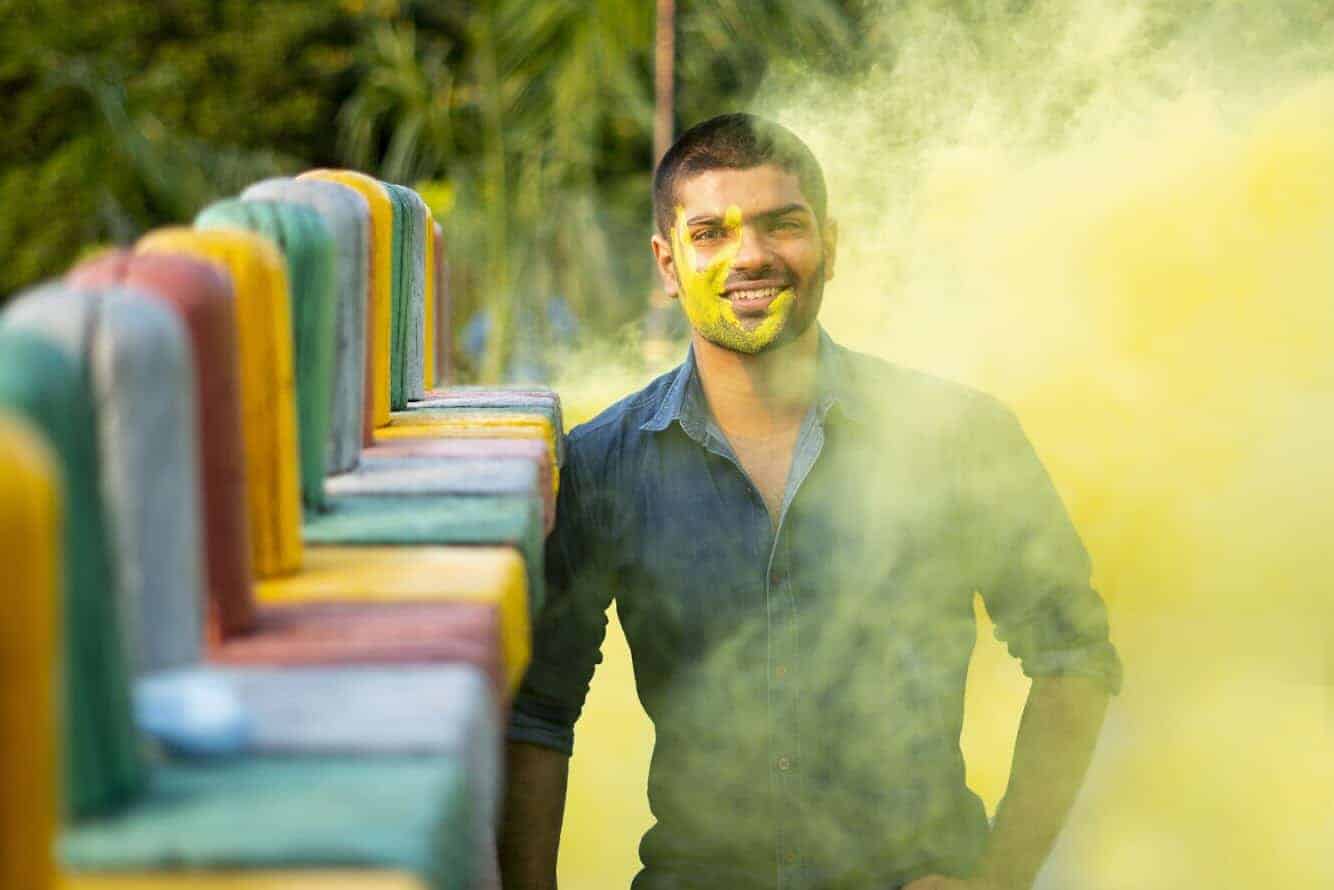
Image Credits: Aditya Khanna for DU Beat
4. Patience
Working on this technique majorly calls for lots of patience as the smoke from the source needs attention and takes time to fall in the right position compatible with the subject. Observation is also an important factor as it leads to the decision of capturing the frame when the amount and intensity of the smoke is right as needed considering that the smoke buildup creates a haze in the Pictures.
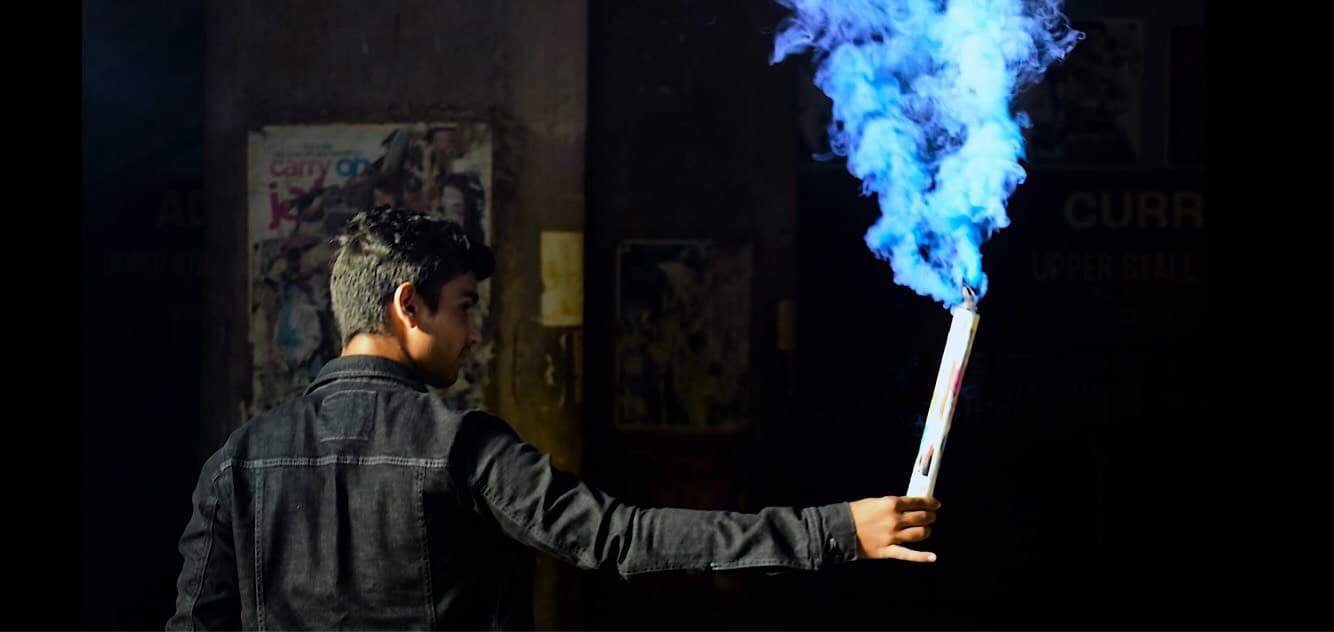
Image Credits: Aakarsh Gupta for DU Beat
To put it in a nutshell, smoke photography apart from being an activity based on skill is also an experimental effort based on hit a trial to get that perfect shot at the perfect timing. Patiently wait for the smoke to do its magic and engulf the space while your fingers are ready for the shot that you desire. The possibilities are many to play around with this unconventional photographic art form.
Feature Image Credits: Vaibhav Tekchandani for DU Beat.
Mahi Panchal


Comments are closed.