
We all know what hair dryers, curling iron and straighteners can do to our hair. So here are 8 stunning no heat hairstyles that you can rock without damaging your hair even a bit. Its about time you bid adieu to the warmth of your Blow Dryer.
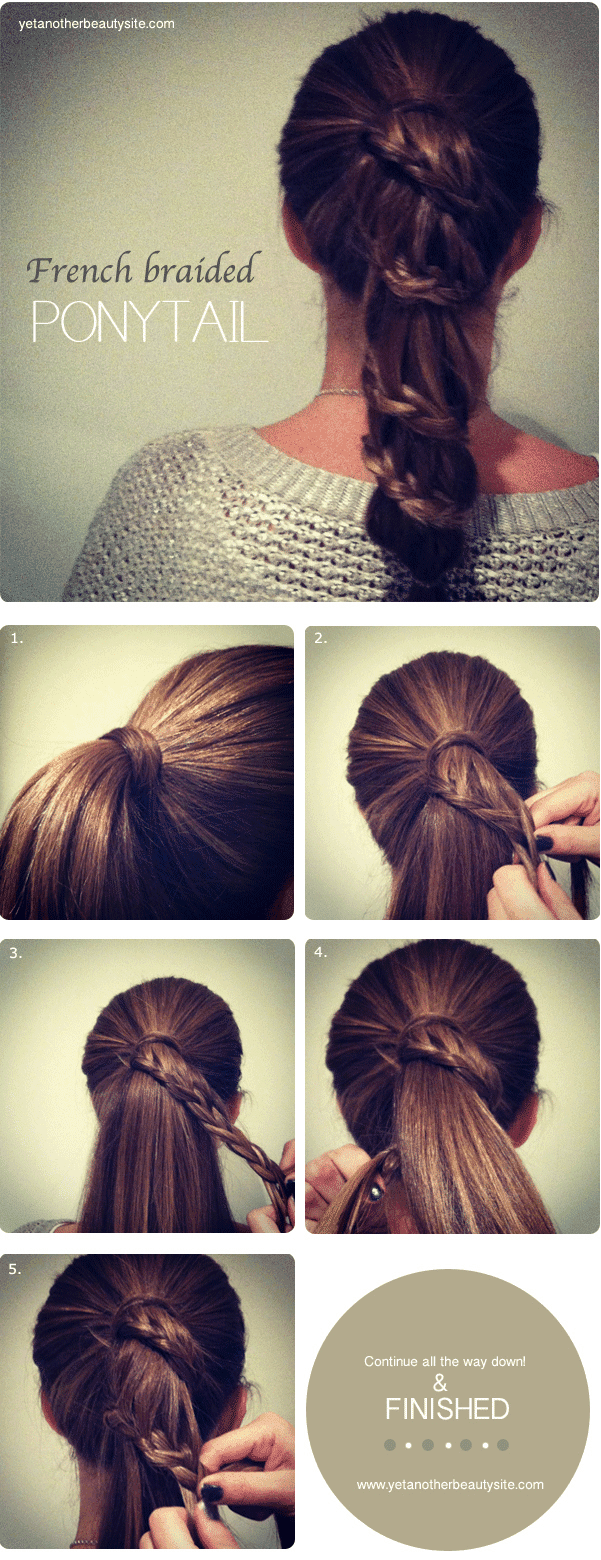
French Braid Ponytail
Steps :
1. Put your hair in a ponytail. High, low or side, it´s up to you! Then take a piece of hair and cover the elastic band and secure it with a bobby pin.
2. Start forming the french braid and incorporate hair only from the upward area.
3. Continue to braid normally without incorporating more hair.
4. Twist the braid around the ponytail on the back.
5. Continue the french braid on the front side exactly the same way as you did before.
6. Continue doing this around the ponytail as many times as your hair allows and then secure with a small elastic!
Tada, now you’re ready to go rock the day without causing your hair even a a tiny bit of harm!
Note : If you do this hairstyle on yourself it´s much easier to do it on a side.
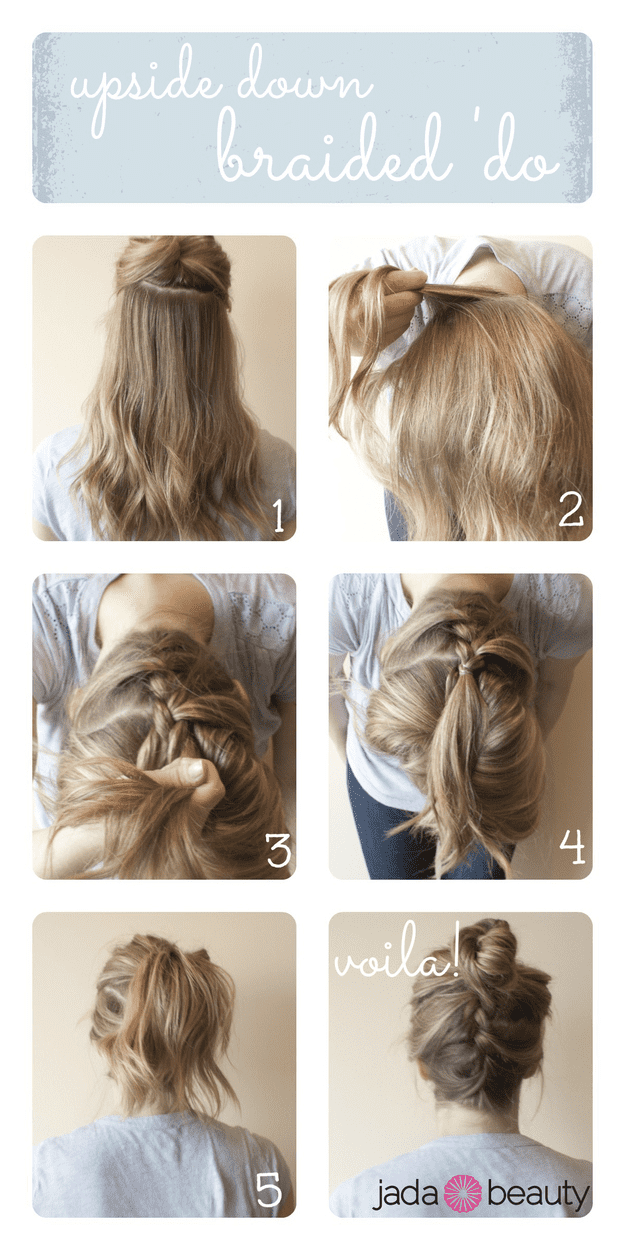
Upside Down Braid Bun
Steps:
1. Tip your head upside down, grab three strands of hair and begin to do a Dutch braid (Dutch just means you cross the outside strand UNDER the middle strand instead of over like you would a French braid!)
2. Once you have your dutch braid, secure it with an elastic and then pull your hair into a pony and secure that with an elastic.
3. To get rid of any grease and to give your pony some volume and texture, spray some Dry Shampoo and then wrap your hair into a messy bun and secure it.
4. To finish, you can pull apart your braid to make it appear thicker and spray with some Hold Hairspray!
It is actually an easy hairdo, minus some blood rushing to your head!
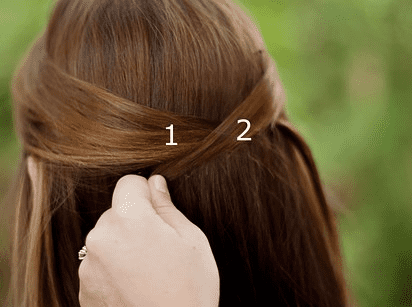
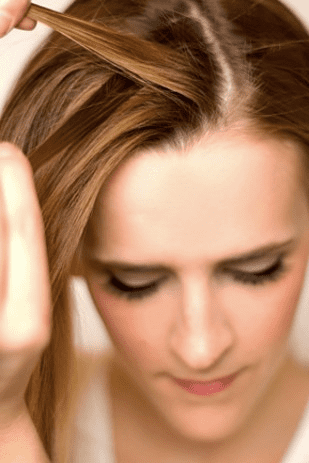
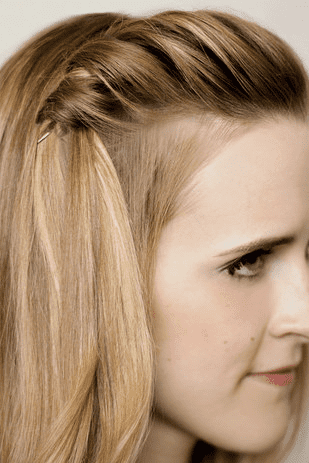
 Pinning Back Braid Style
Steps :
1. Grab a little portion of your hair from the front side.
2. Braid that portion of the hair .
3. Pull it back and figure out where you want to pin it and hold that section with your finger.
4. Open your bobby pin and instead of putting it right OVER the braid, push it into the braid.
5. If you want to tie your hair into a ponytail and give it a pop, then pull up your ponytail and push a bobby pin right into the centre of it.
This is THE perfect hairstyle for the times you want to look stylish yet a little neat.

Overlapping Half-Up Half-Down Hair
Steps :
1. Take a small chunk of hair from above the ear.
2. Take a bobby pin and insert it 3/4th’s of the way down your hair section.
3. On the opposite side of your hair, take a chunk of about the same amount as your last one ( We’ll name this Section 2) and pull it in the opposite direction as Section 1.)
4. Section 2 should be overlapping section 1.
5. Take Section 2 and bobby pin it under Section 1.
6. Take a new section (Let’s name it Section 3) of hair from under Section 1 and pull it over Section 2.
7. Take Section 3, and bobby pin it under Section 2.
8. Repeat this 2 more times (or more if you desire) to achieve this look!
Voila! You have finished. You can always spice it up by throwing your own little twist in it!

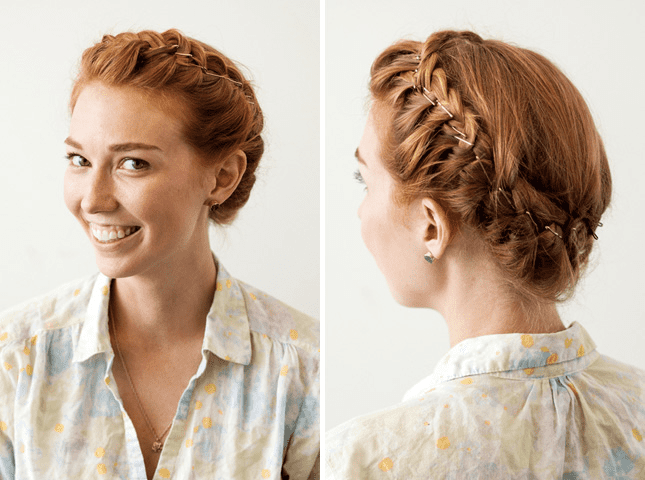
Sunburst Ponytail
Steps:
1. Start on one side of your head and begin to french braid.
2. Continue to braid along the perimeter of your hair line until you have reached the opposite side of your head.
3. Braid the remaining hair into a regular braid.
4. Wrap the braid up and behind the french braid and use bobby pins to secure.
5. Loosen the braid a little so it is less tight around your head.
6. Now, it’s time to add some bobby pins!
7. You can use pins that contrast with your hair, or ones that enhance it.
Don’t you love the little bit of glitz in this classic hairstyle? We love the extra volume that happens naturally because of the bobby pins.
An Easy Waterfall Braid
Steps :
1. Decide how big of a section you want for your twist braid, then clip everything else aside for later.
2. Backcomb the entire section.
3. After it’s backcombed use the comb to smooth down the top layer so it doesn’t look ratted.
4. Start by taking a thin section (about 1/4 inch) off of your part and splitting it in half.
5. Twist the front half over the back half, so the back half is now in front.
6. Take another thin section (just like the first one) and add it to the front piece.
7. Now just repeat the last two steps for the remainder of the twist braid – twist the front piece over the back piece, add a new hair to the front piece, twist it over the back piece, etc.
8. Secure it by inserting bobby pins up and inwards in the end of the braid.
And there you are, all set to rock the day!!
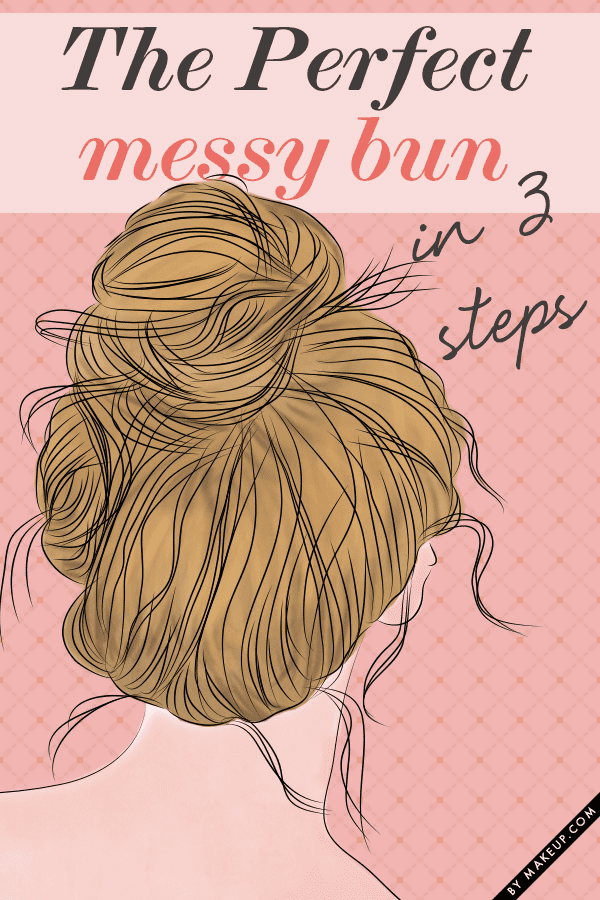
High Messy Bun (In just 3 STEPS!!)
Steps :
1. First, pull your hair into a loose ponytail, as high or as low as you’d like it. Don’t use a comb or worry about your strands being perfectly slicked back—the look is effortless.
2. Separate the hair in your ponytail into two or three sections and tease. Teasing is the key step that totally changed our bun game—it gives you the volume and messy texture you need to pull off the look and keeps your bun from ballerina status.
3. Separate your teased hair into two sections and wrap the hair in opposite directions, as you would when creating a topknot. But, instead of pinning your hair neatly in, secure your hair with a bobby pin about an inch from the bottom of your strands, leaving the ends to fray around your bun and create a messy effect. If you feel like the body of your bun is too tight, gently pull it apart with your hands or the end of a comb. We also like to pull a few rogue pieces out around the face.
One of the best things about this bun is that it works well on dirty hair. Snooze button ON?!
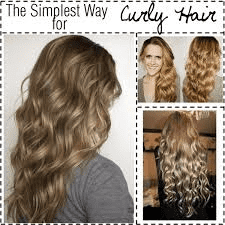
No Heat Curls!
Steps :
1. Begin with dry hair parted and combed the way you want it for the hairstyle.
2. Split your hair in 2 halves and begin by taking out a 1 inch section and clipping away the rest of the hair.
3. Spray a generous amount of water onto your hand using a spray bottle.
4. Run your hand over your hair a few times until the section is damp, but not too wet.
5. We will be using two of our fingers to act as our curling barrel. For tighter curls, use only one finger.
6. Wrap the damp section of your hair loosely around your fingers.
7. Use a combination of hair clips and bobby pins to pin the curls in place.
8. Gently pull the curl off of your fingers, holding its shape, and place a pin inside of it to hold it in place.
9. Continue with this same method in 1 inch sections on the rest of the portion, and spray on a generous amount of hairspray.
10. Use the same method on the other half of your hair and spray with hairspray. Let the curls set for 30-45 minutes or until dry.
11. Gently undo each of the hair clips/bobby pins and let the curls fall.
Voila! You’re ready to take on the world without causing any damage to your hair!!


Comments are closed.